Our uploaded and transformed data looks excellent, but if we were to share it with another user, they would be missing important context about the meaning of each column in the dataset. To help with long-term knowledge and findability, Delfini has first-class support for data elements which describe the data’s purpose, values, and references to external concept repositories.
Uploading a Data Dictionary
Data elements can be stored in site-wide common data element sets, in public, shared, or private collections, and even in external repositories. For this quick example, we’ve prepared an existing data dictionary that you can upload to your collection and associate with your data. First, right-click the link below to download the dictionary:
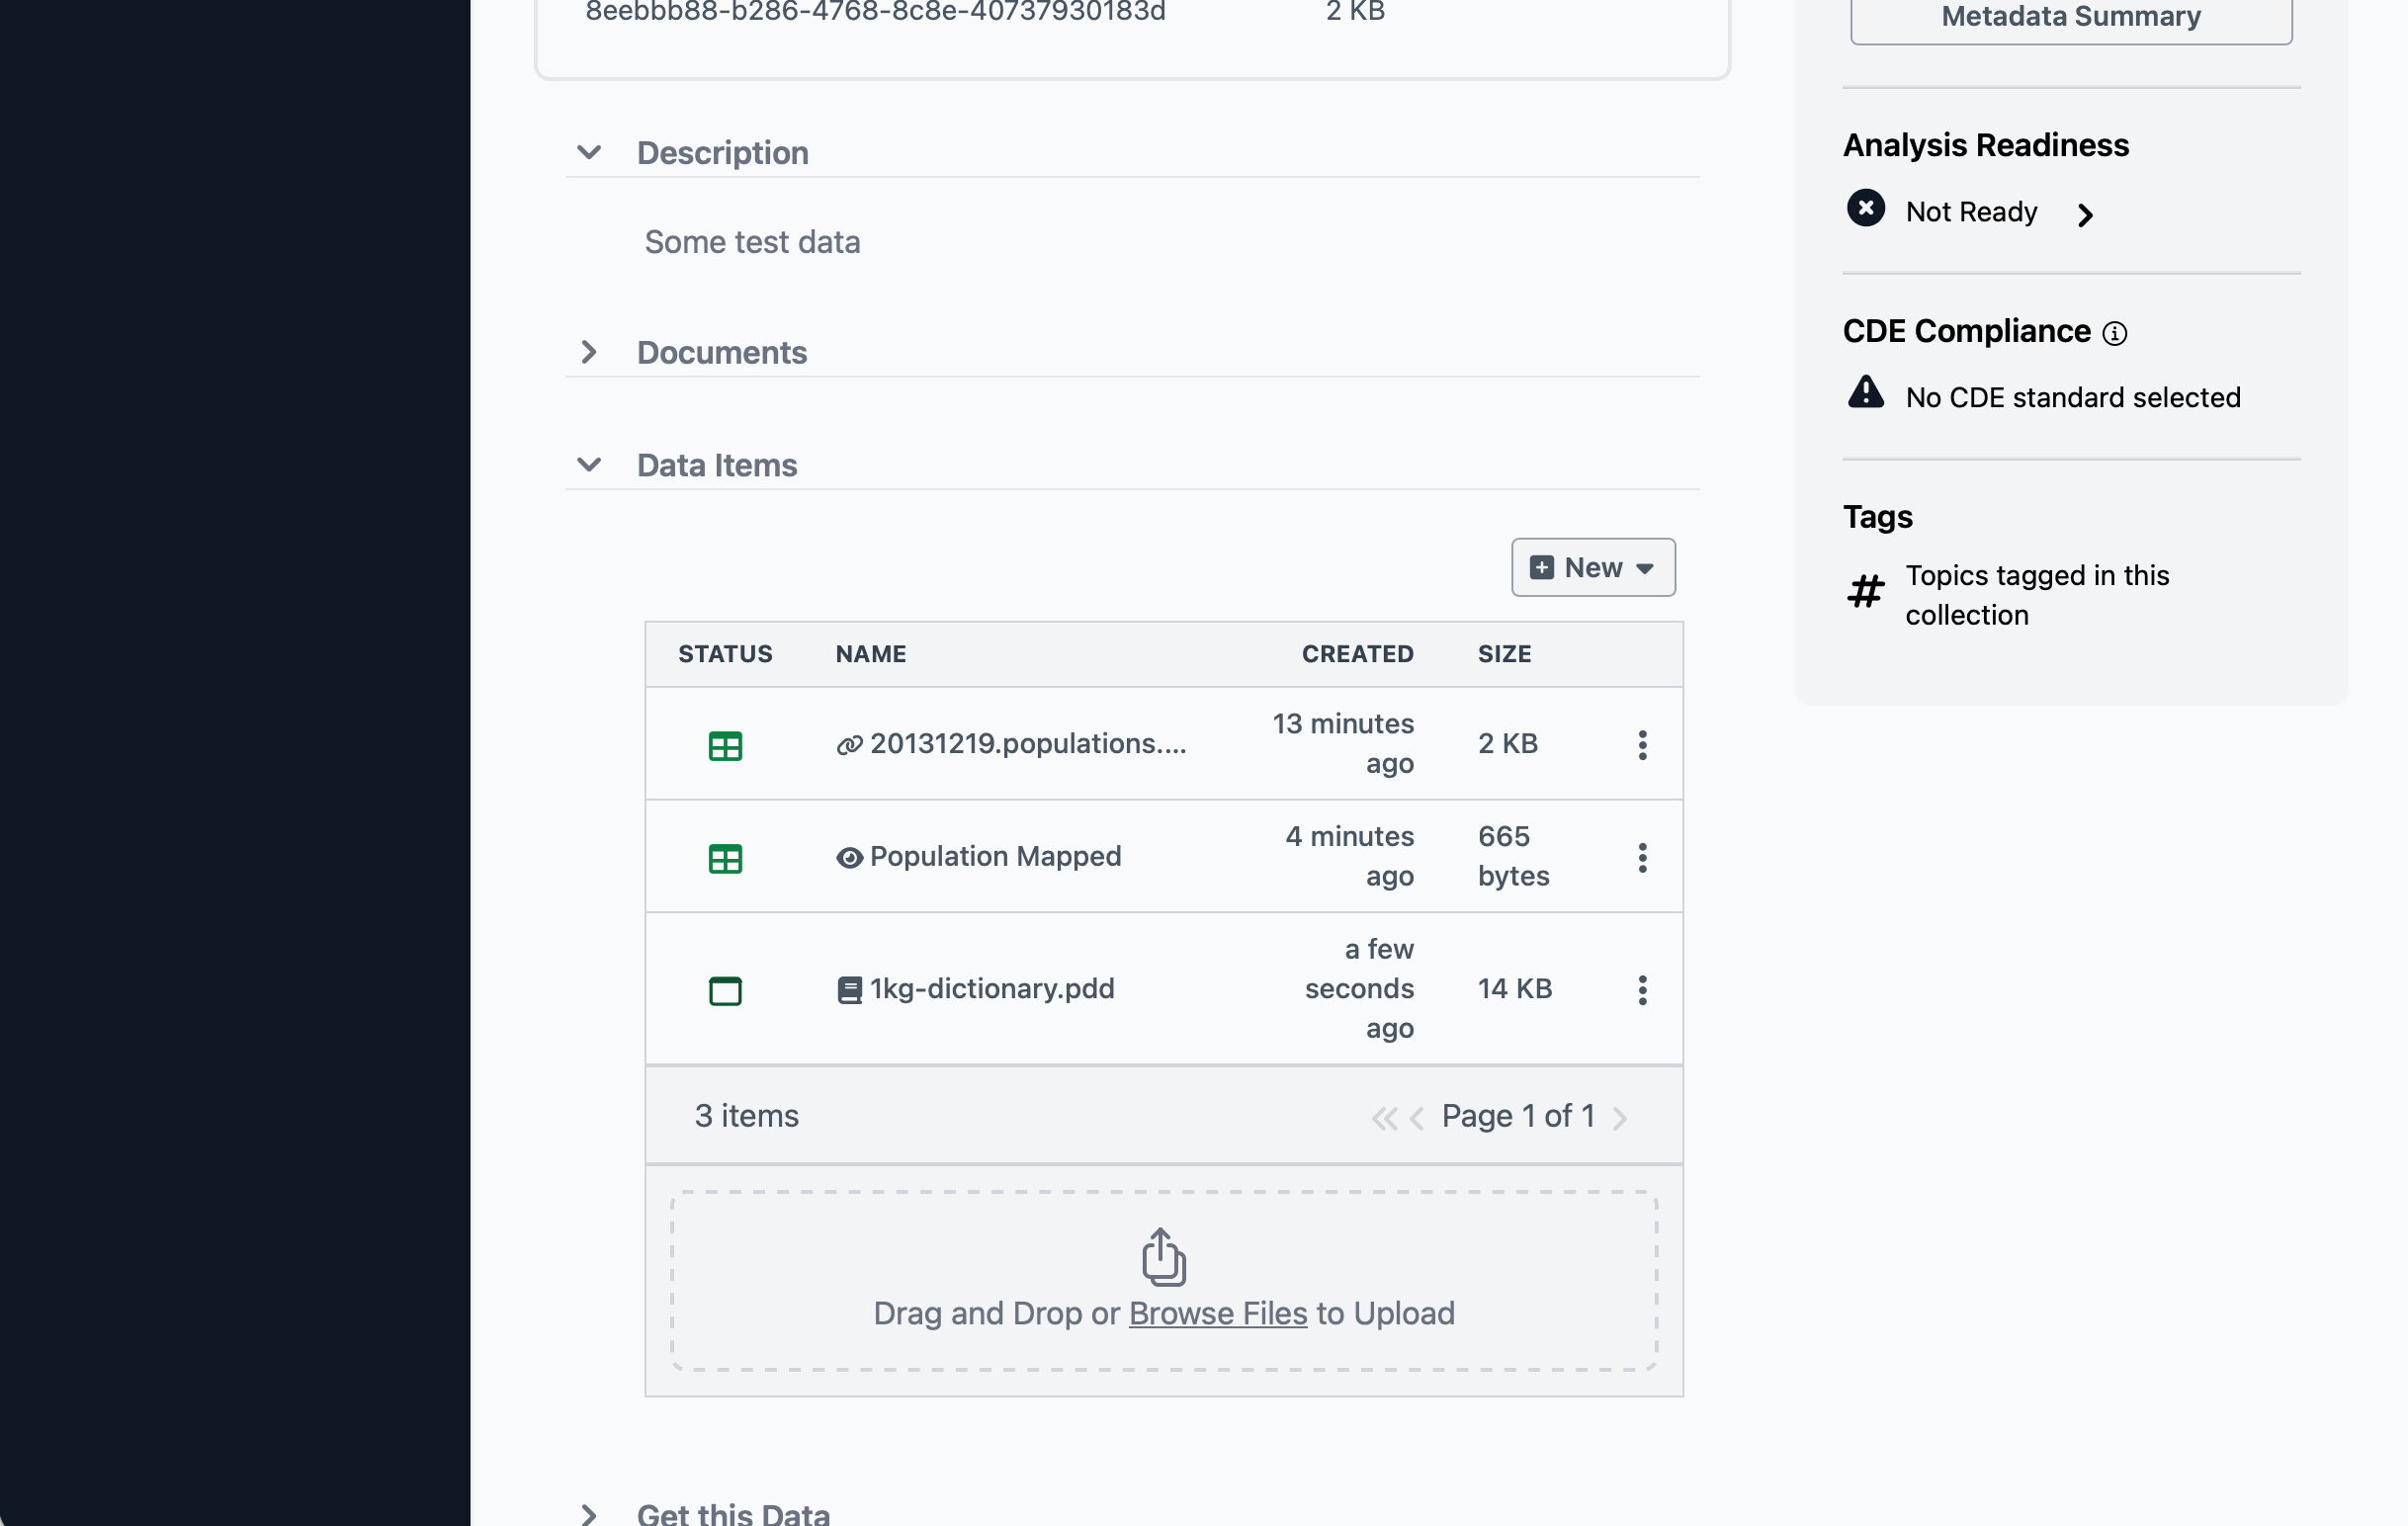
Next, in your Delfini window, click your collection’s name at the top of the screen to go back to the main page for your collection. Then, expand the Data Items section and use the file drop panel (drag and drop or click to browse files) to upload the dictionary file you downloaded. Finally, click on the newly uploaded item to view it.
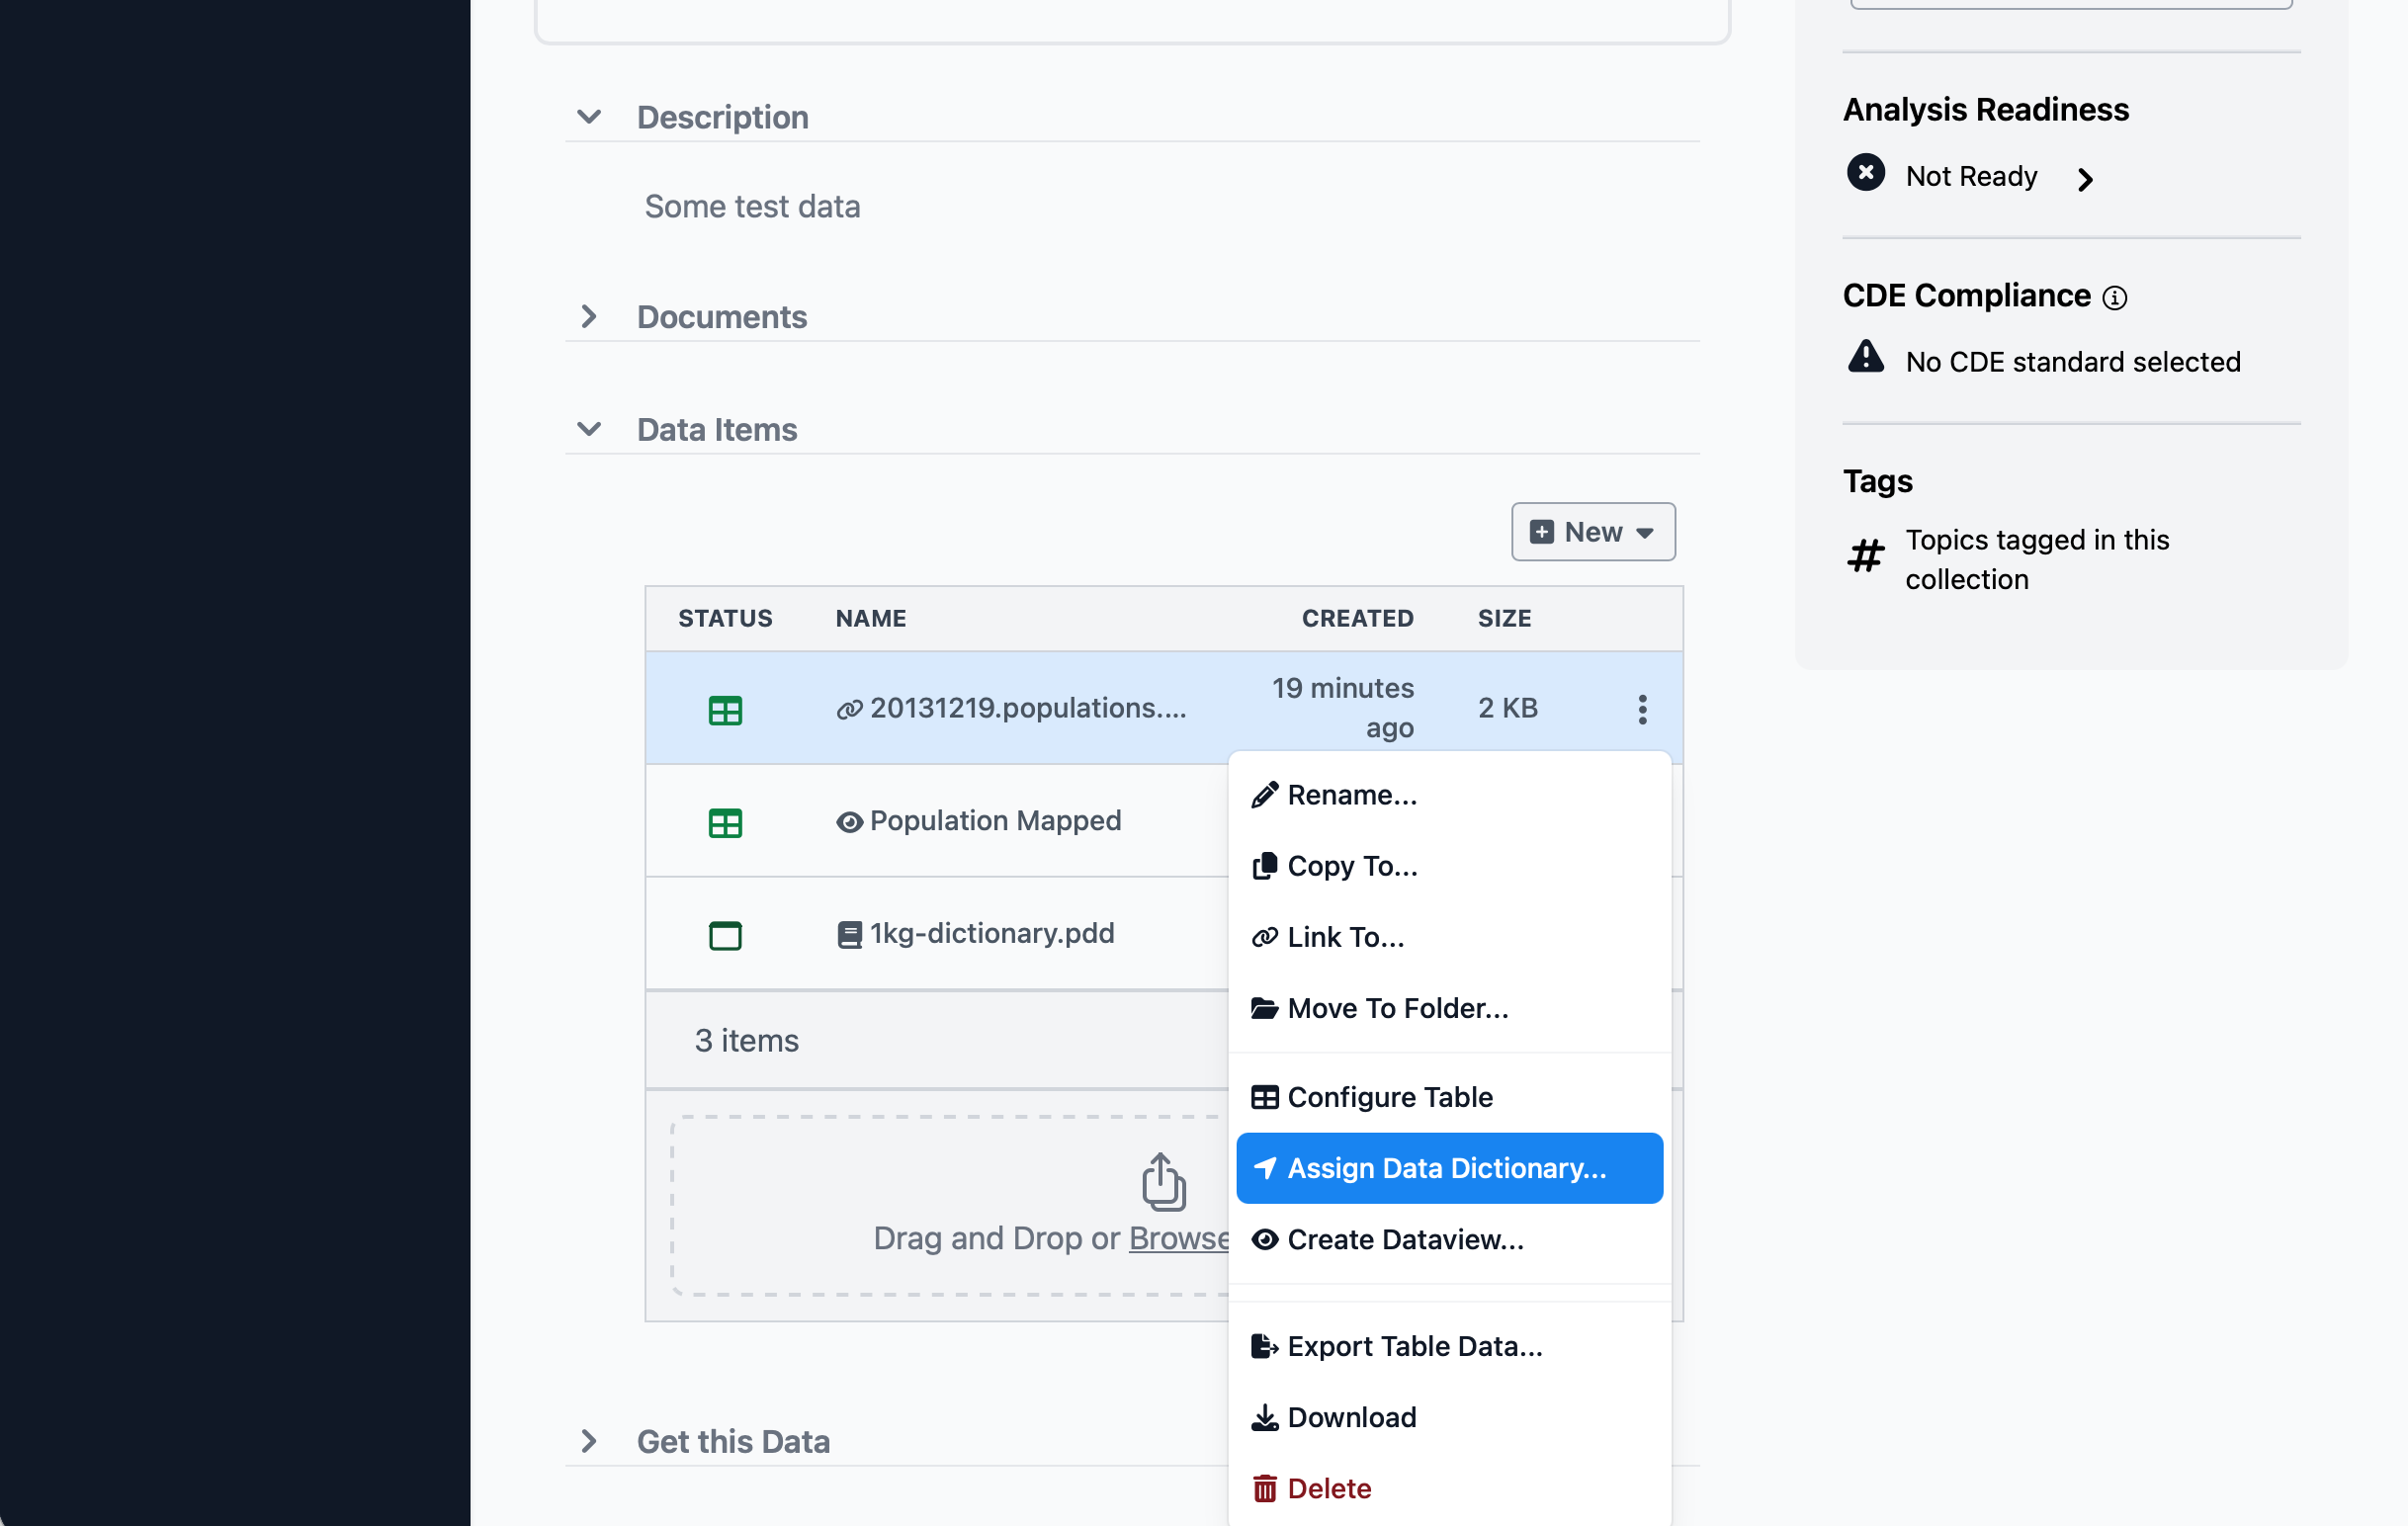
This dictionary contains entries for each column in the original data table, so we will assign it to the tabular link item we created at the beginning. To do so, click on the collection name at the top of the screen to return to the collection main page, then expand the Data Items view once again. Next to the 20131219.populations.tsv data item, click the three-dots menu item to its right, then select Assign Data Dictionary… A dialog will appear; click the 1kg-dictionary.pdd item to select it for assignment.
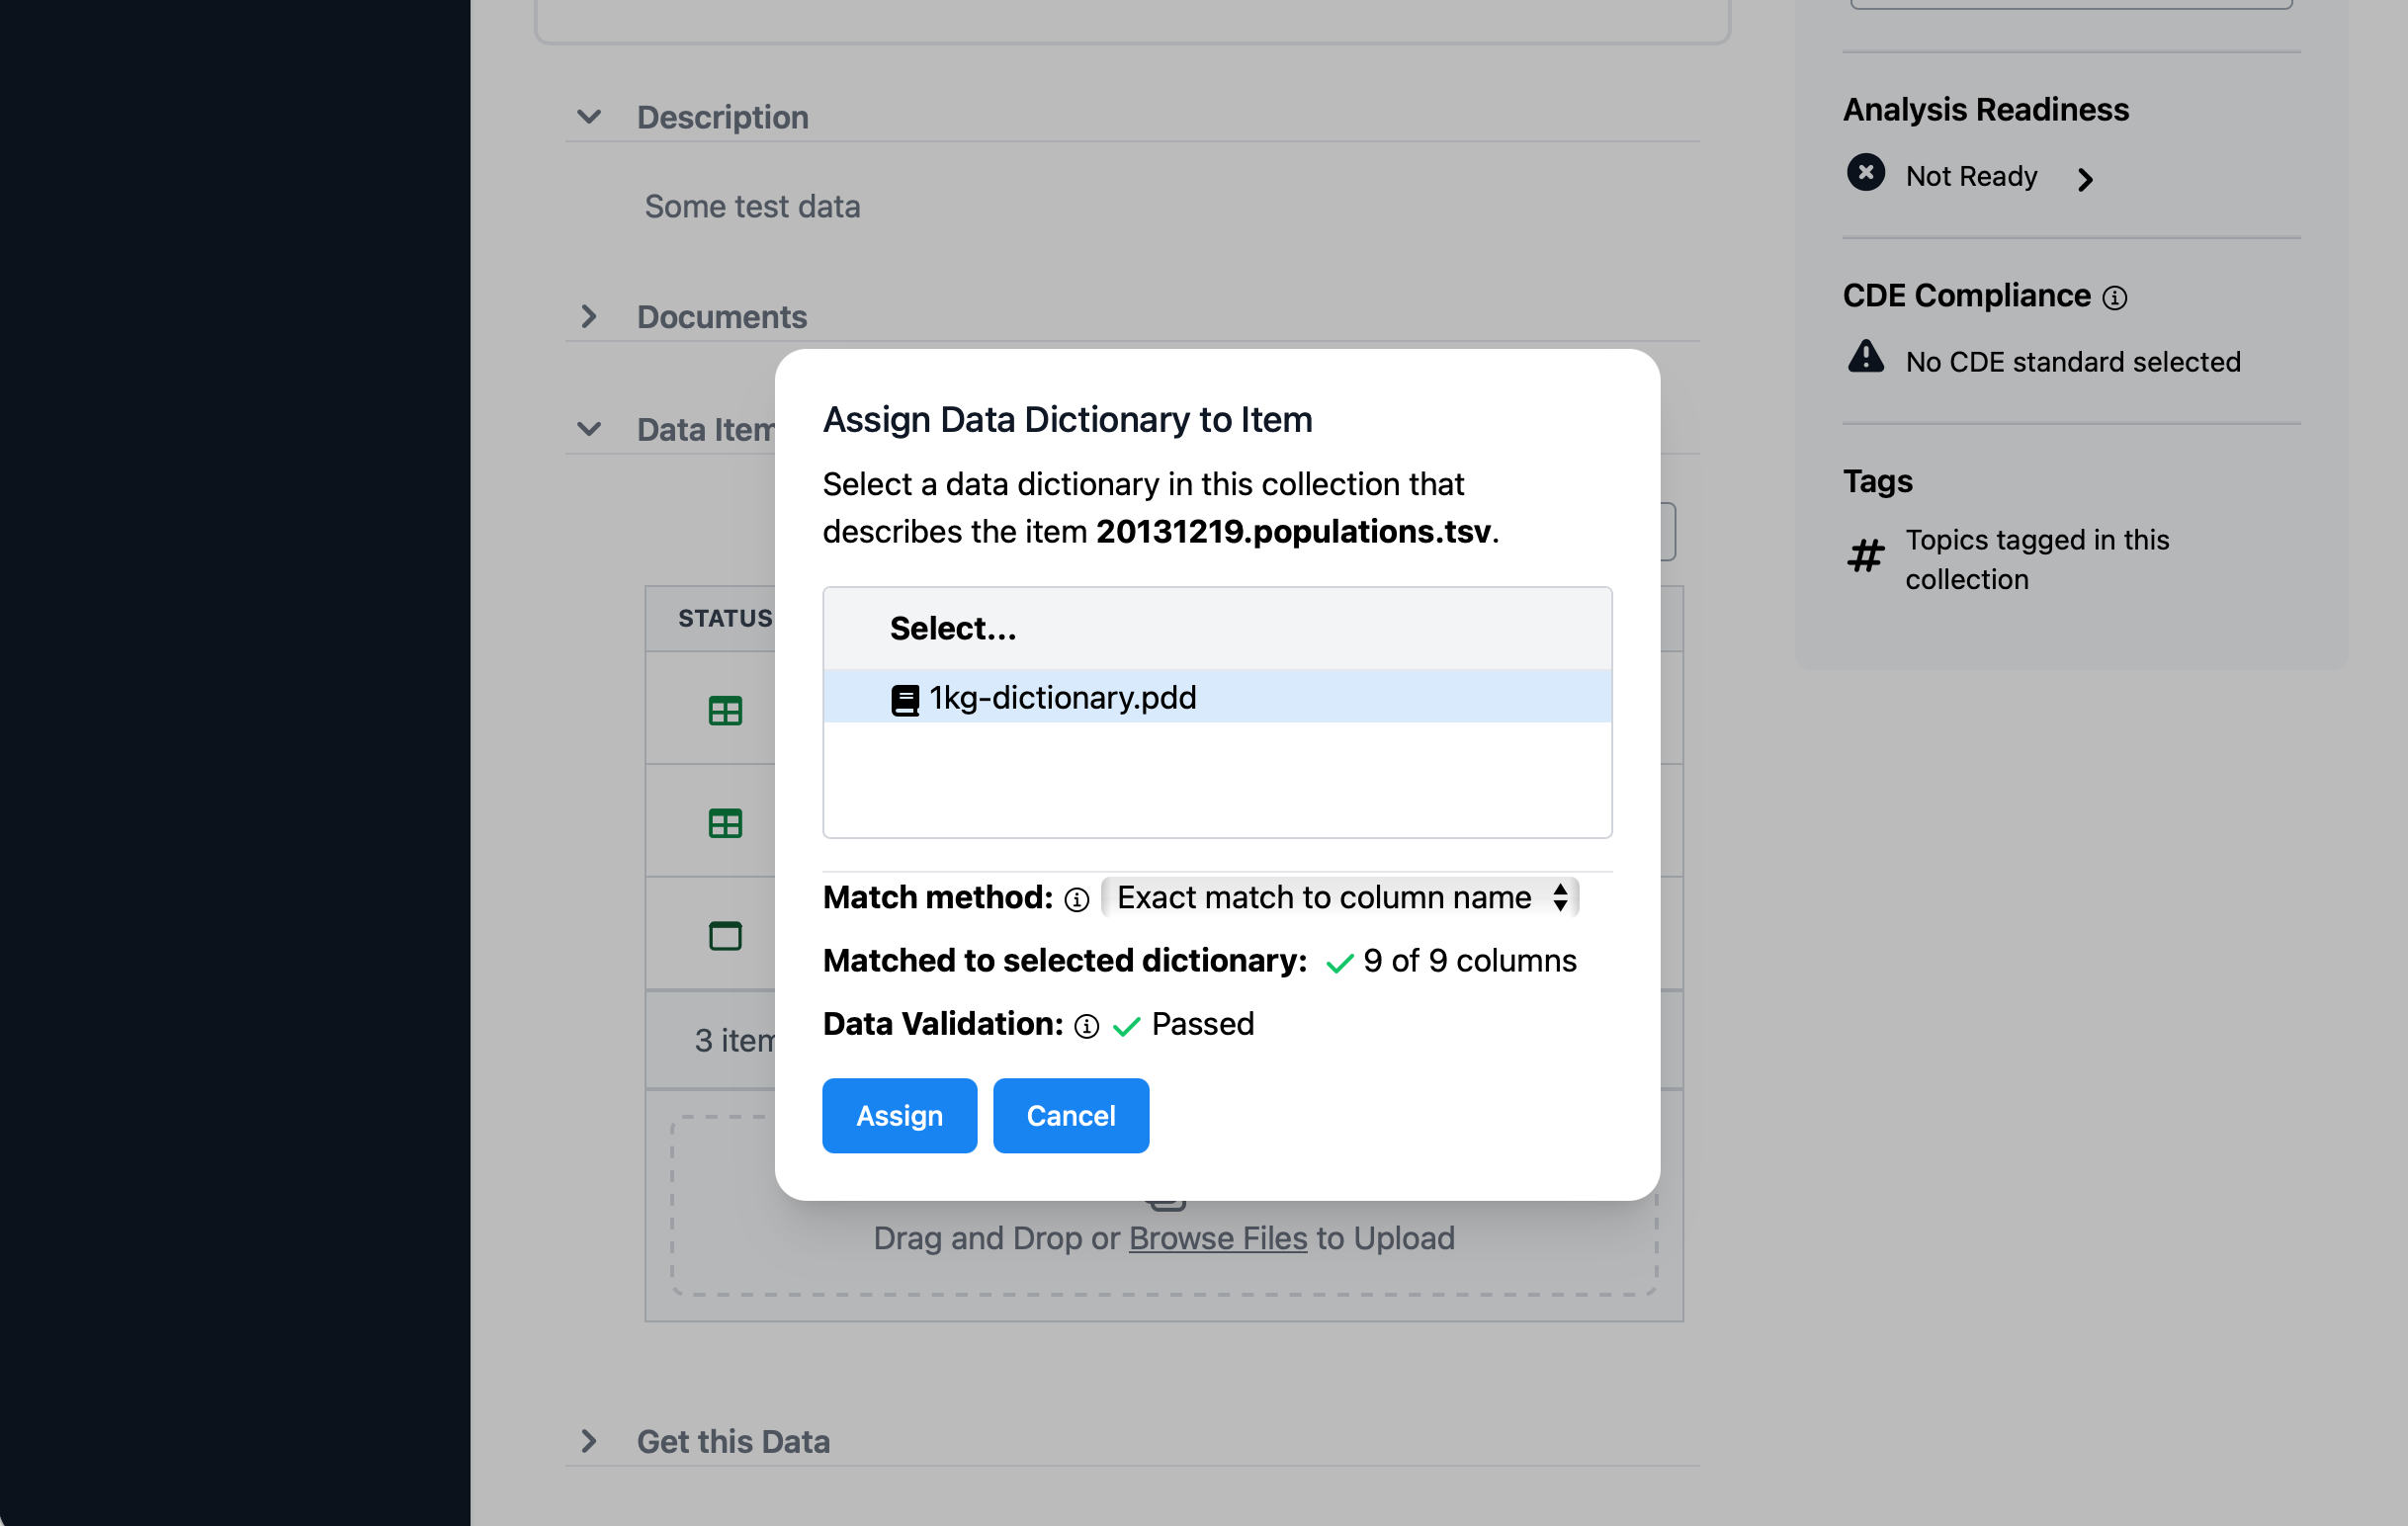
In this dialog, you can configure the method of matching the dictionary to the data item. It also reports how many columns were matched by the dictionary, and whether there were any data validation errors. For this example, simply click Assign to continue.
Delfini data elements contain permissible value definitions which are used by the system to report any mismatch between the expected data defined in the dictionary and the actual data to which the dictionary or CDE has been assigned. The validation system is only used to inform users of the potential for issues with data element mapping, and validation failures do not prevent the use of the data for downstream operations.
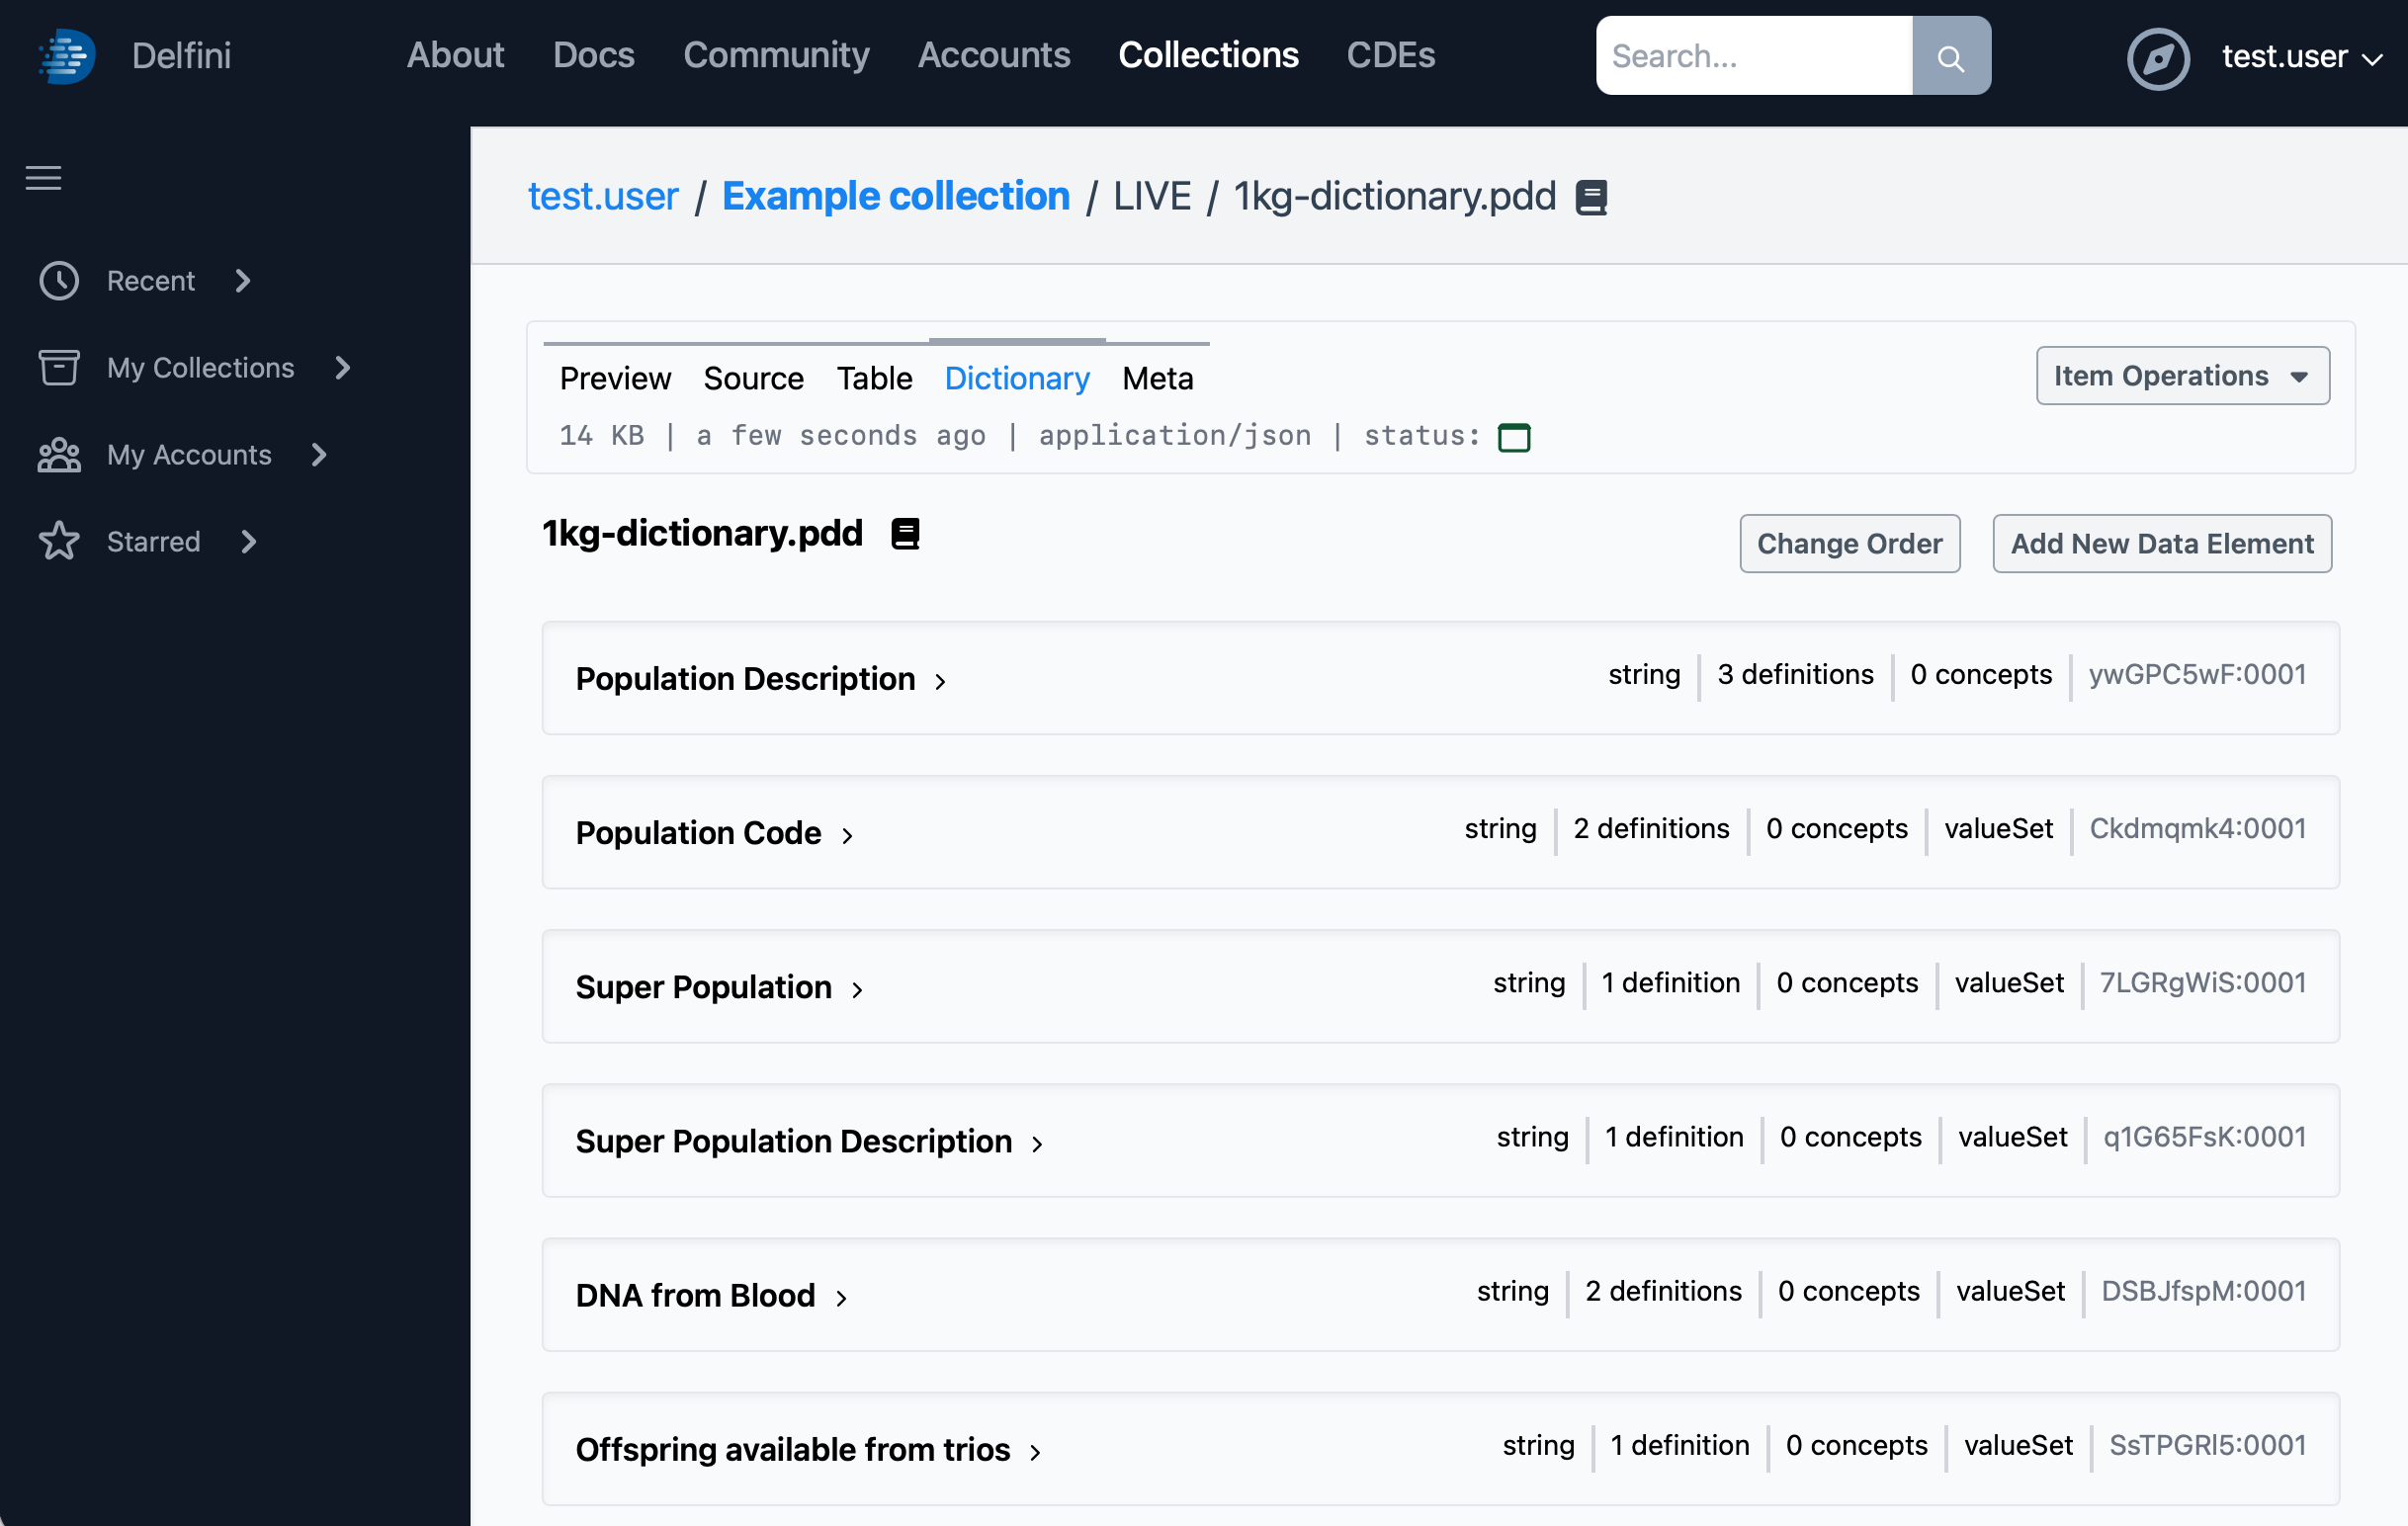
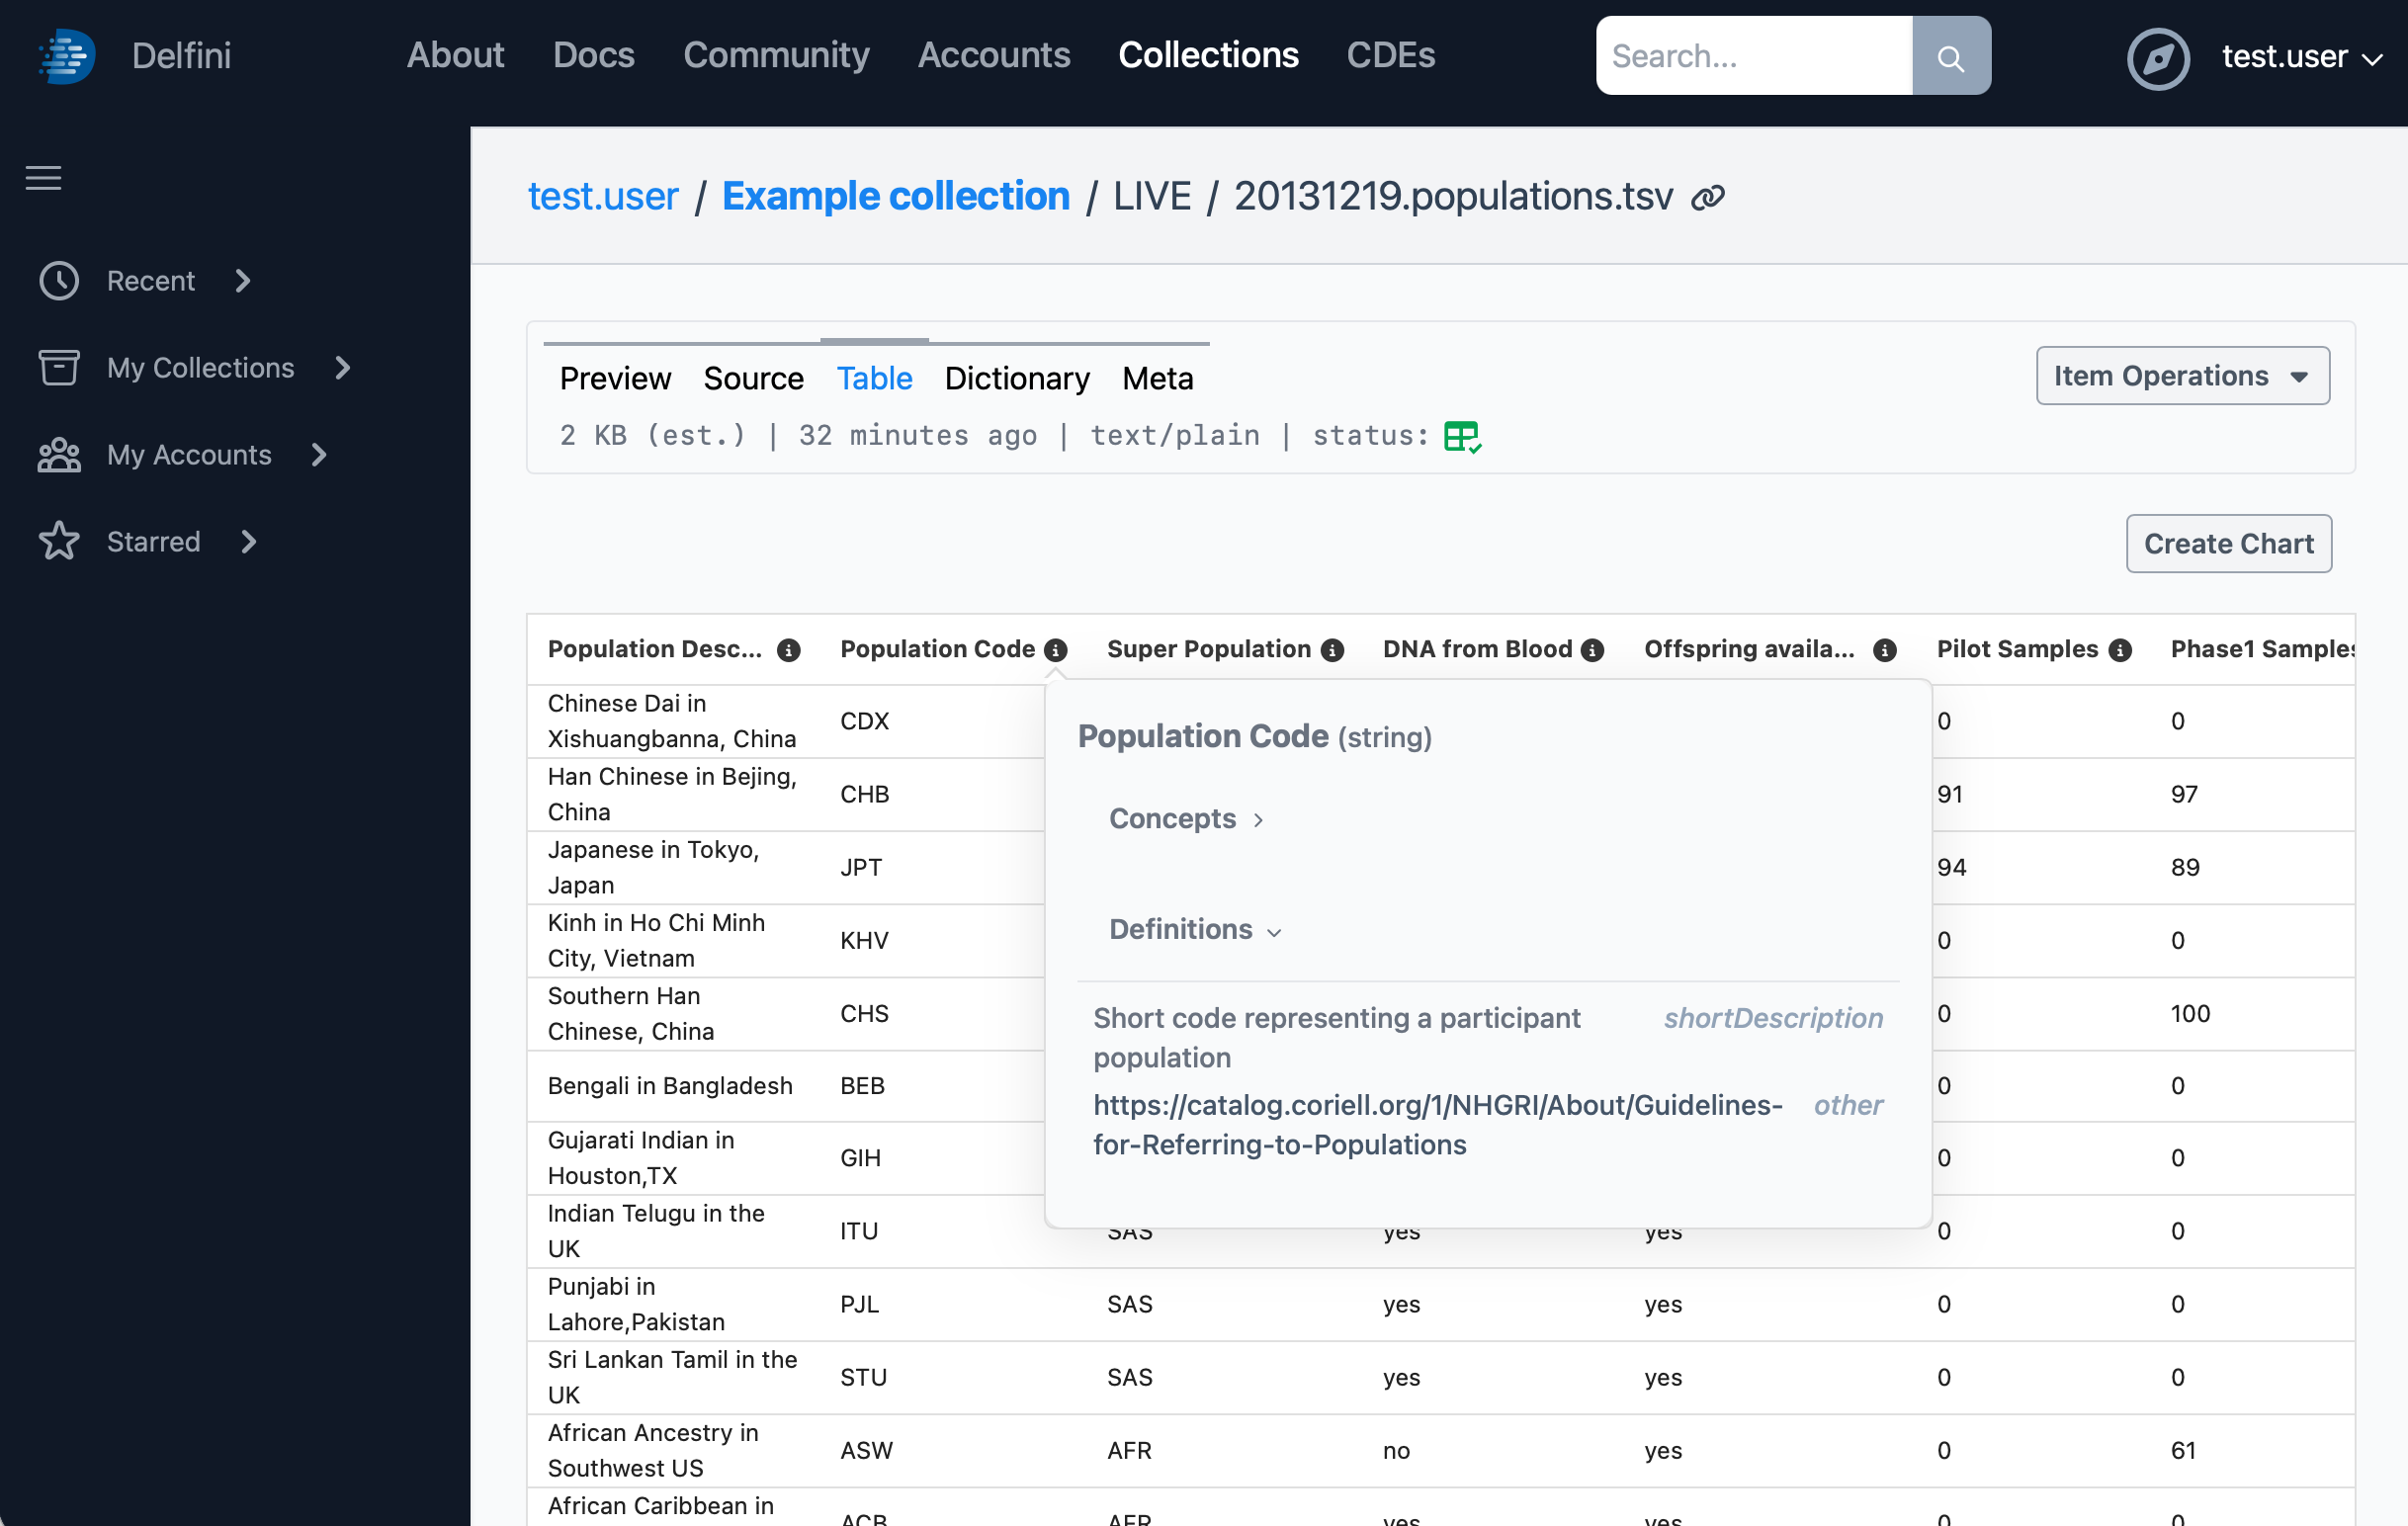
Once assignment is complete, click on the 20131219.populations.tsv
data item to view the tabular data. You will see (i) icons next to
each column header; clicking on one of these icons will open a popup
with core information from the associated data element from the
dictionary.
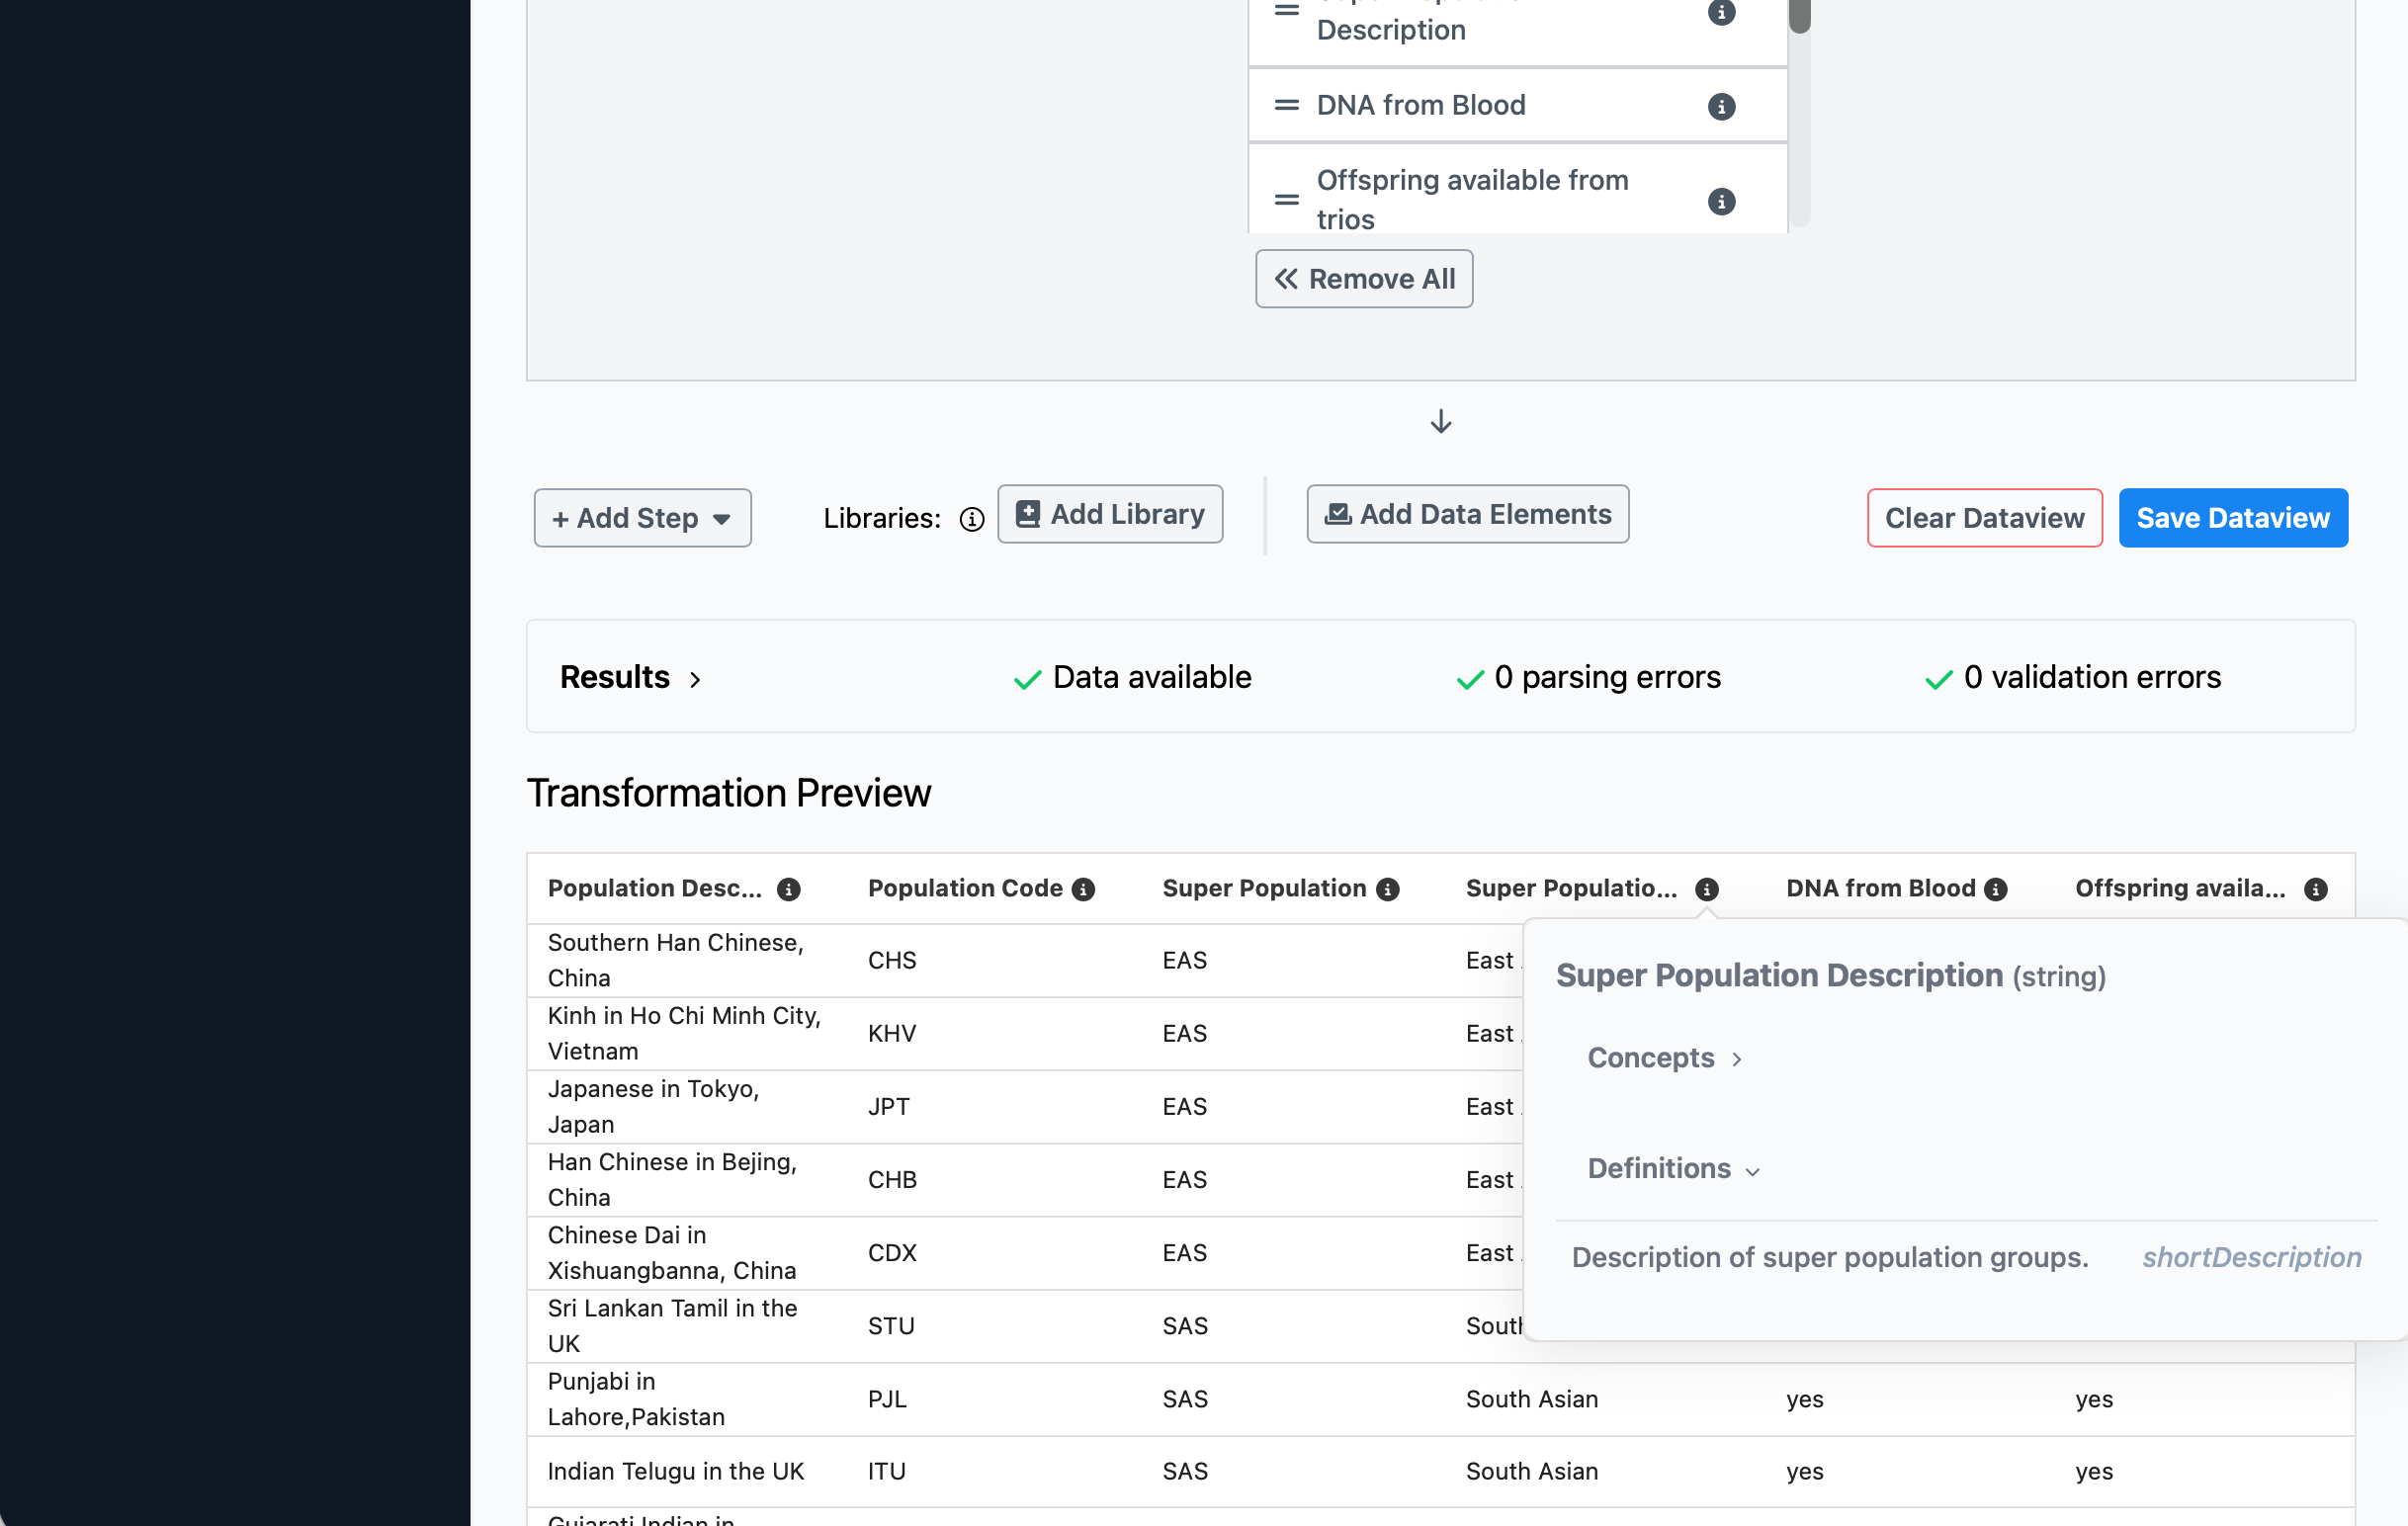
At this point, returning to the collection main page to view the dataview created in the previous step will also show data elements assigned to columns from the dataview’s source data. Delfini automatically tracks column-level relationships through dataviews, and propagates any data element assignments from original data that was not modified.
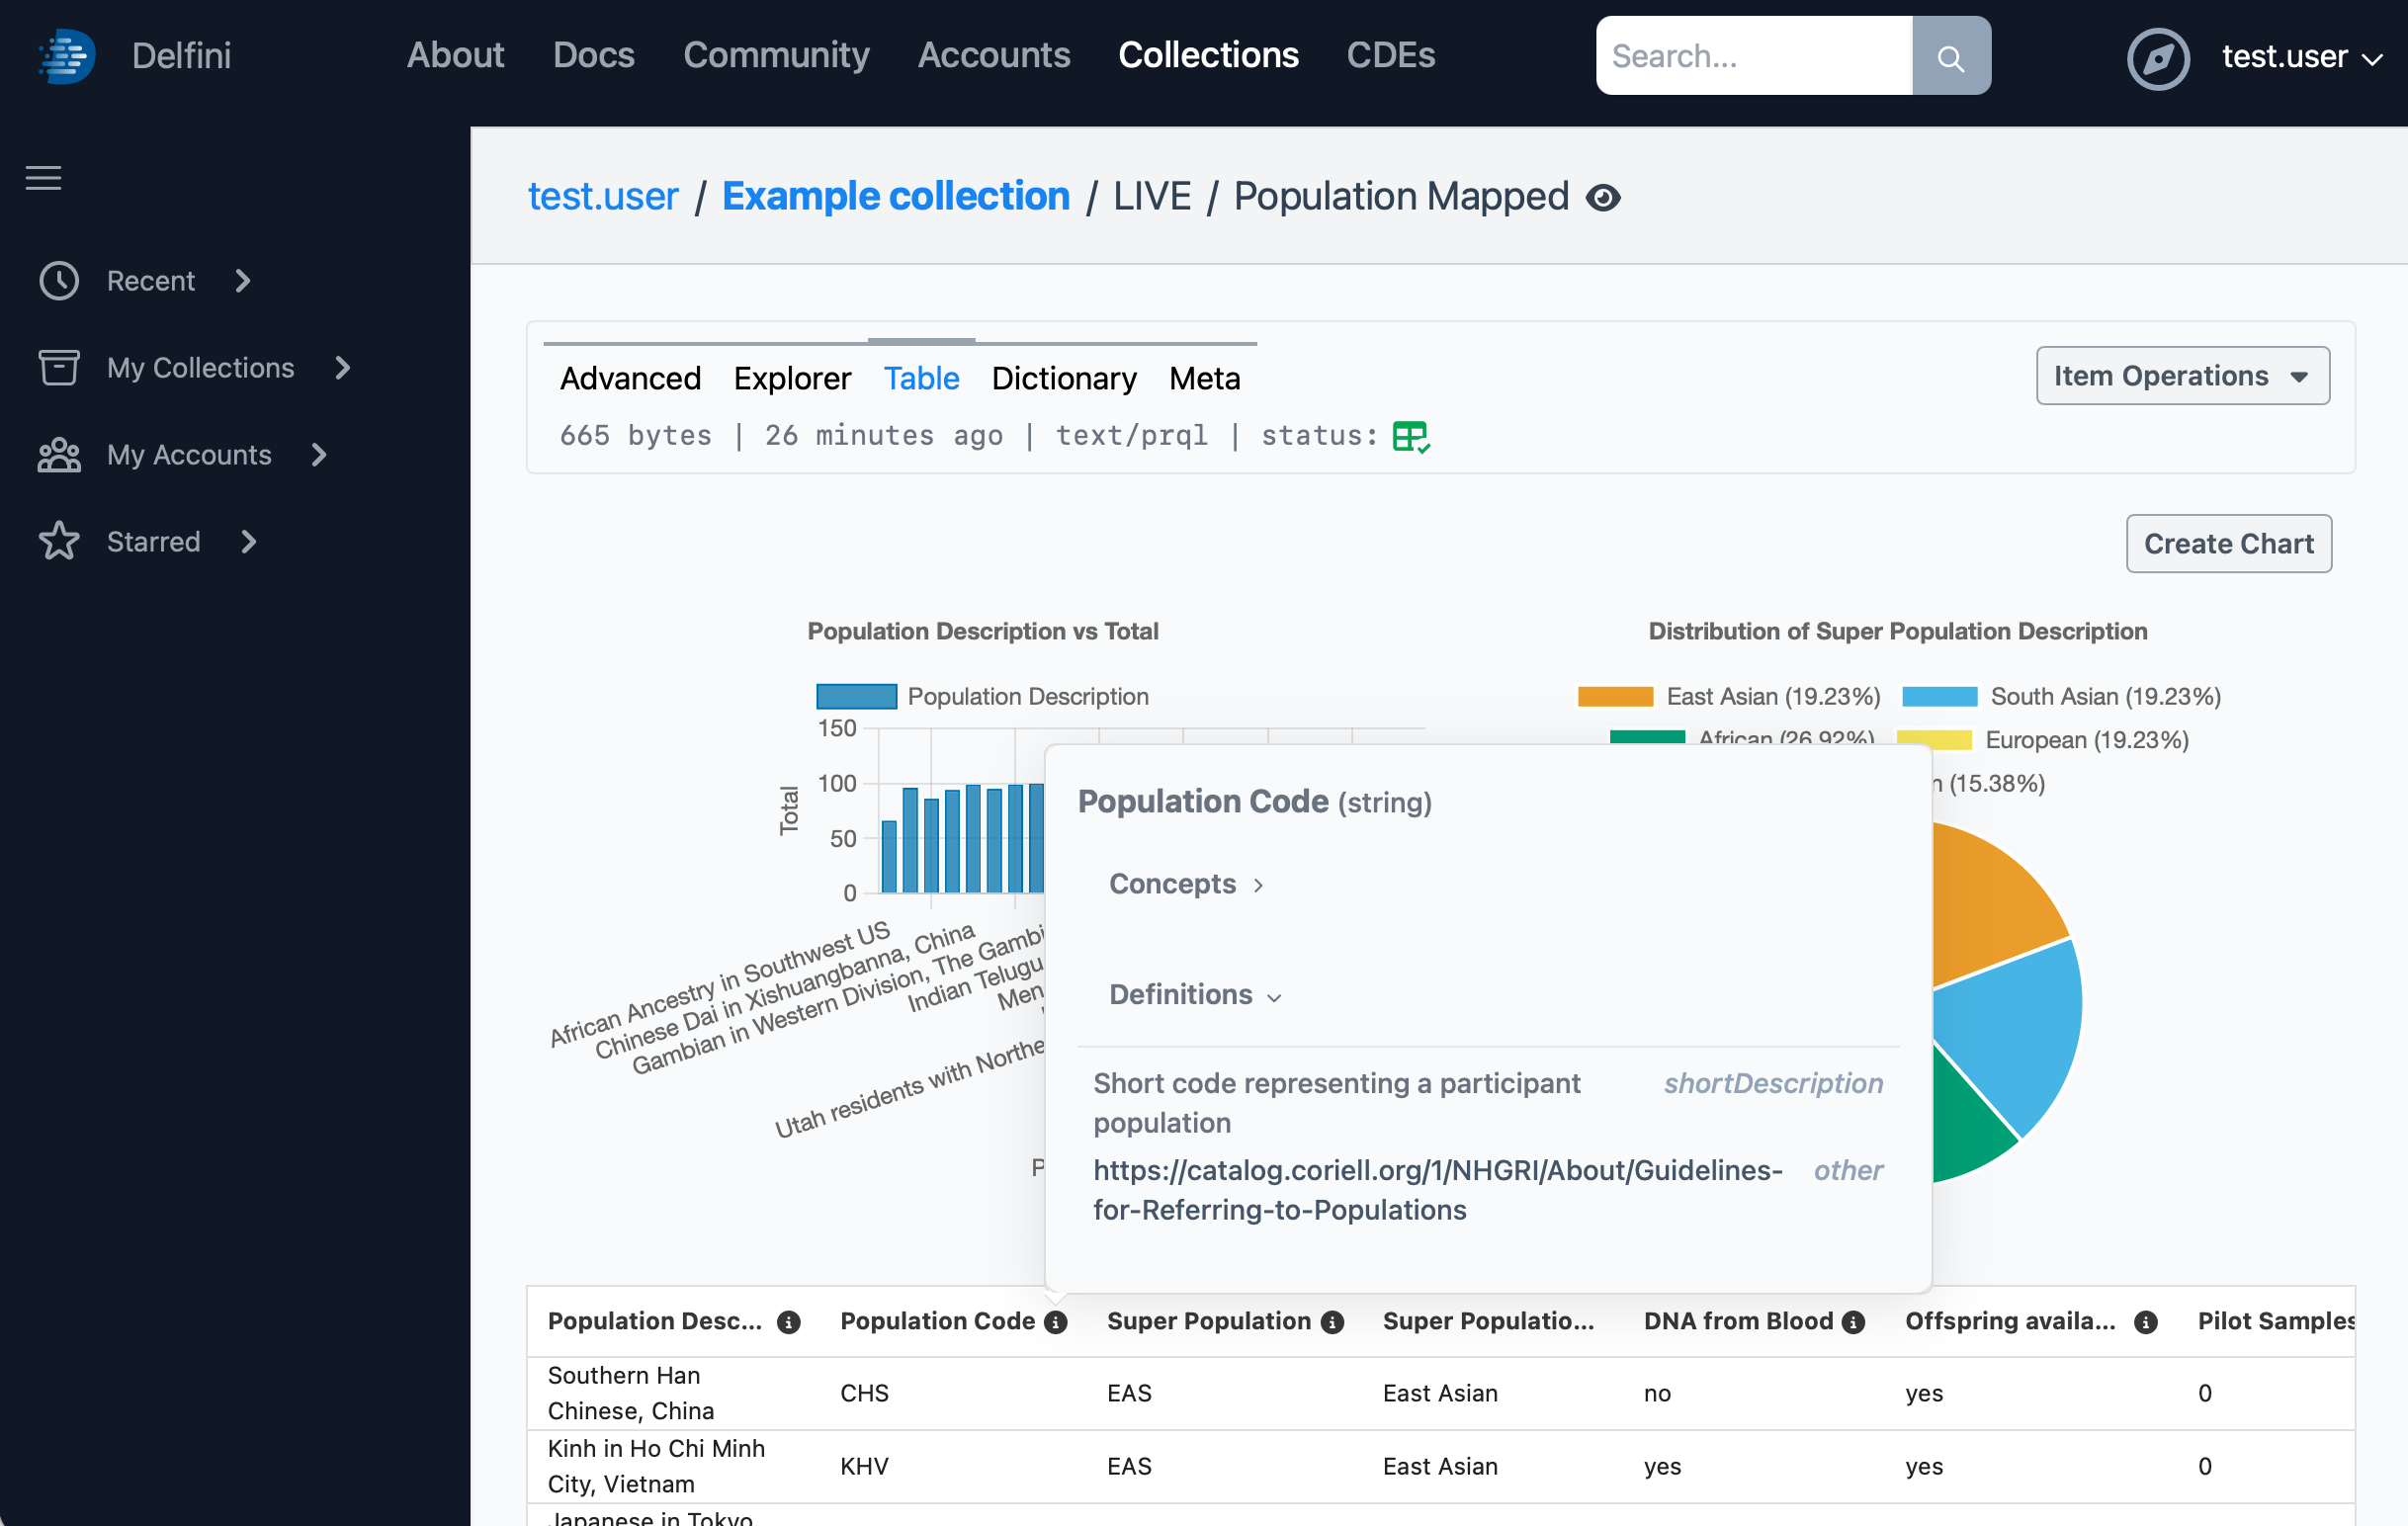
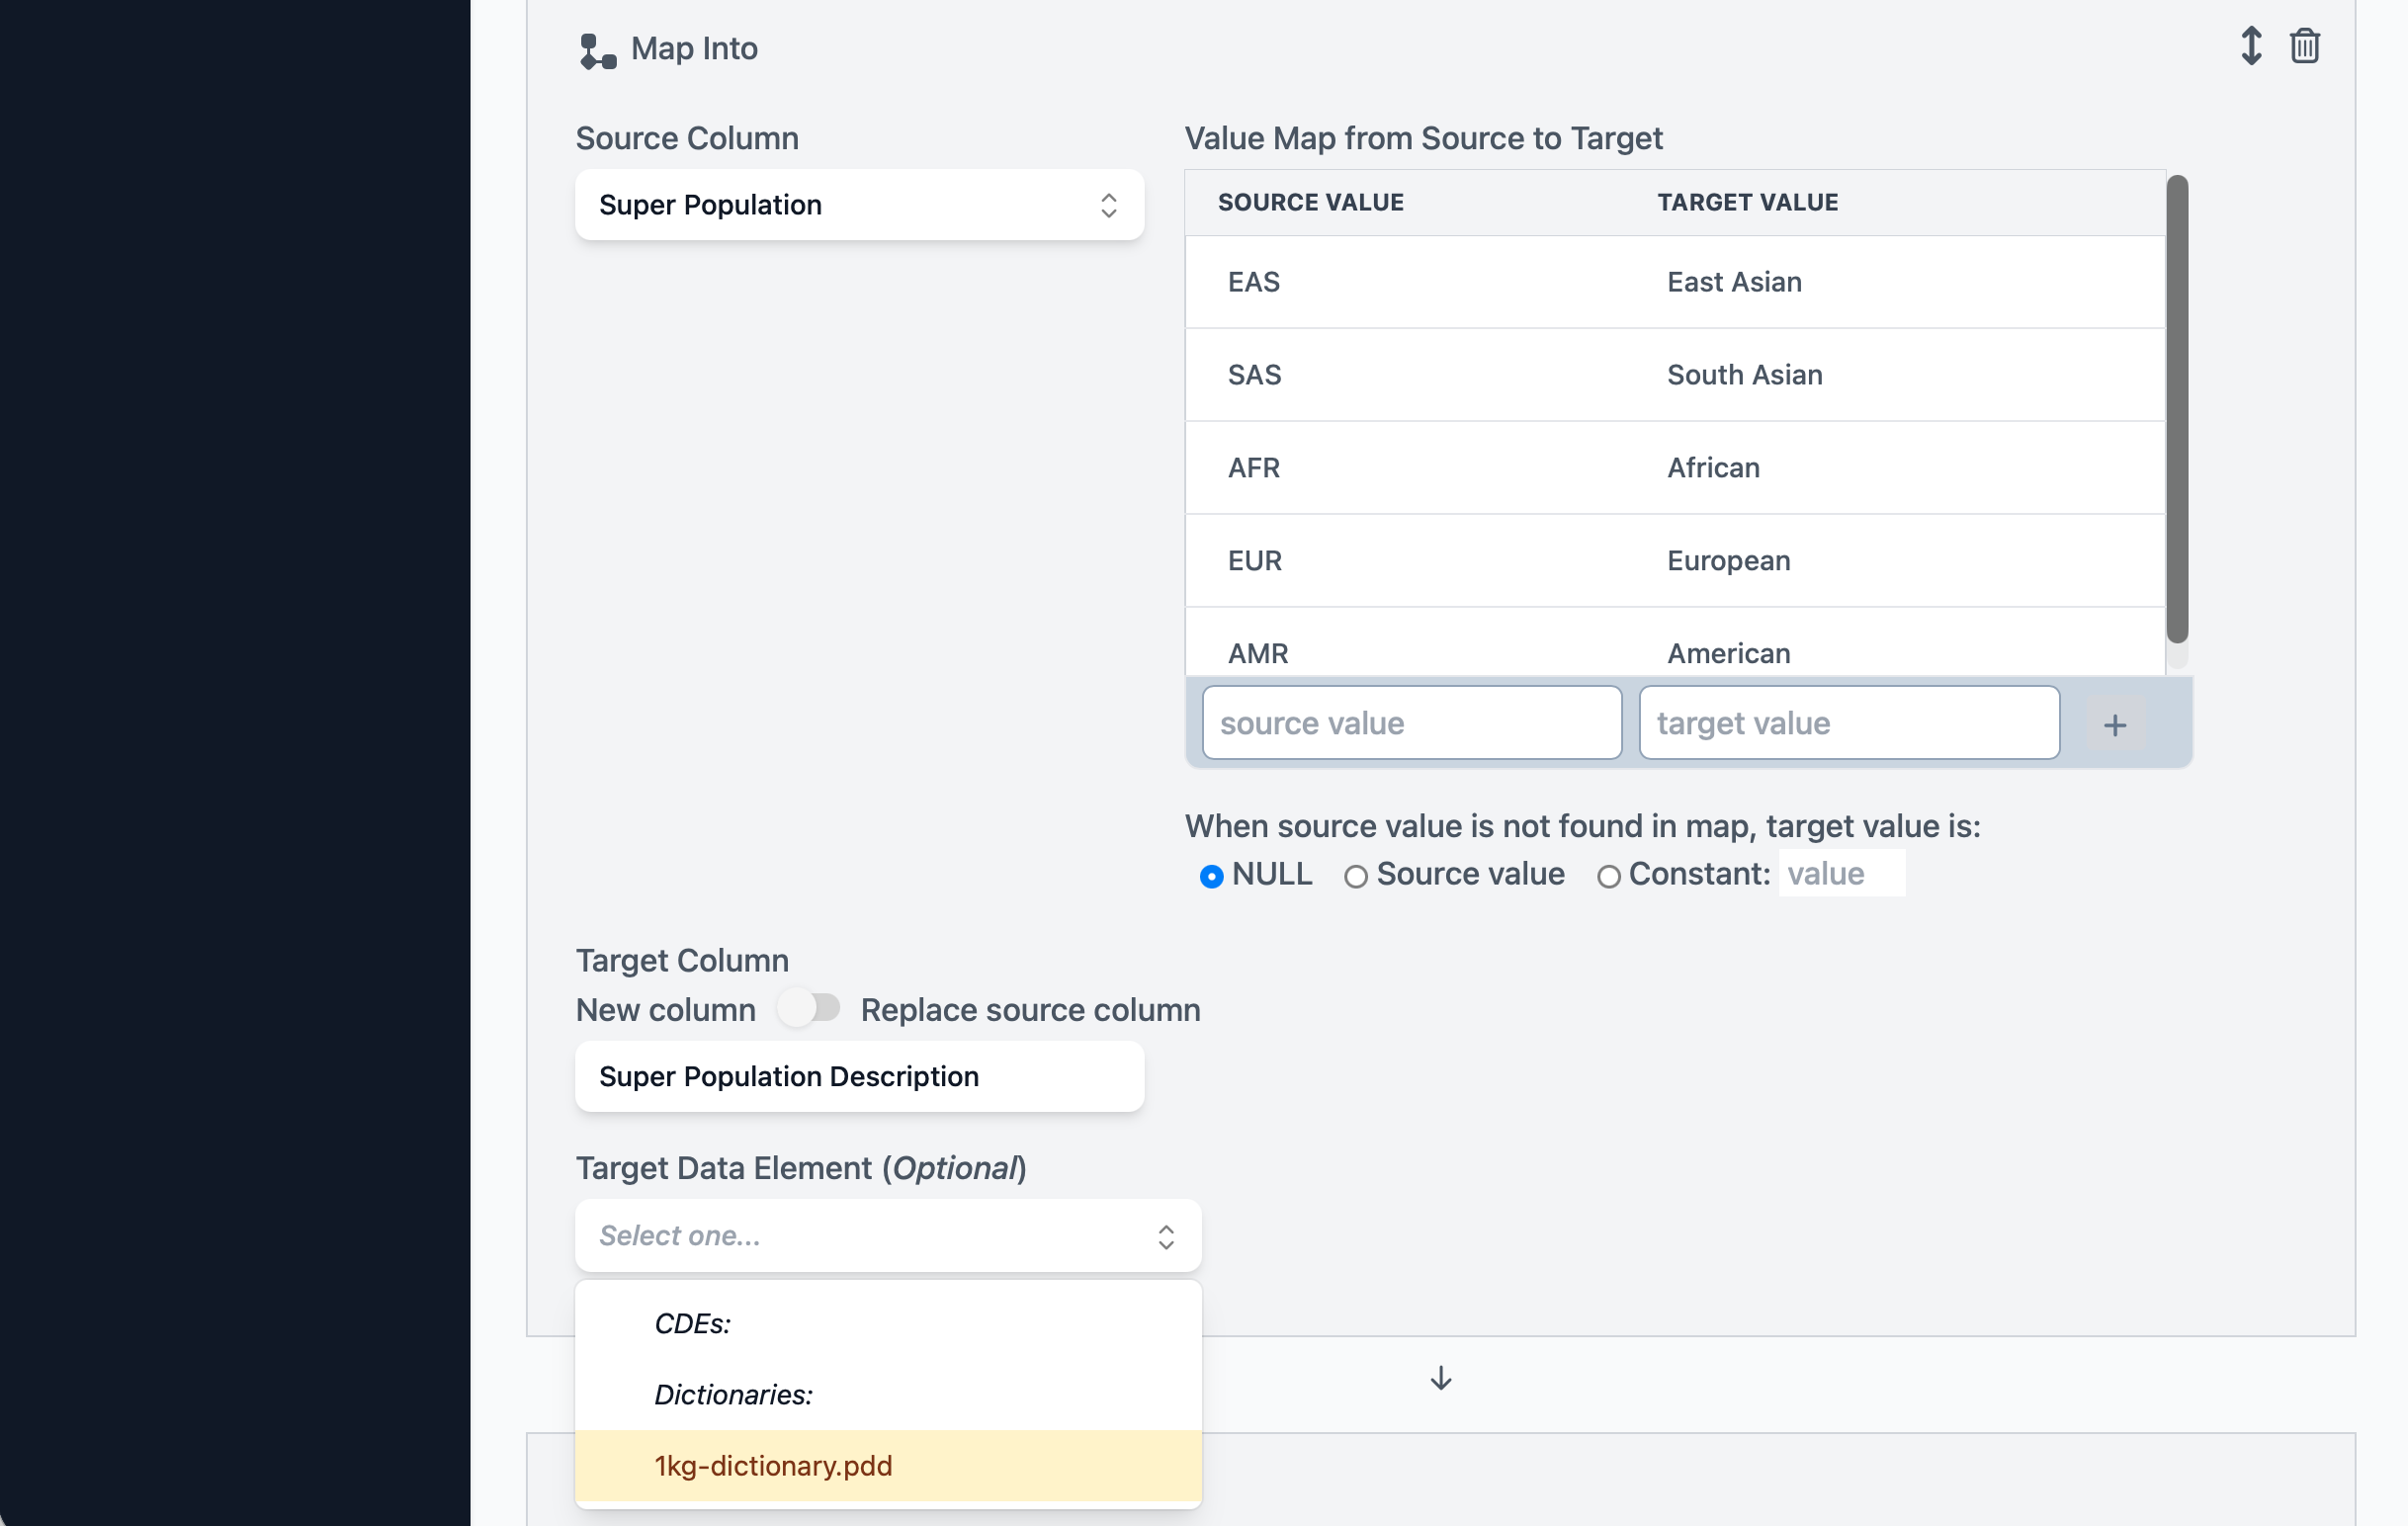
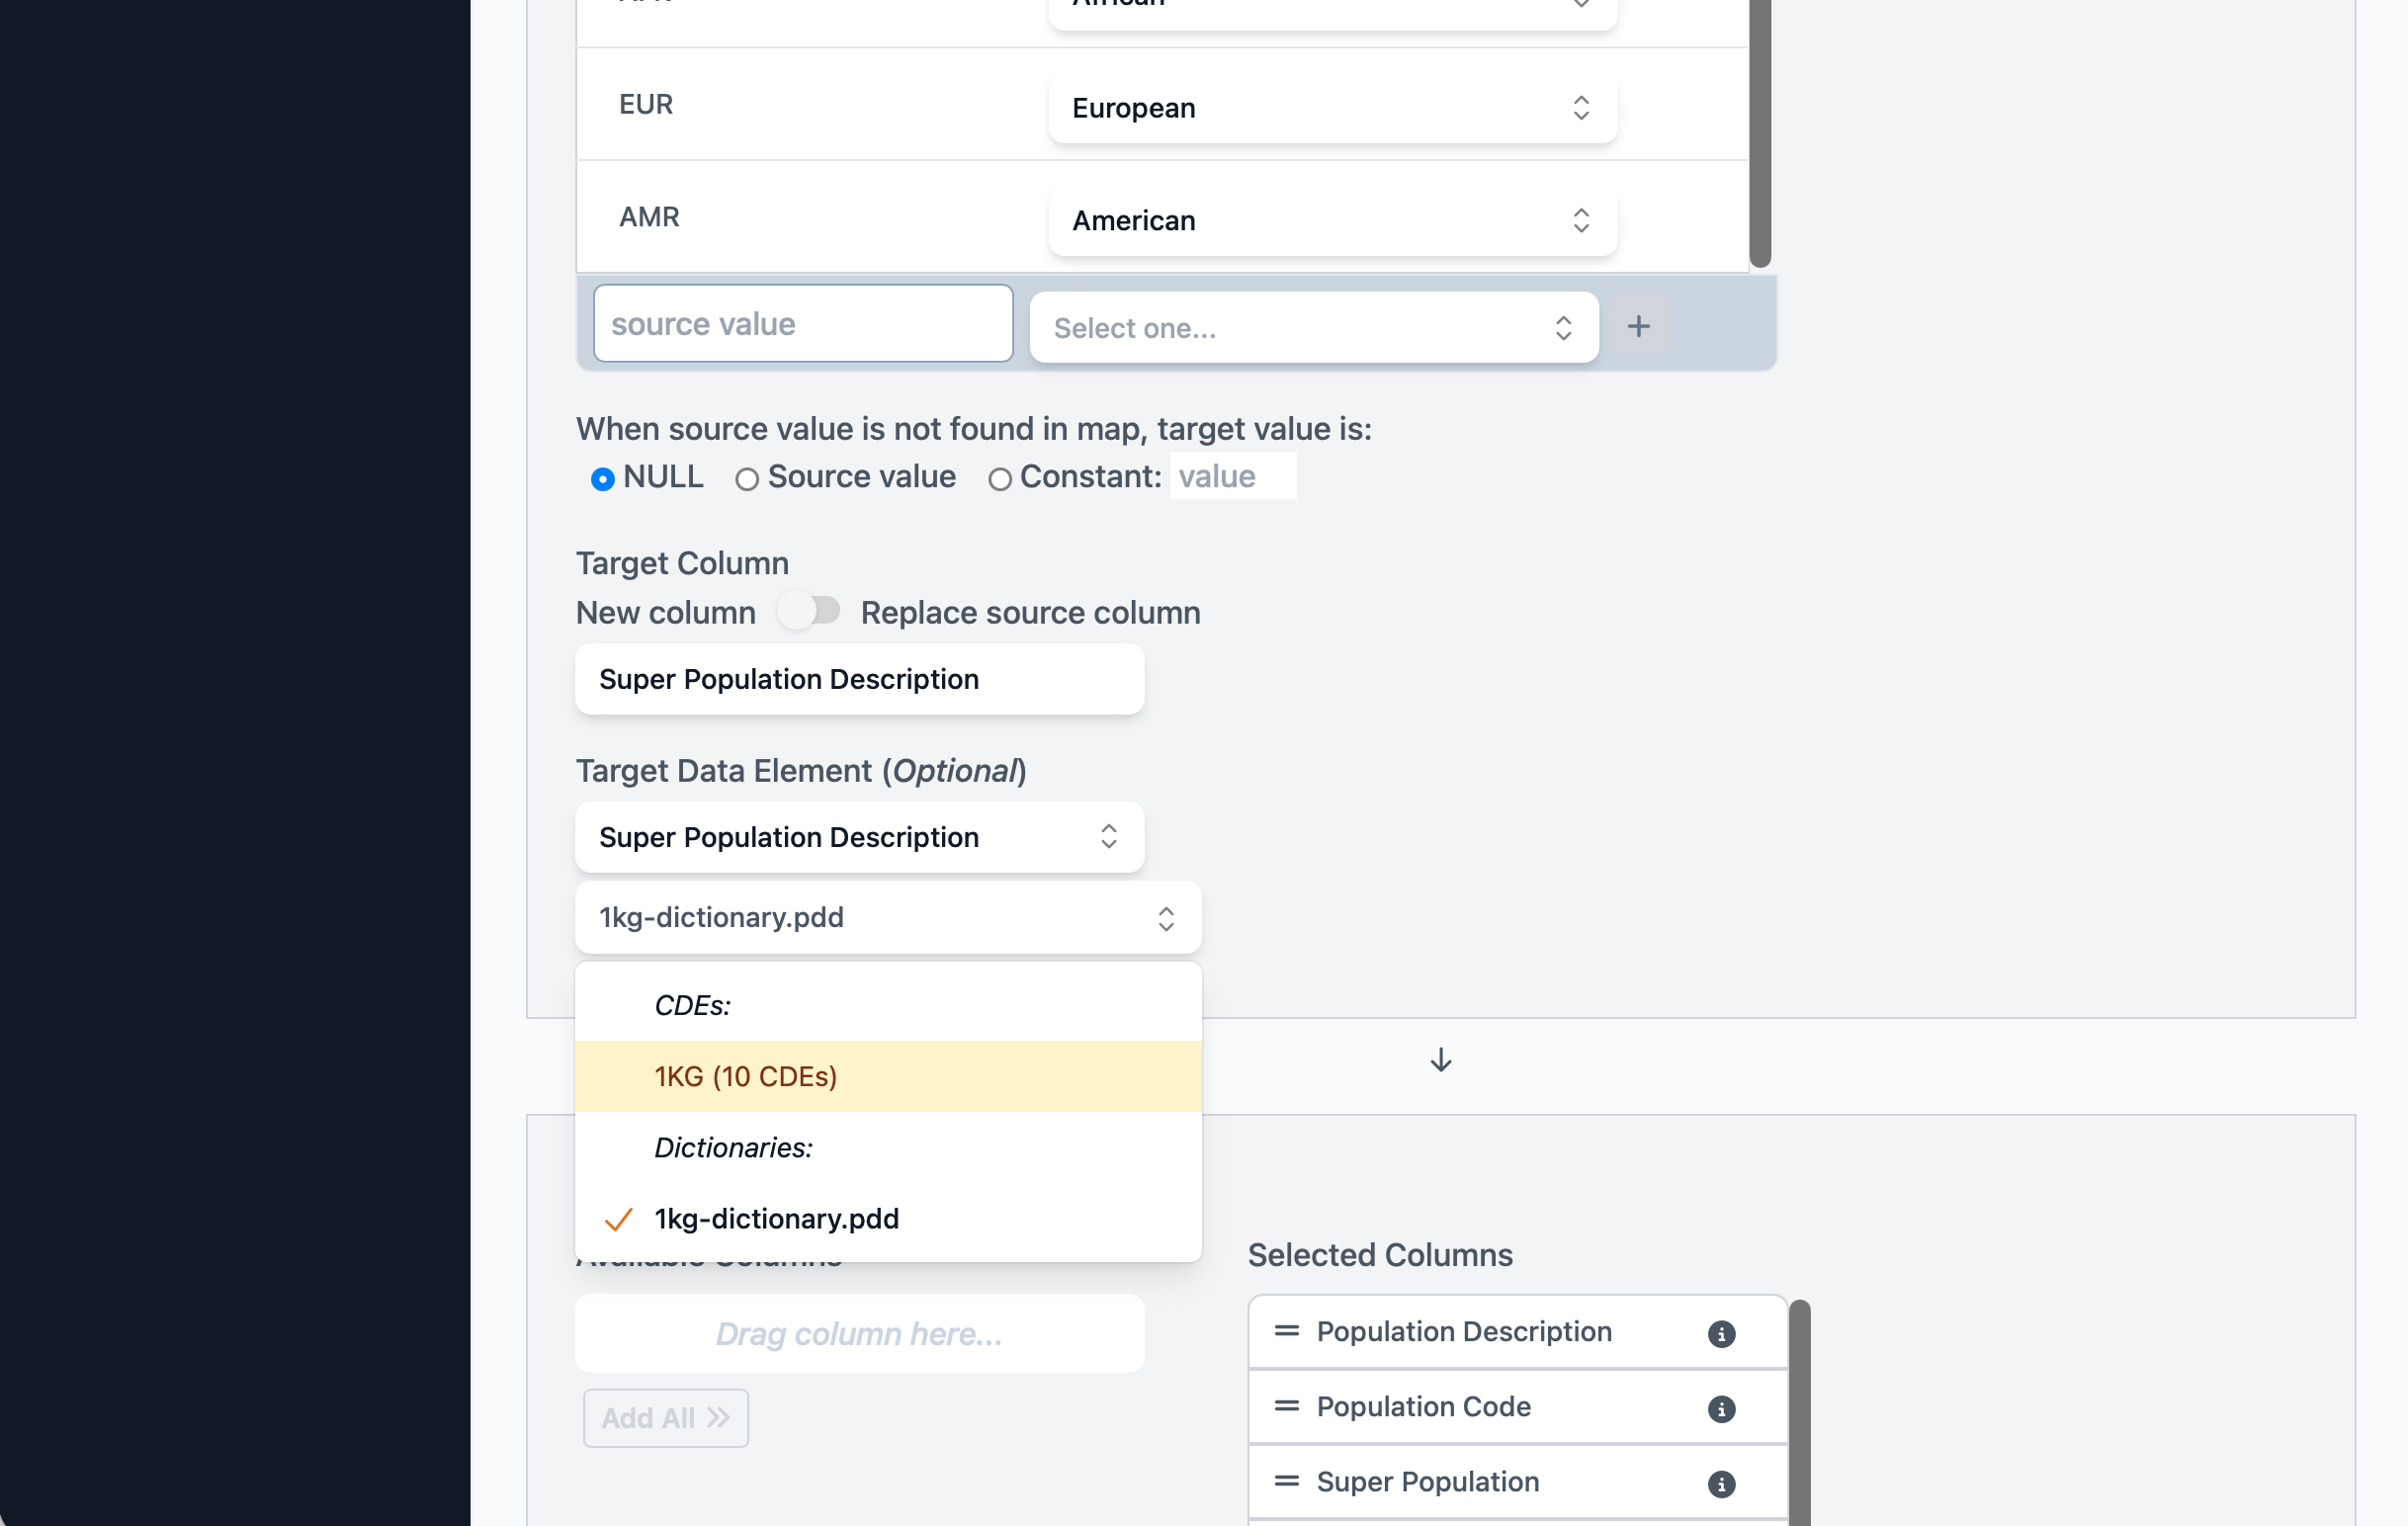
The only column not showing a data element assigned is Super Population Description; this is because the dataview step that created this column was not aware of this data element when it was set up. To fix this and assign the final data element, we will edit the dataview by clicking on the Explorer tab at the top of the screen and locating the Map Into step we added earlier.
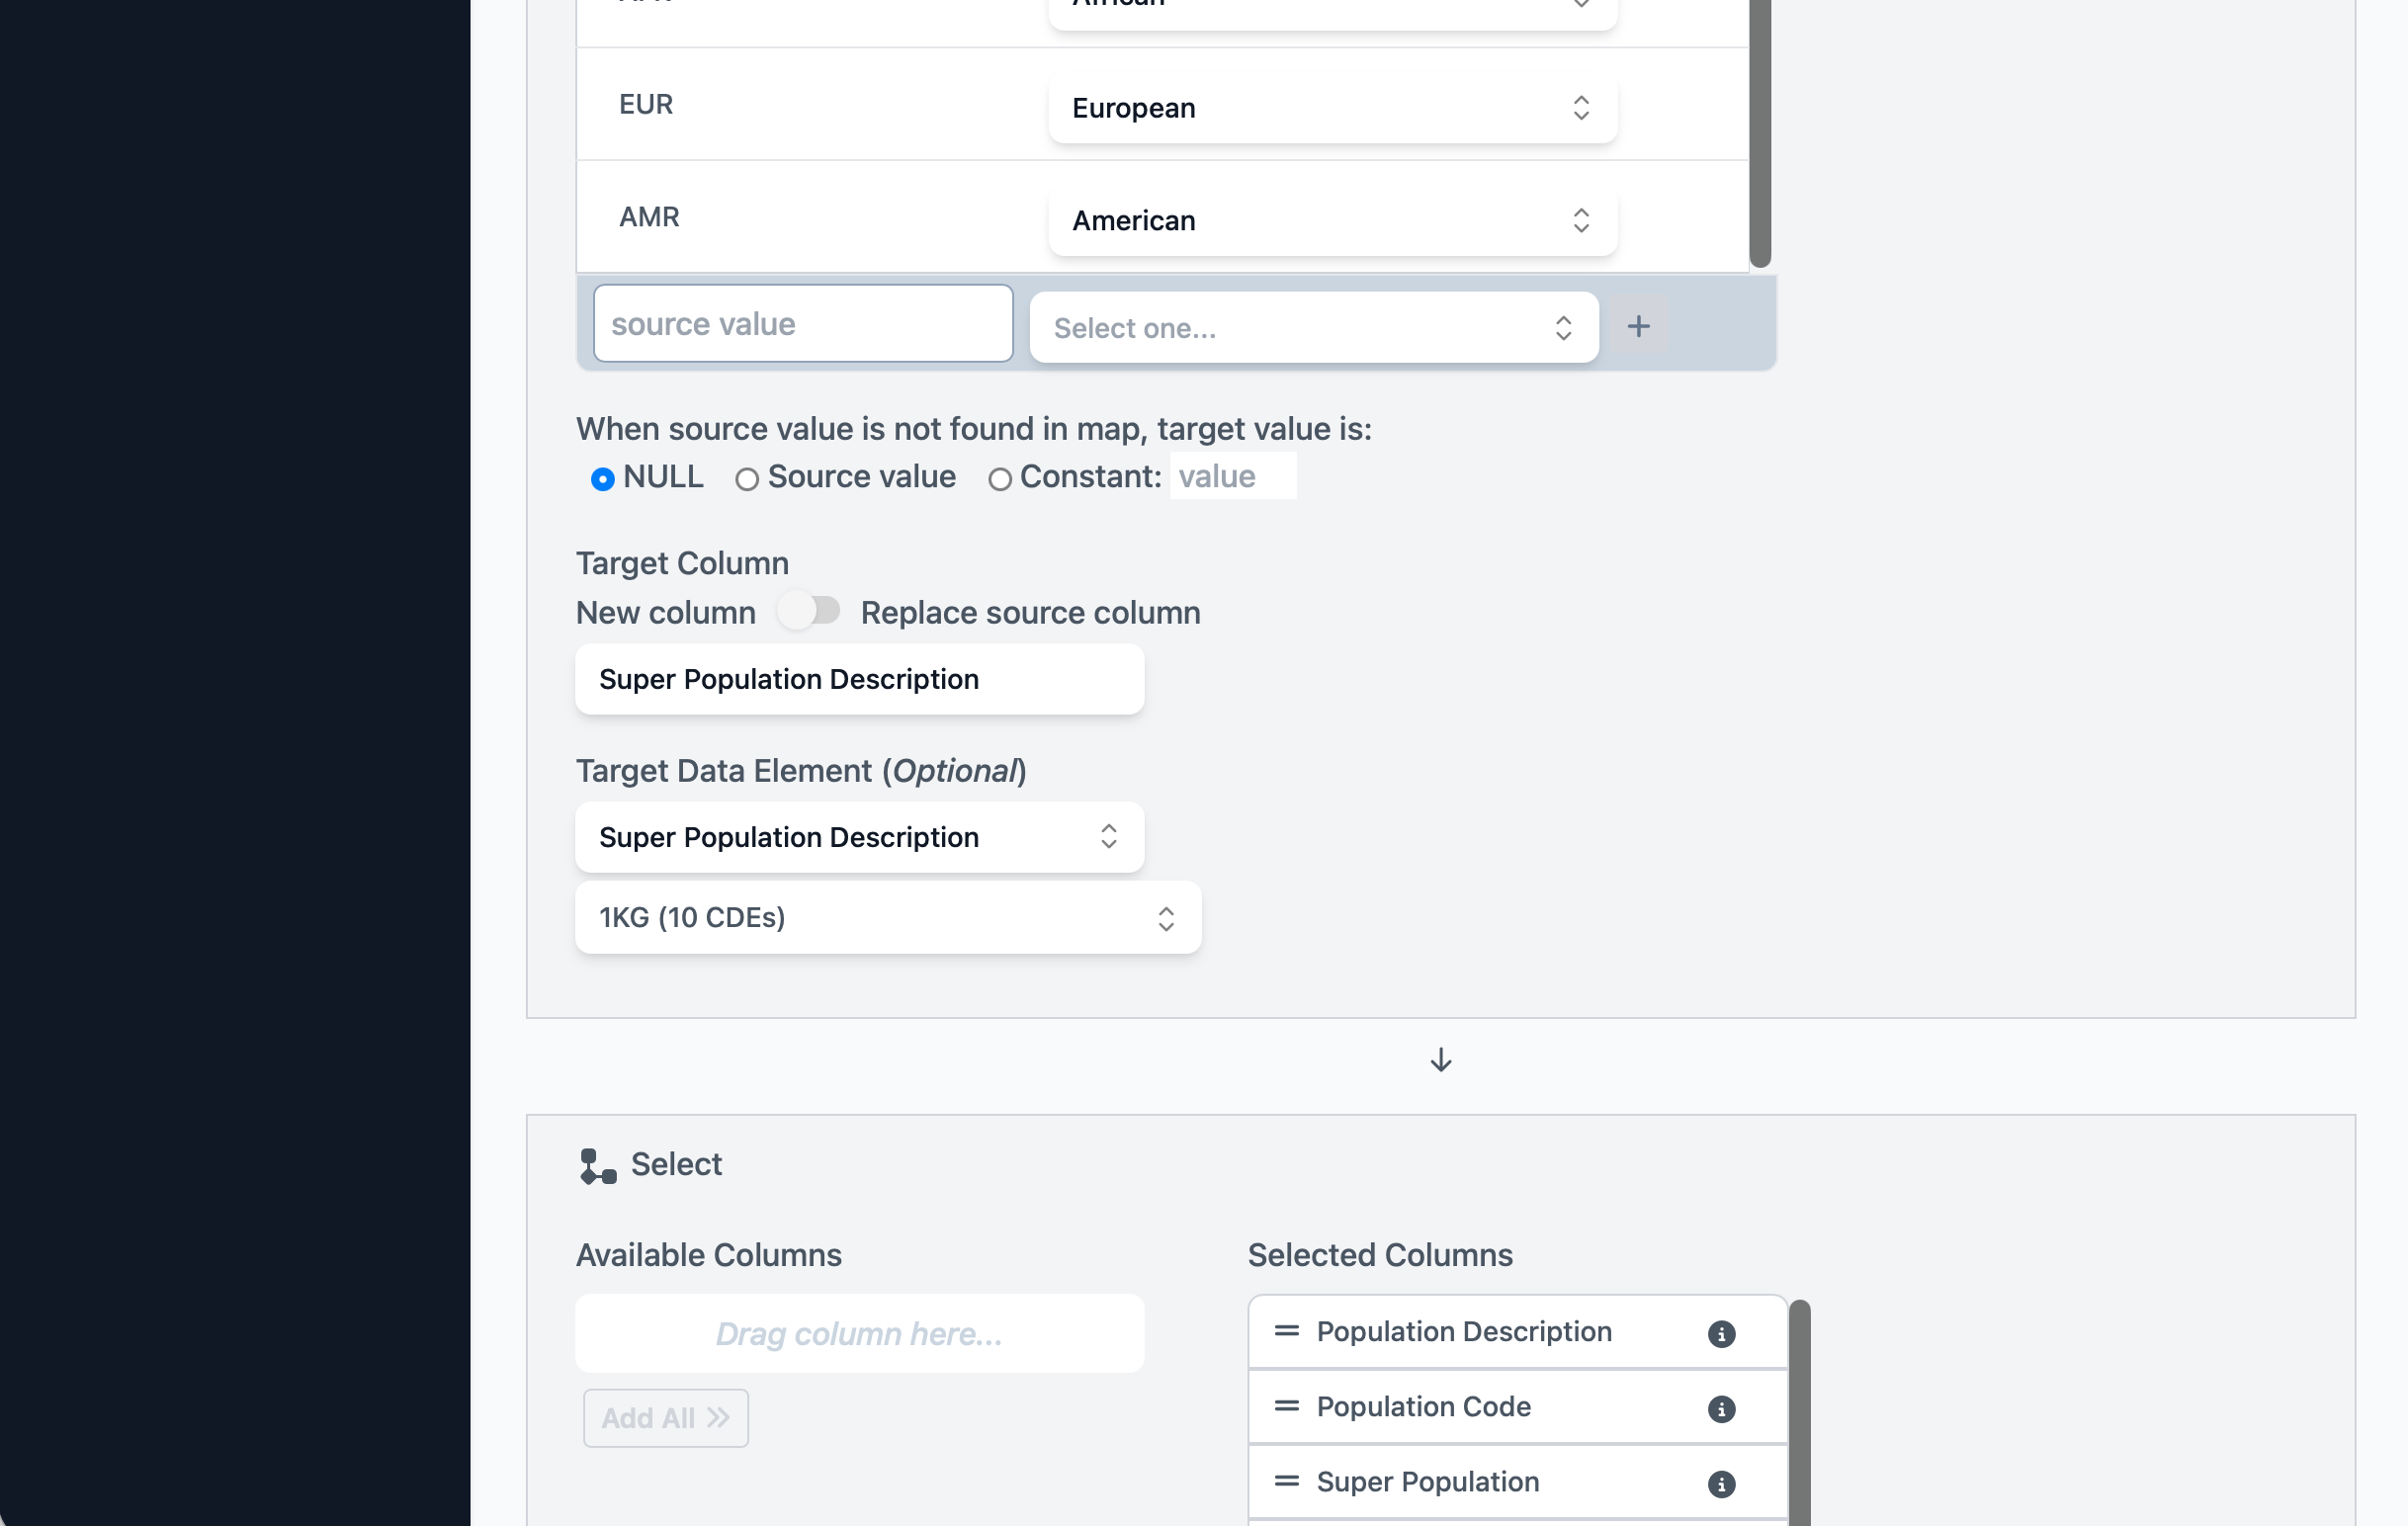
Using the Target Data Element dropdown, first select the 1kg-dictionary.pdd dictionary, then select the Super Population Description data element. You will note that the target value options in the Value Map have changed from free-text to dropdown selection boxes, since the selected data element contains a predefined set of allowed values. Finally, scroll down to view the table preview. Note that the Super Population Description column now has a data element assigned.
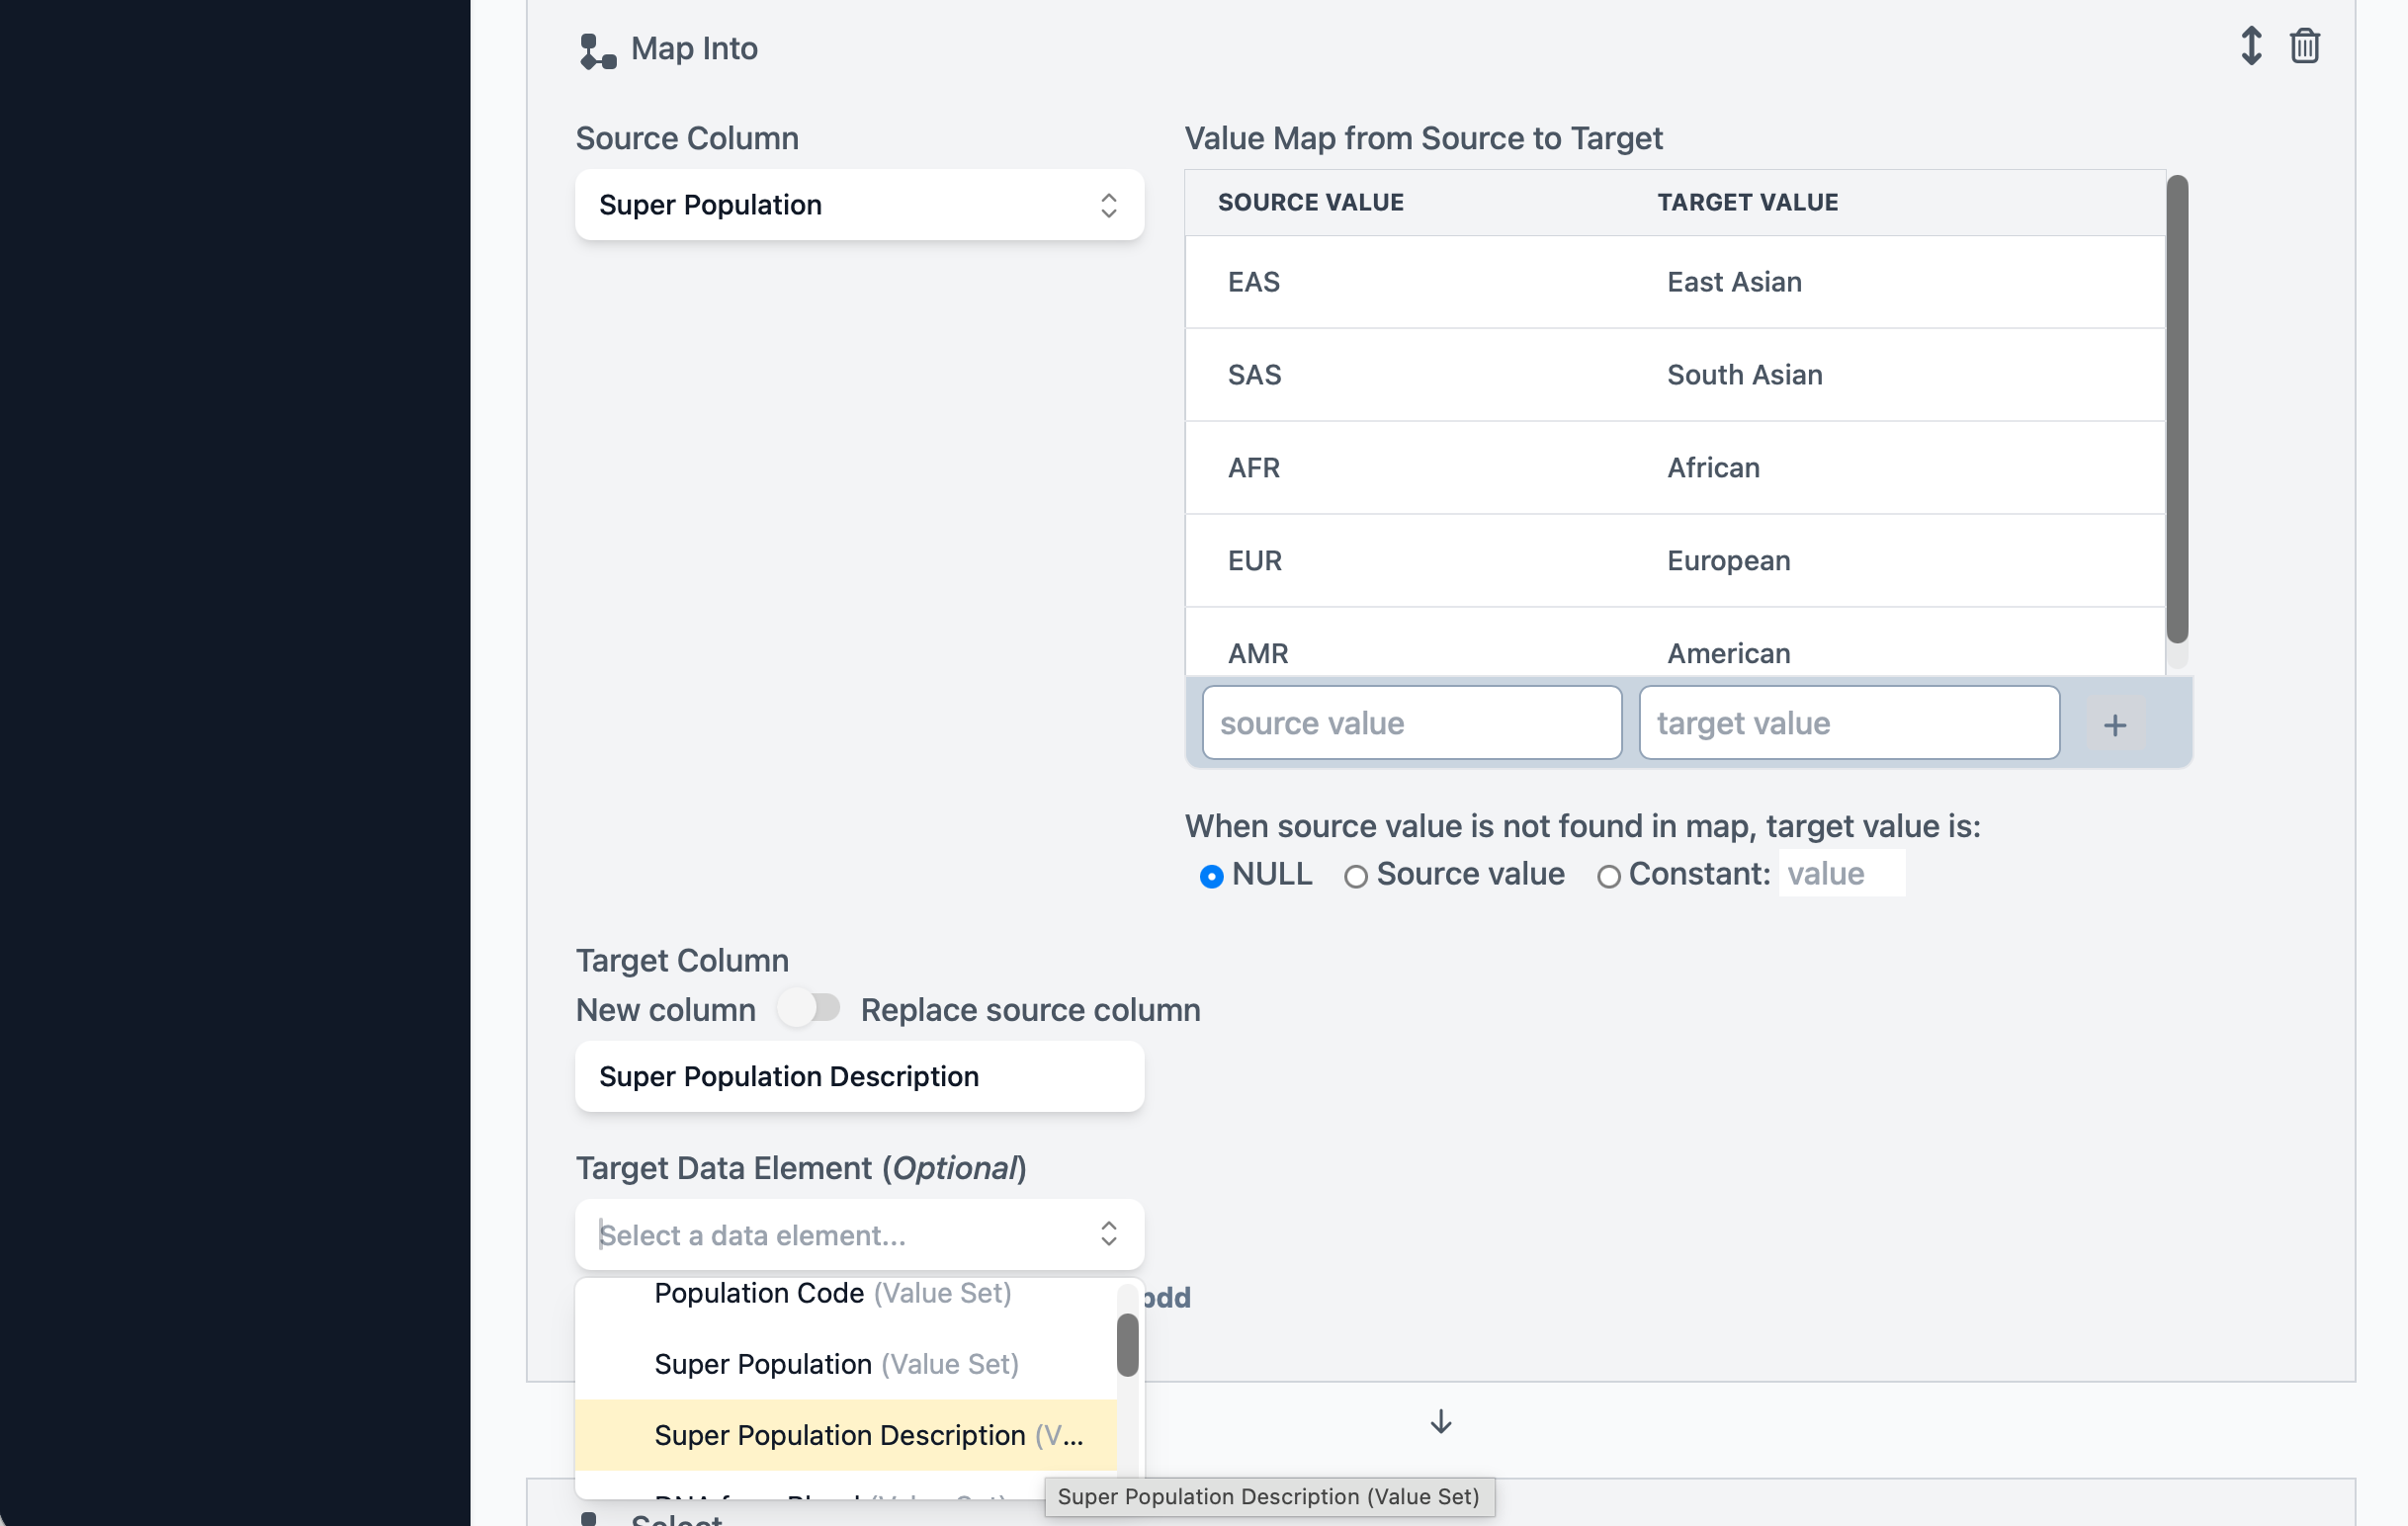
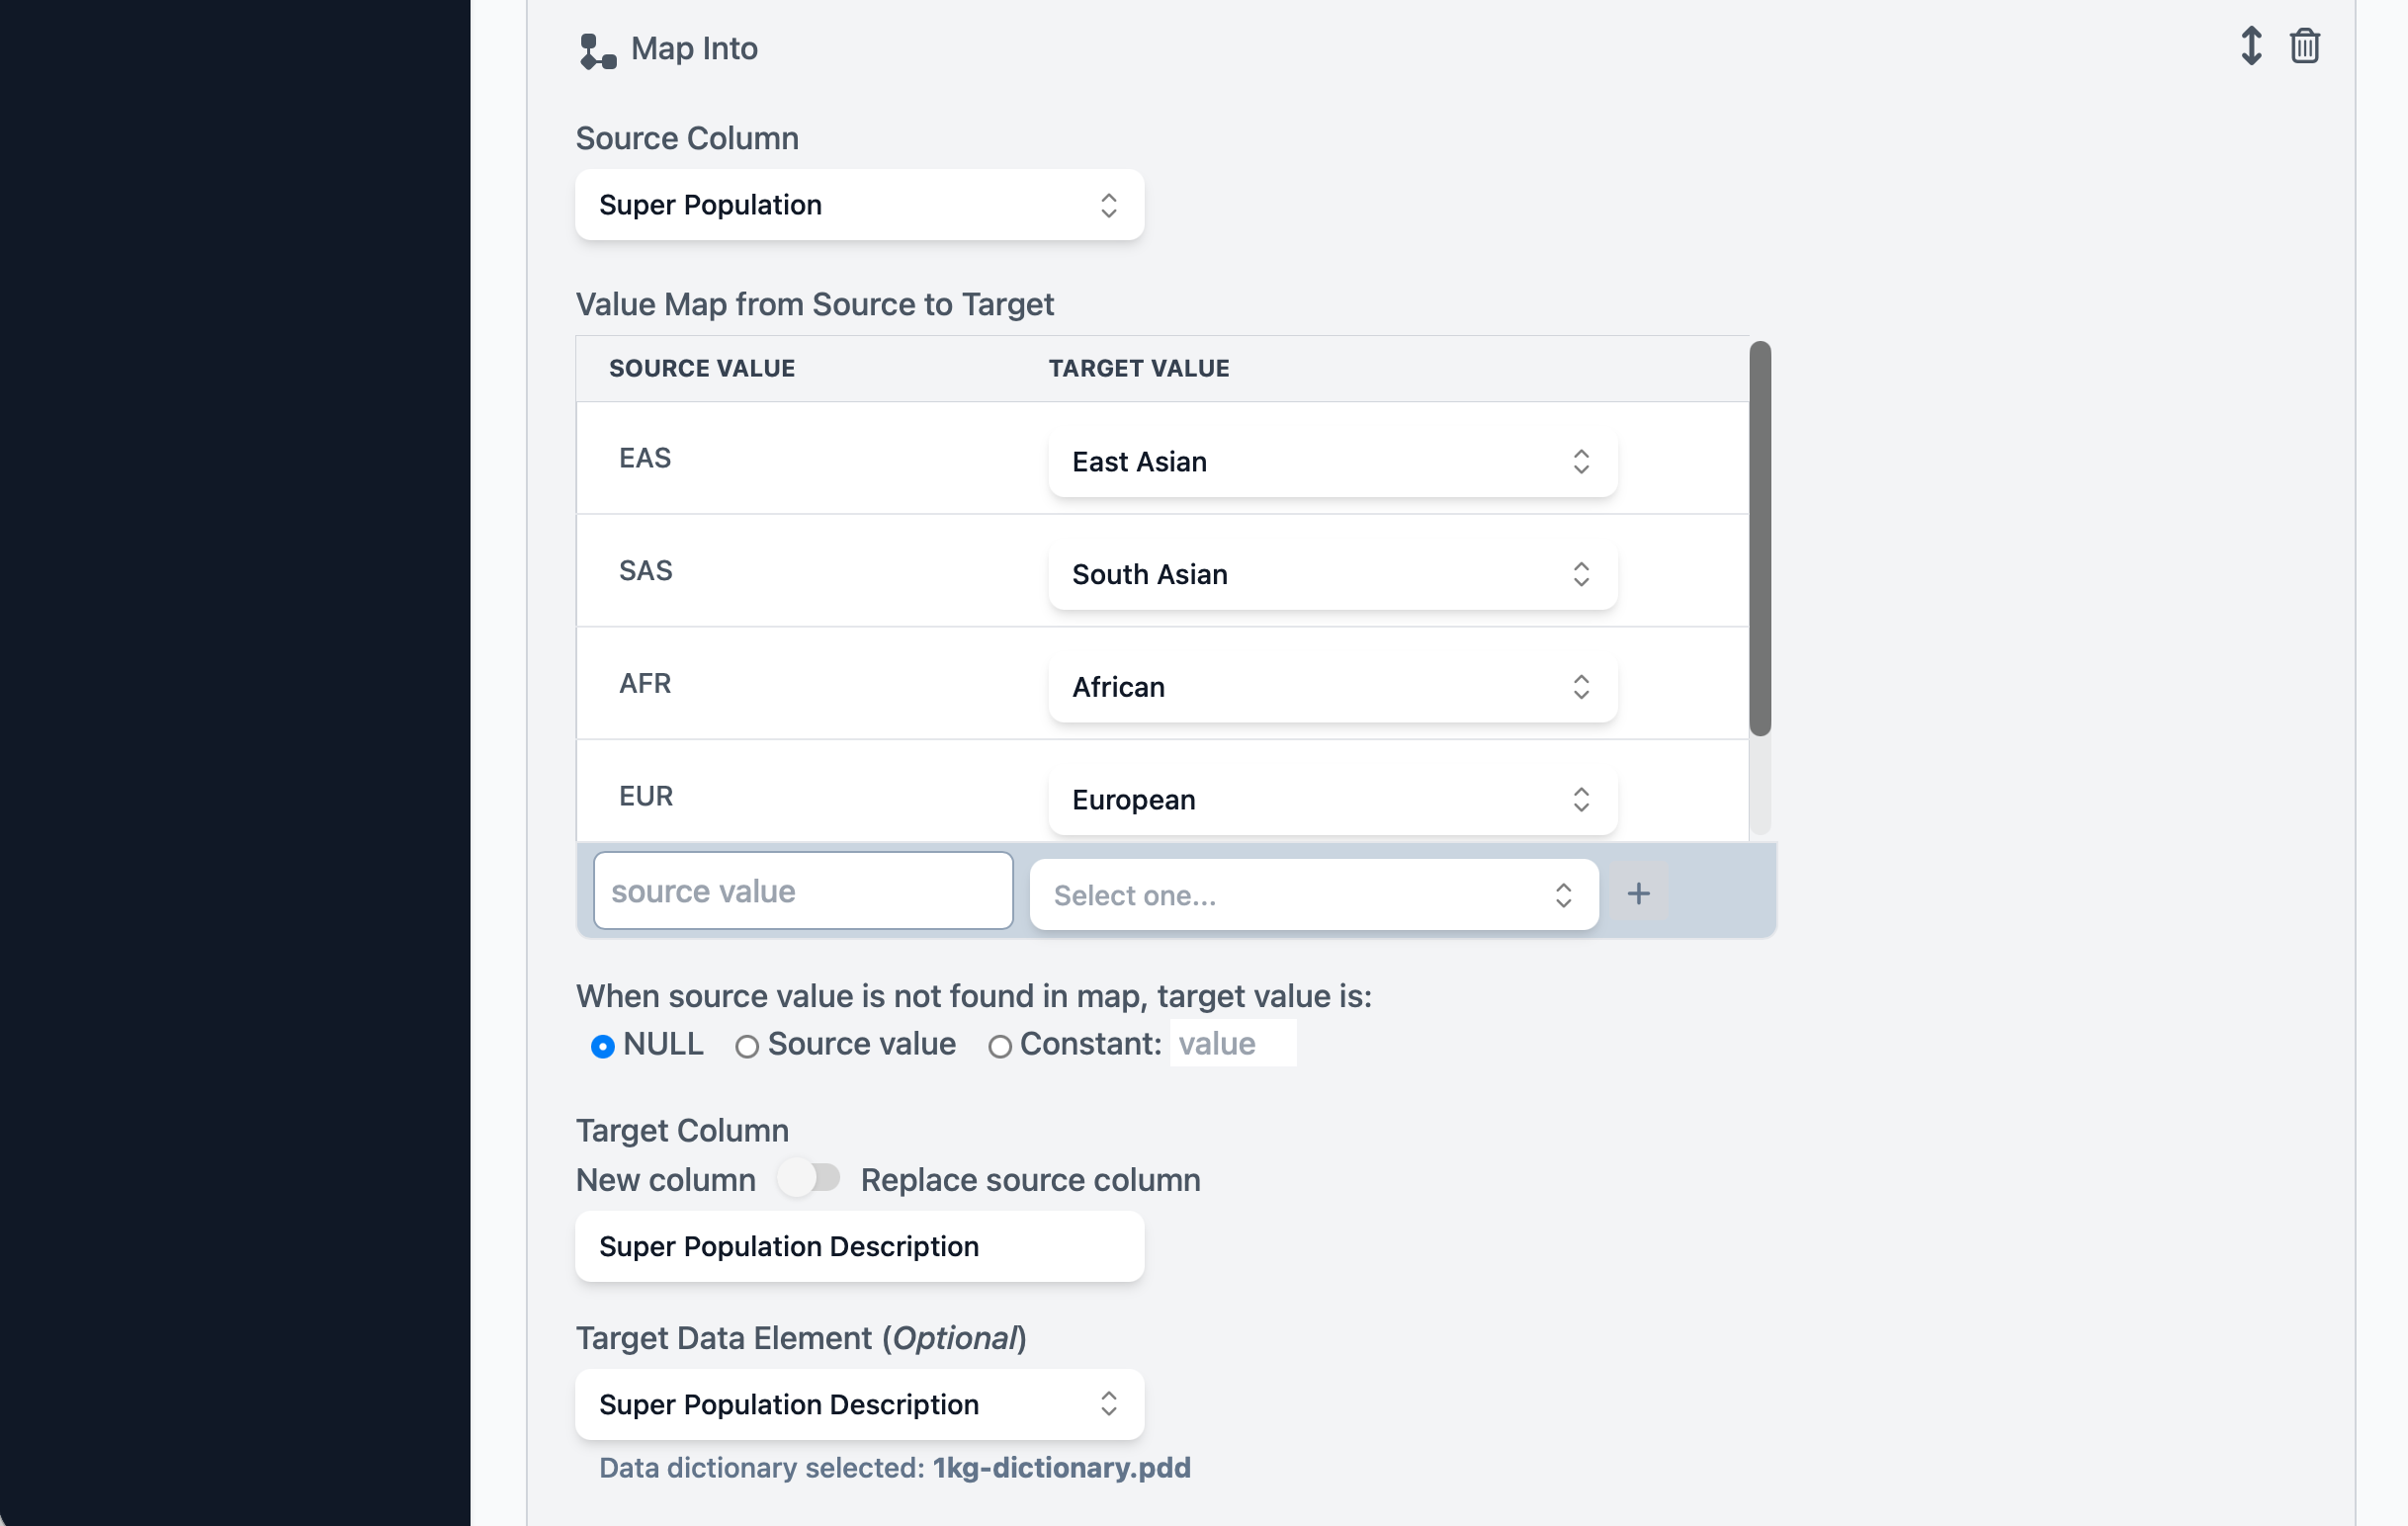
Click Save Dataview to save your changes.
Common Data Elements (CDEs)
Next, we will explore how Delfini handles common data elements (CDEs). CDEs are data elements that have been promoted to site-wide availability. Delfini also has features to browse and search for data that have had certain CDEs assigned. For purposes of demonstration, we will turn the dictionary uploaded earlier into a CDE set, and update our data’s data elements to point to the new CDEs.
The following step requires admin access to your Delfini instance. If you are following along using the desktop version, you should automatically have the necessary access. If you are using the demo instance, please reach out to us at delfini@bioteam.net for more information.
Using the user menu in the upper right of the screen, select Site Admin, then click on CDEs to view the CDE admin page.

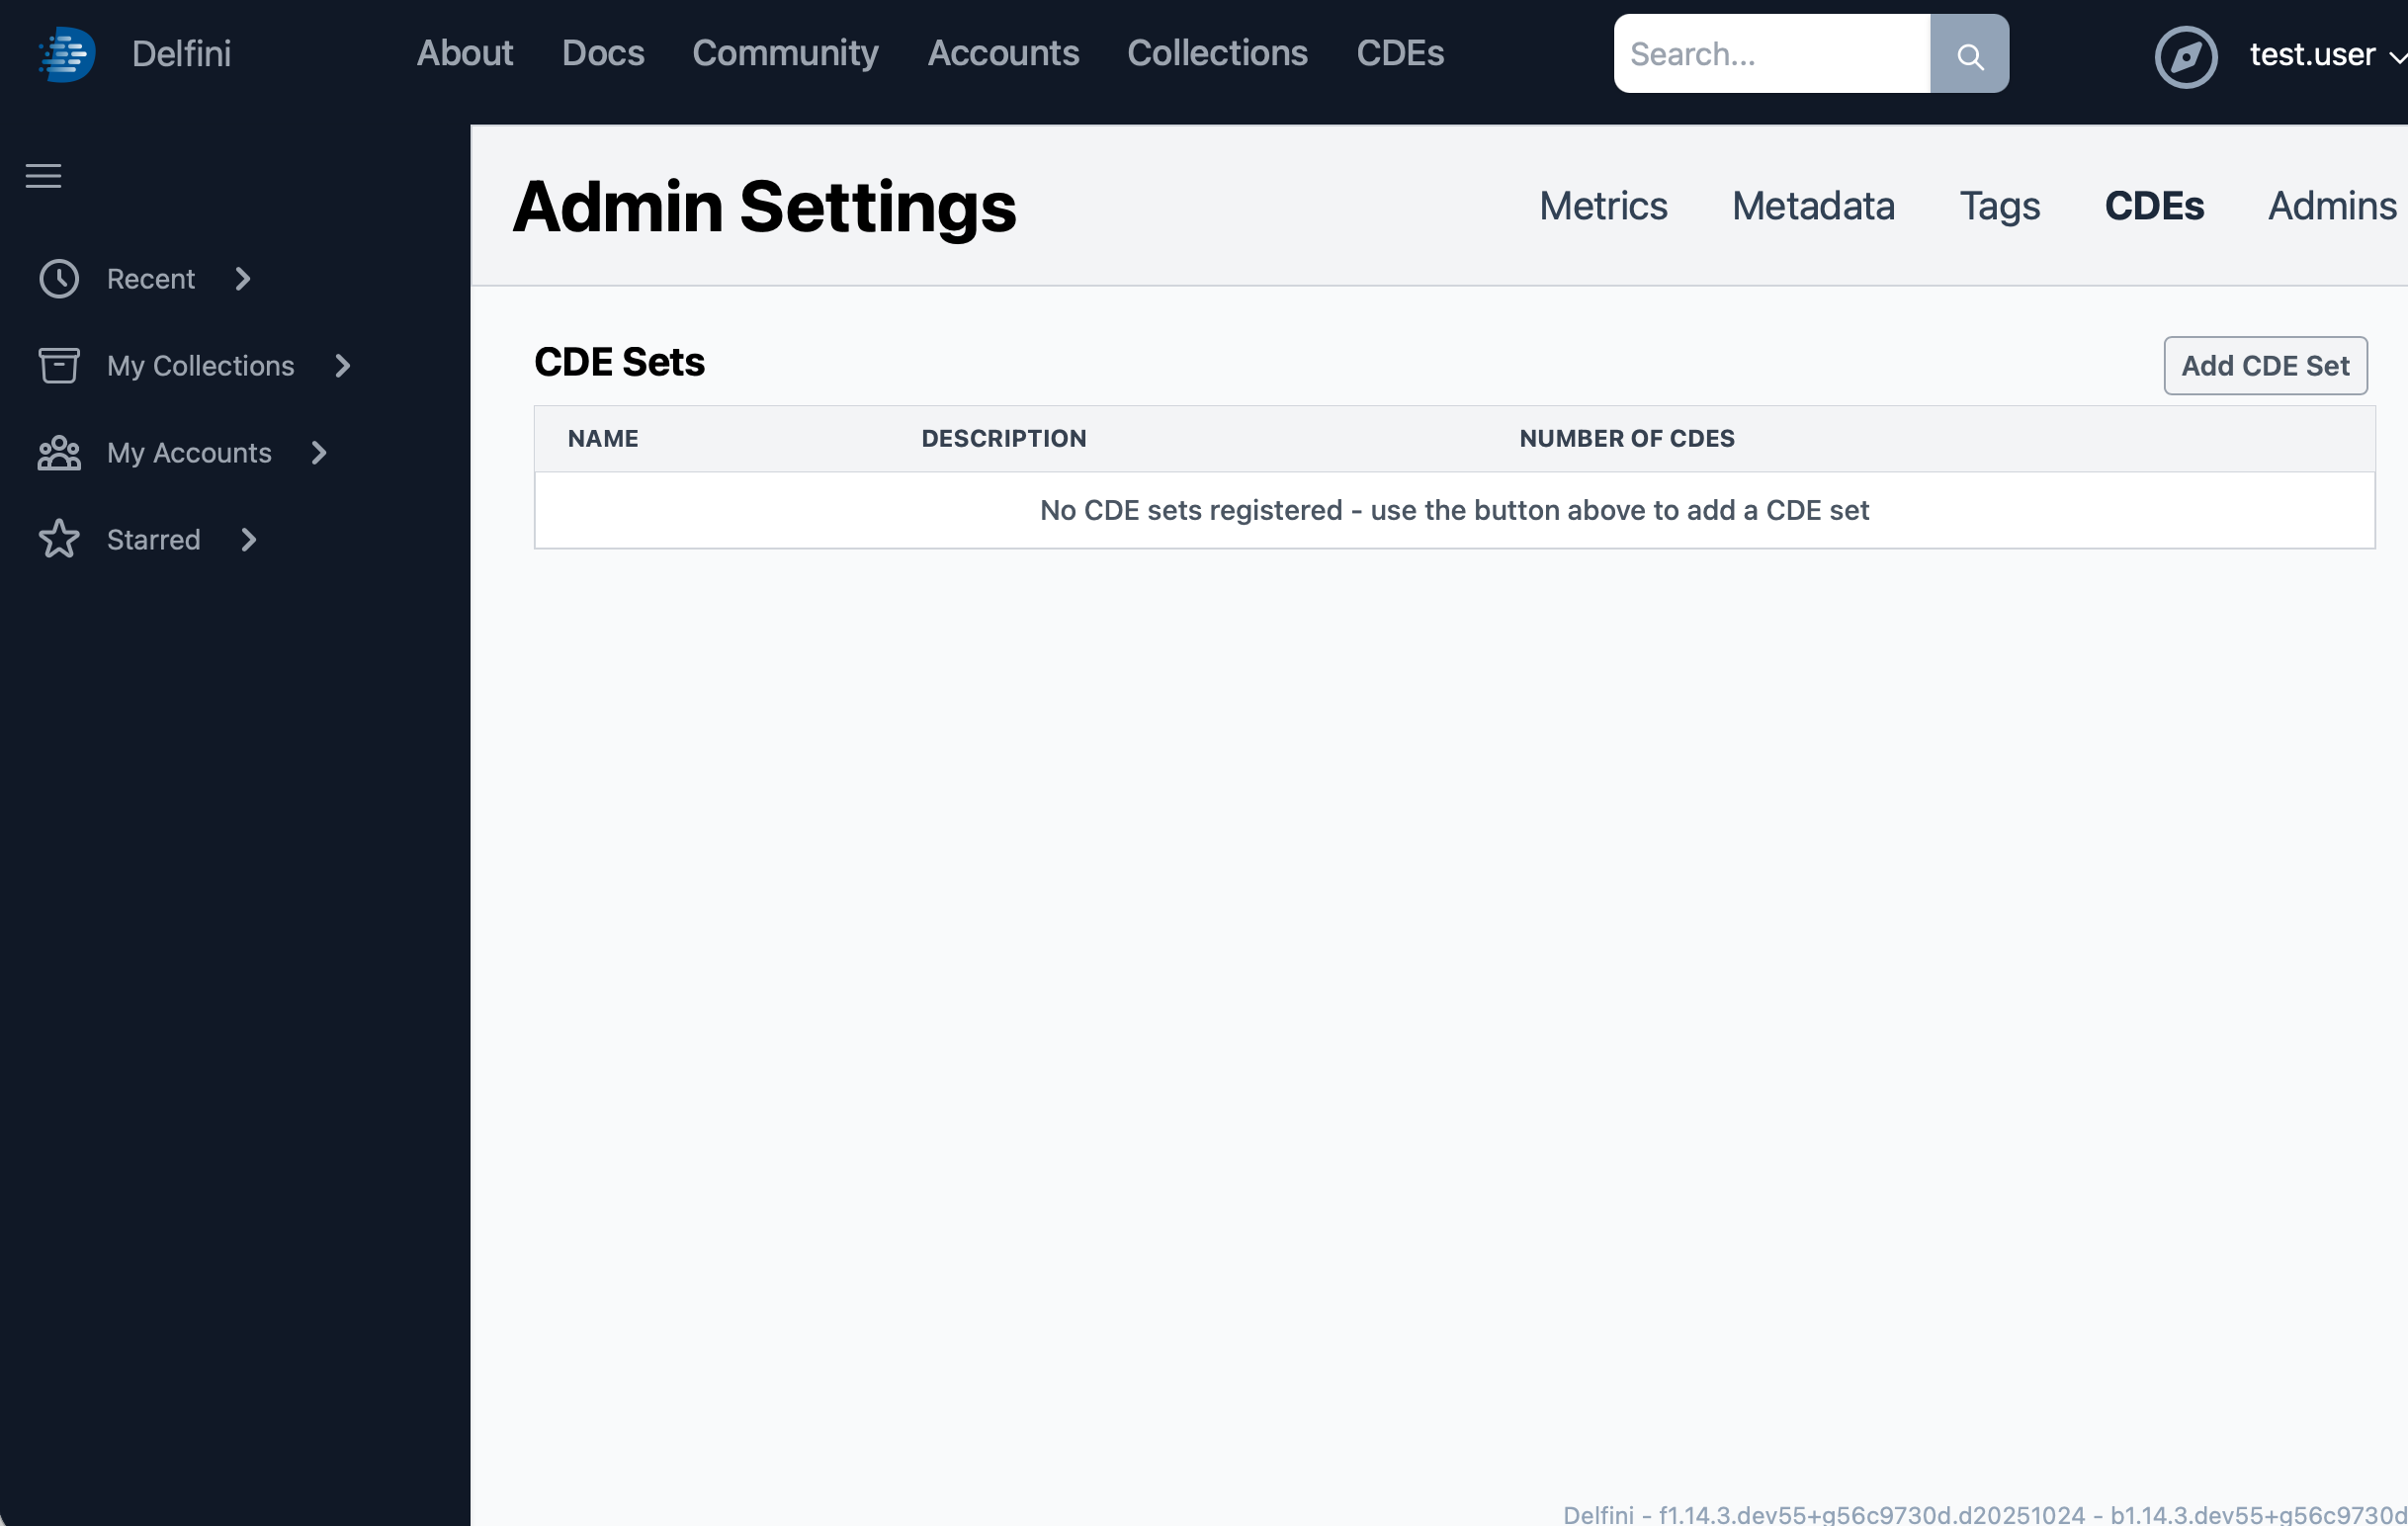
Click the Add CDE Set button to bring up the New CDE Set dialog.
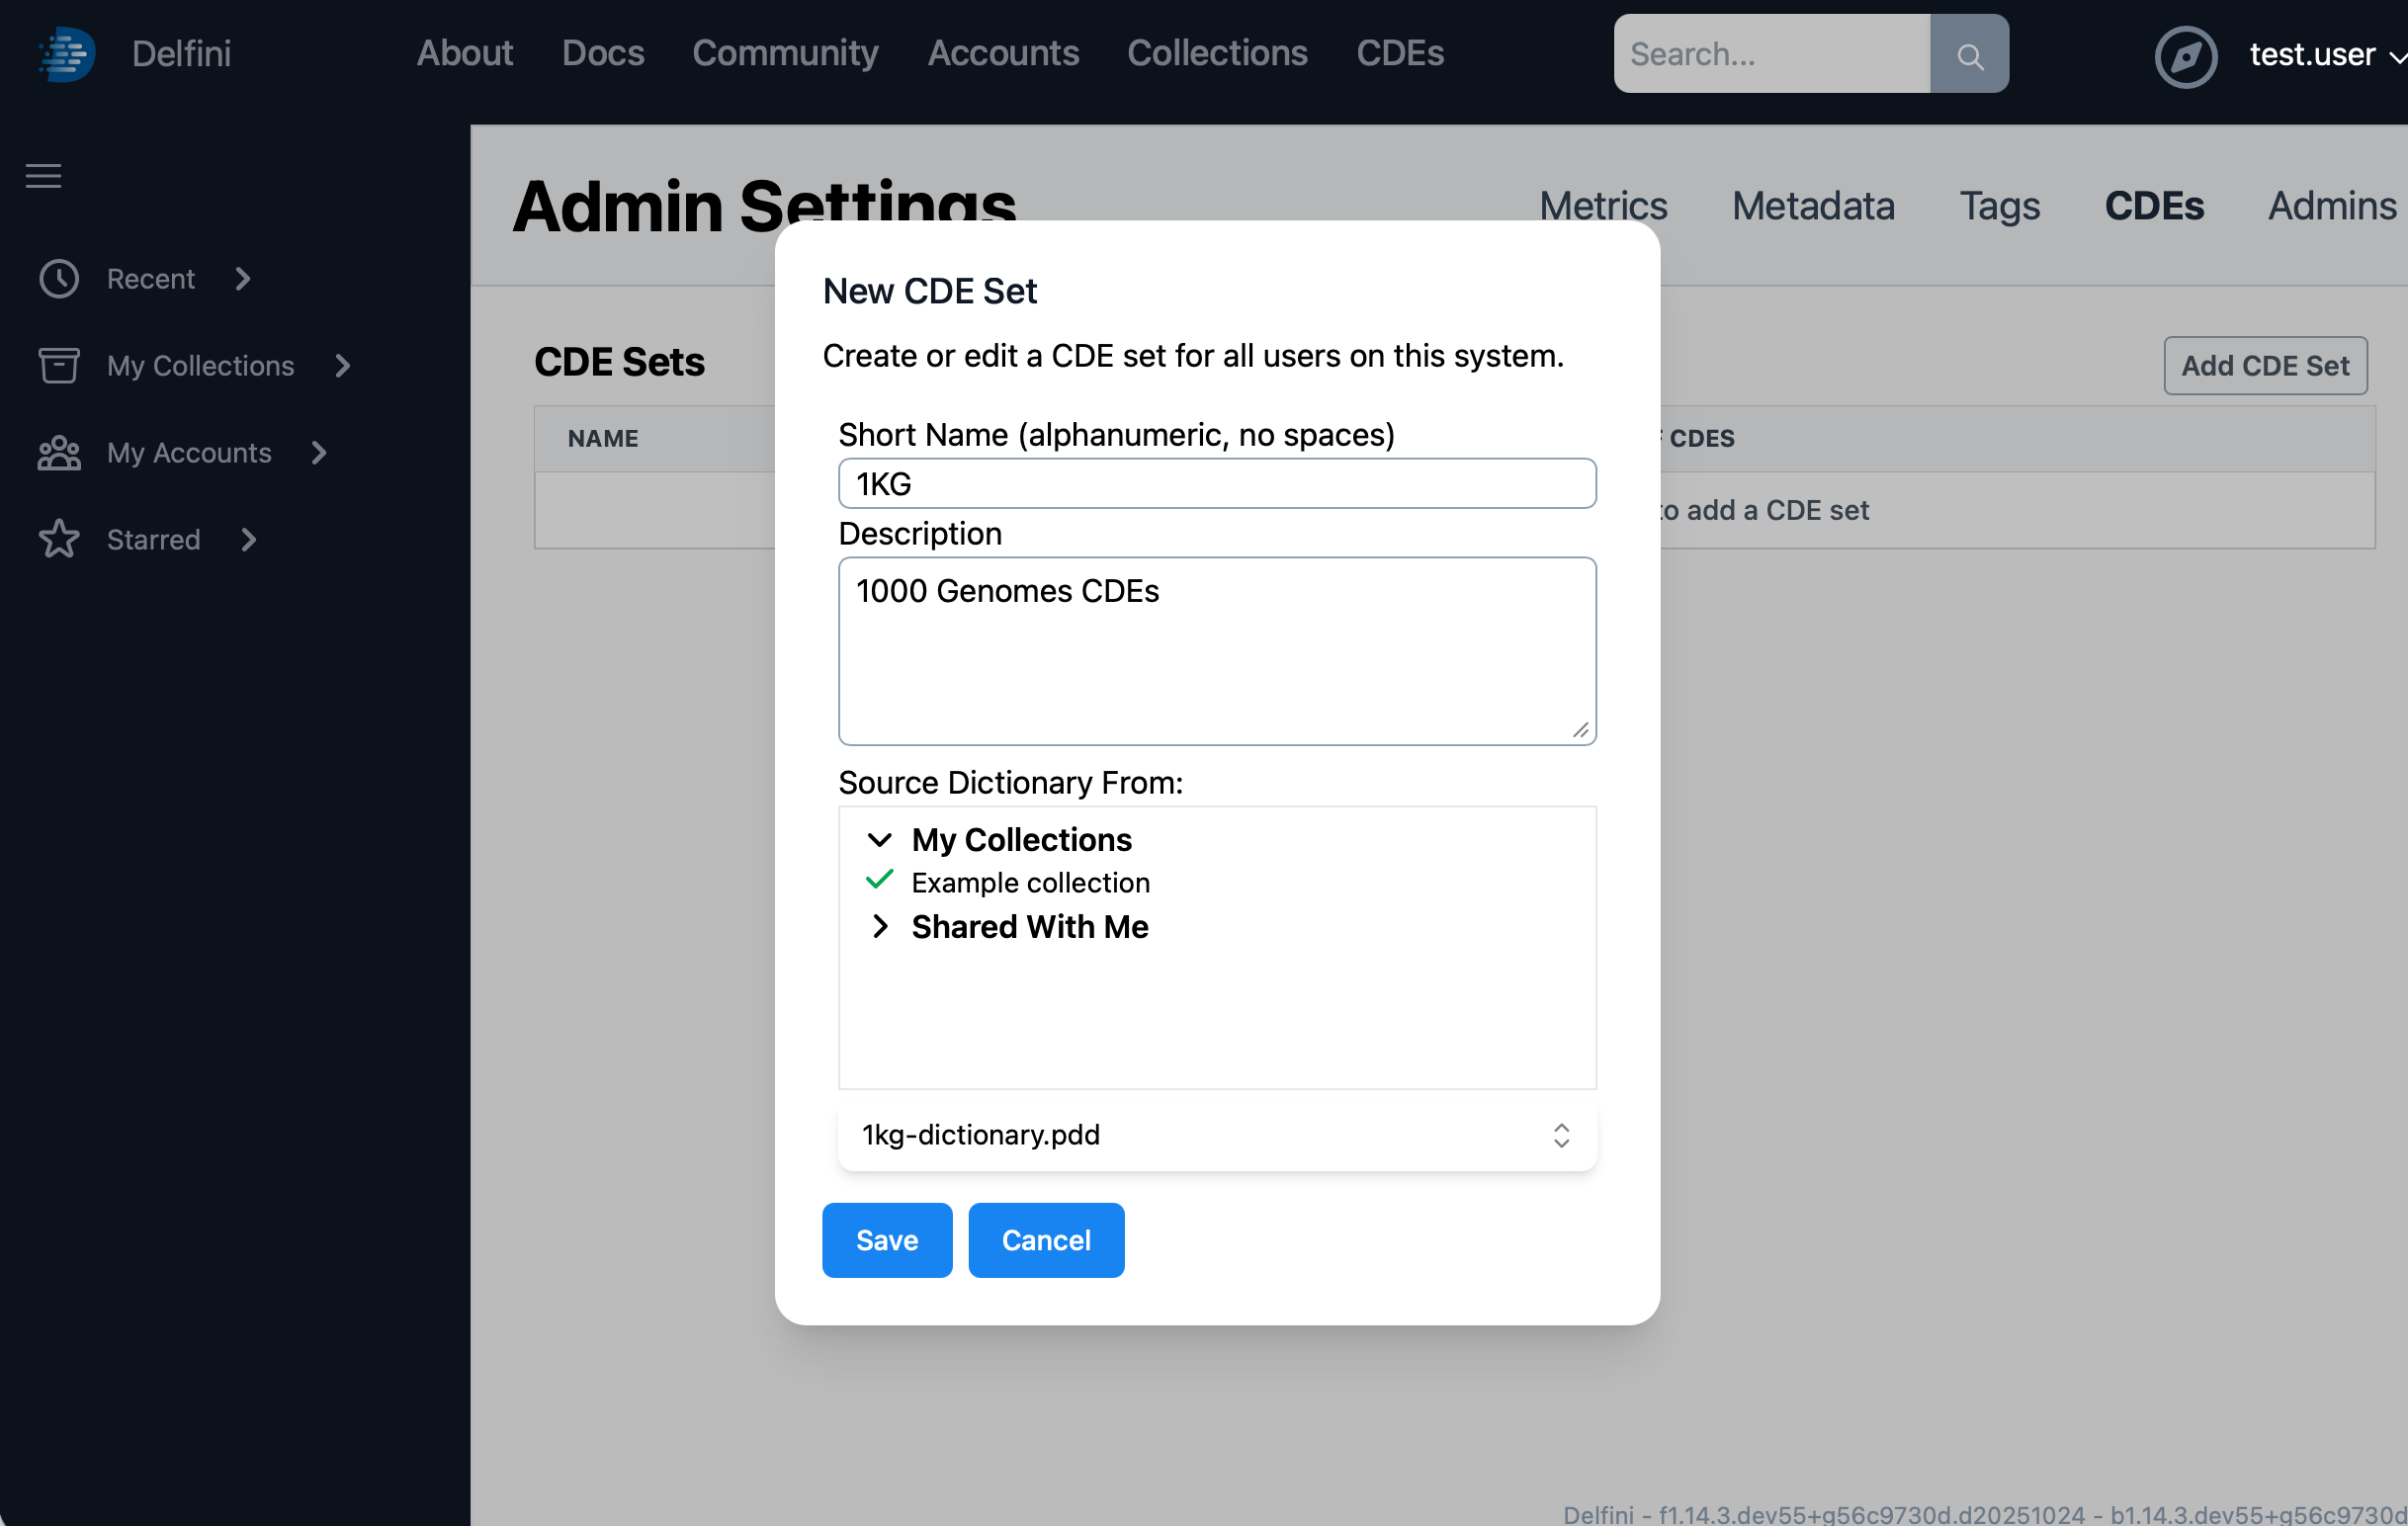
Provide the short name as 1KG, a reasonable description, then select your Example collection and the 1kg-dictionary.pdd as the source dictionary. Finally, click Save.
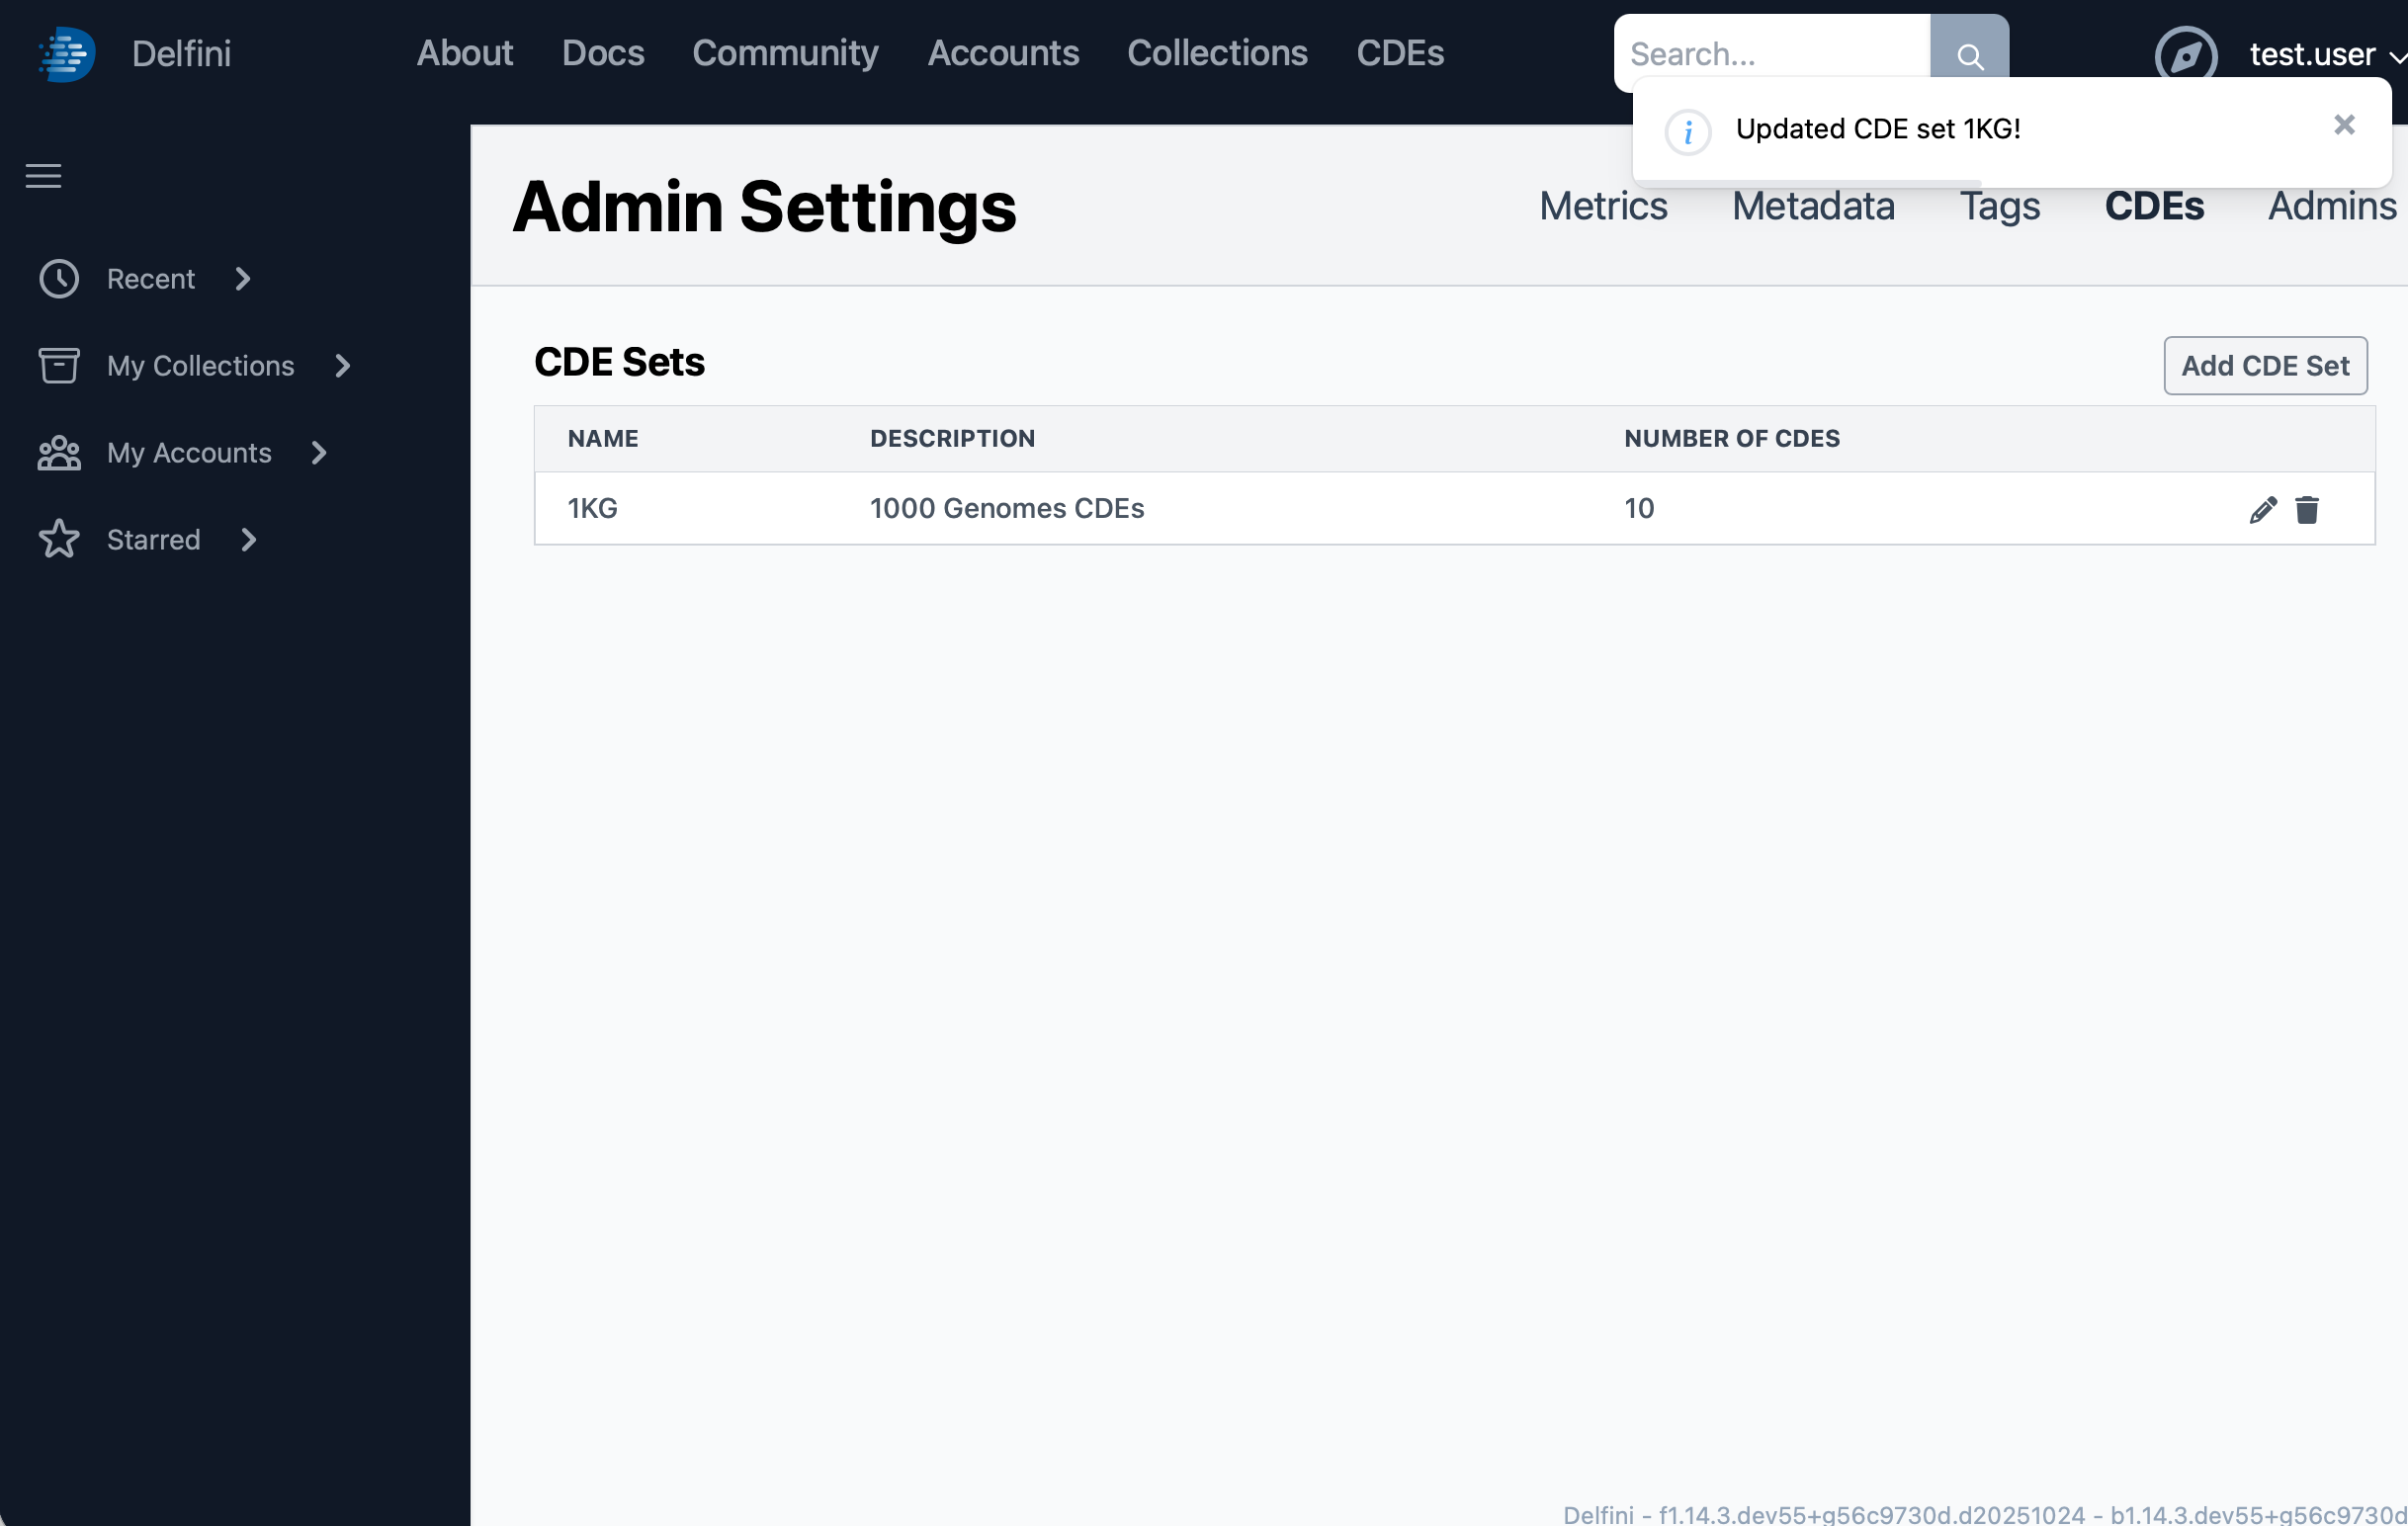
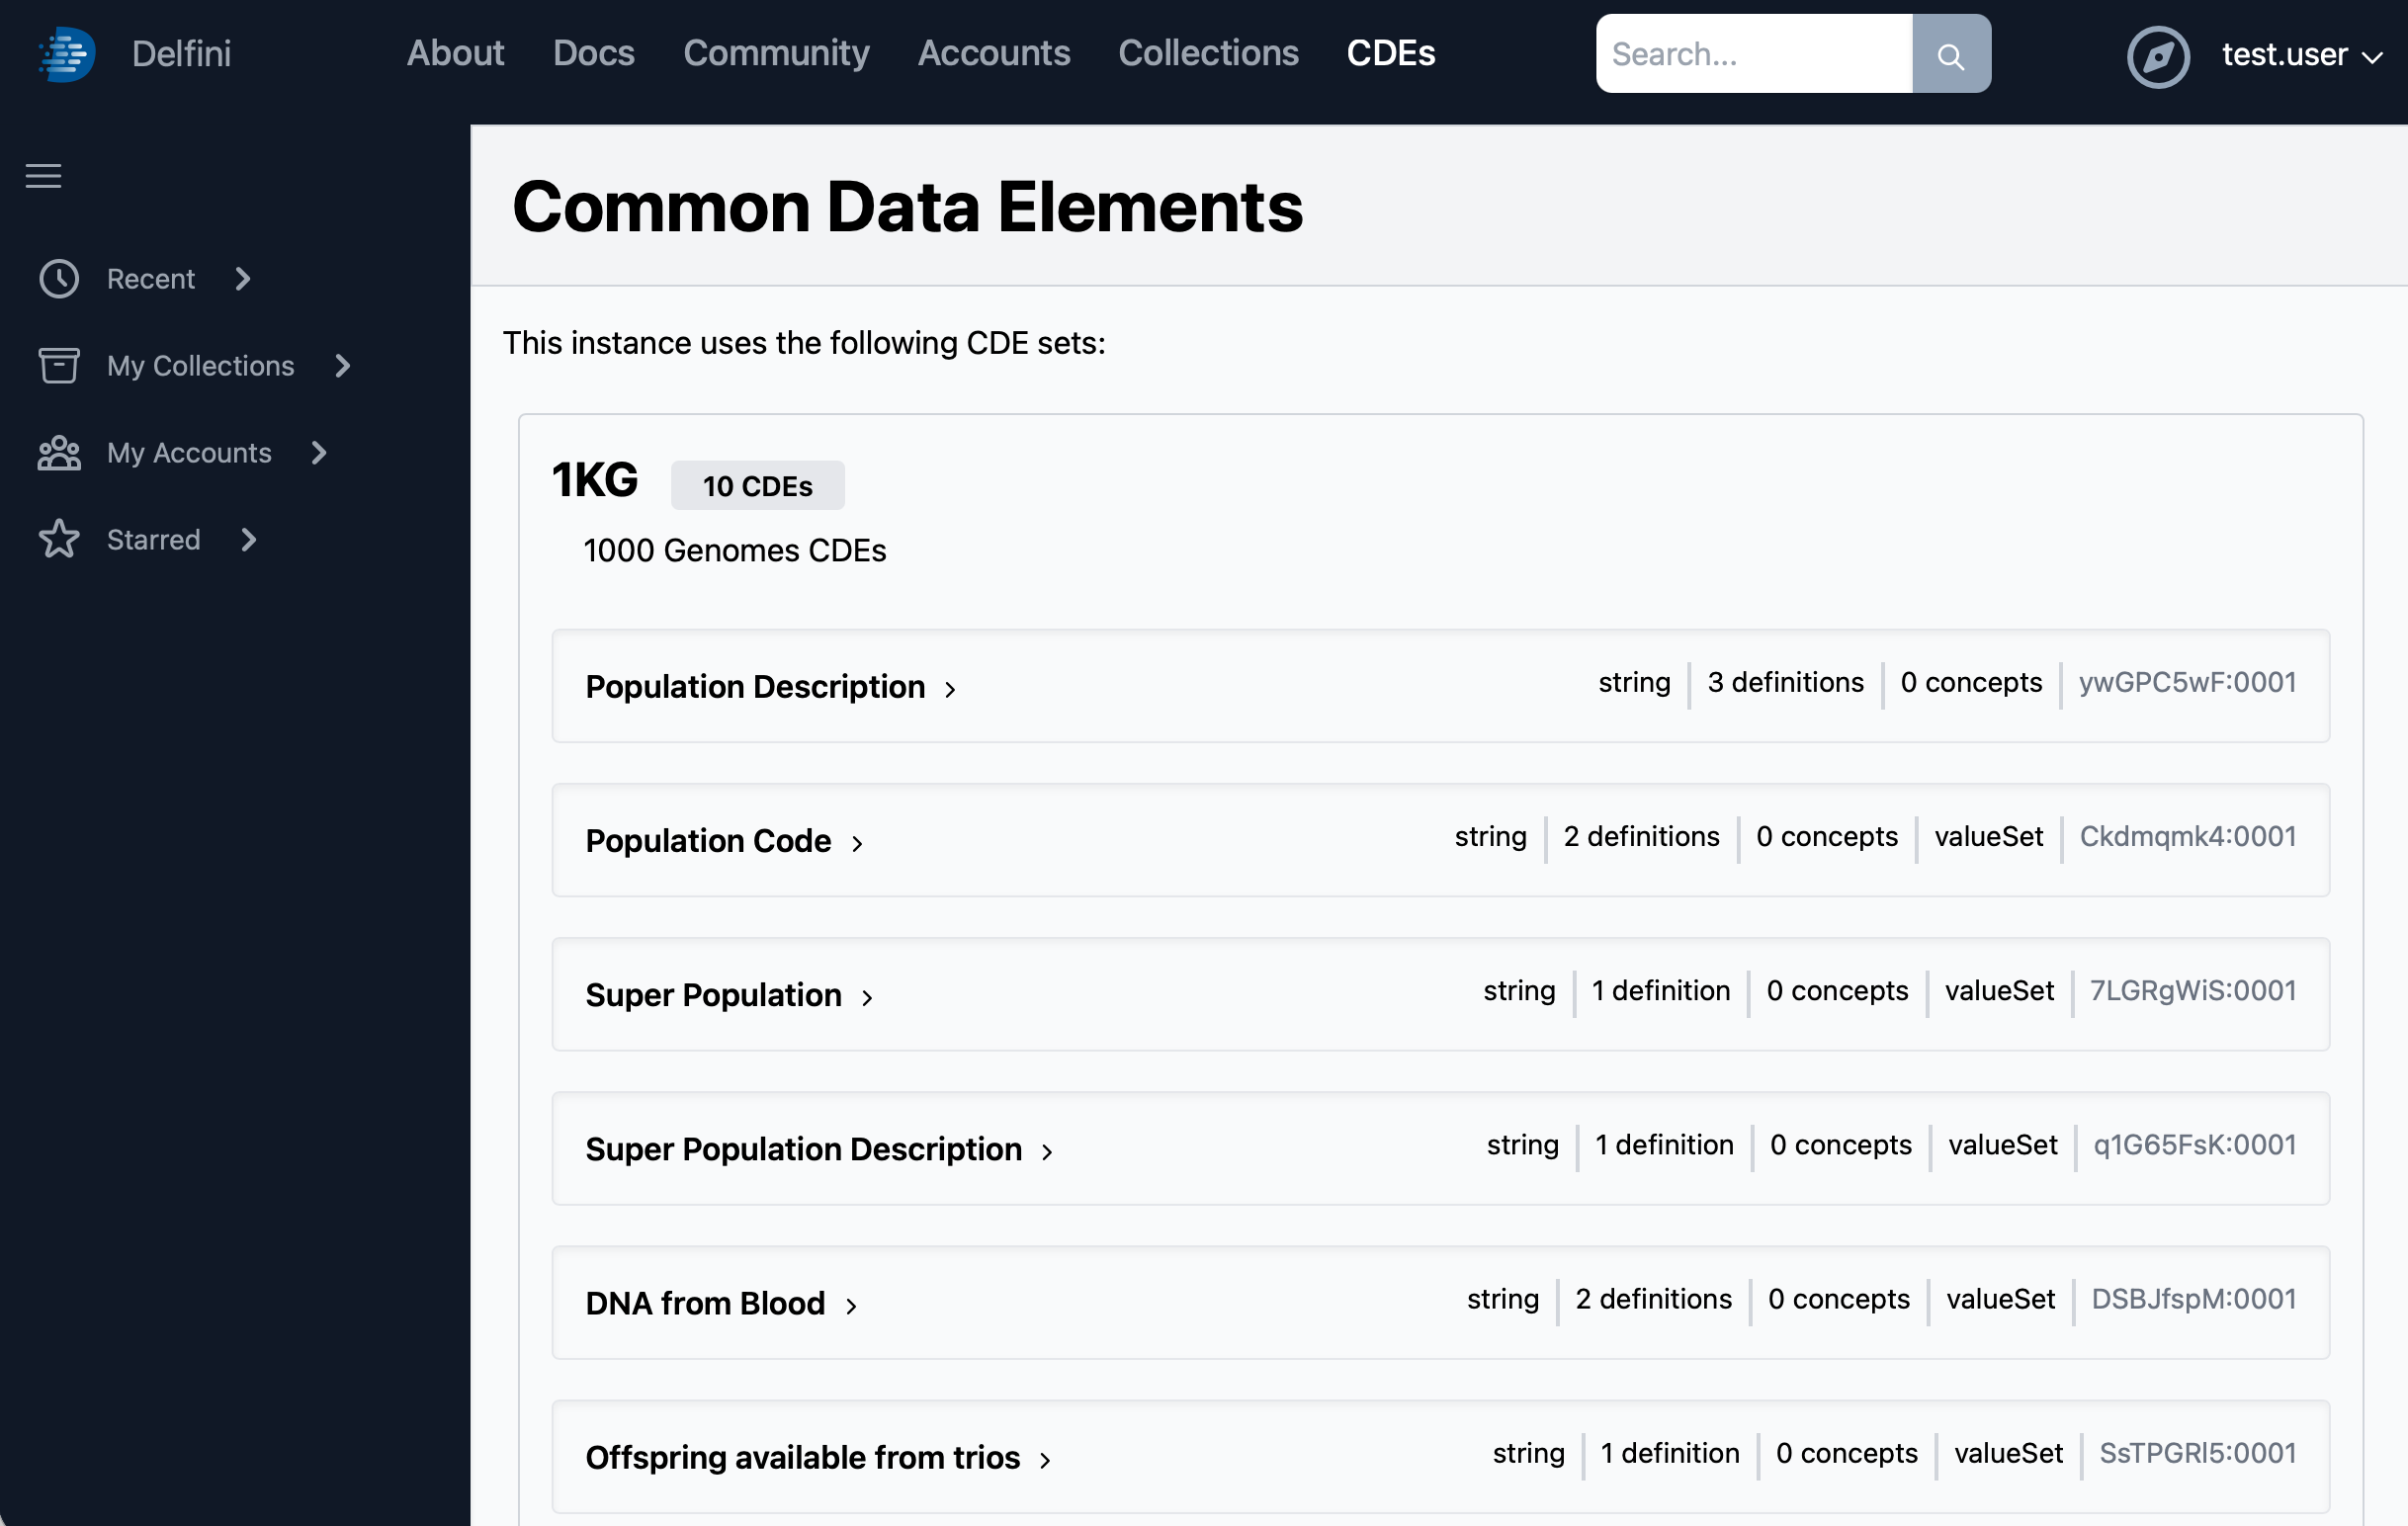
If you click the CDEs tab at the top of the screen, you’ll now see the details of the CDE set.
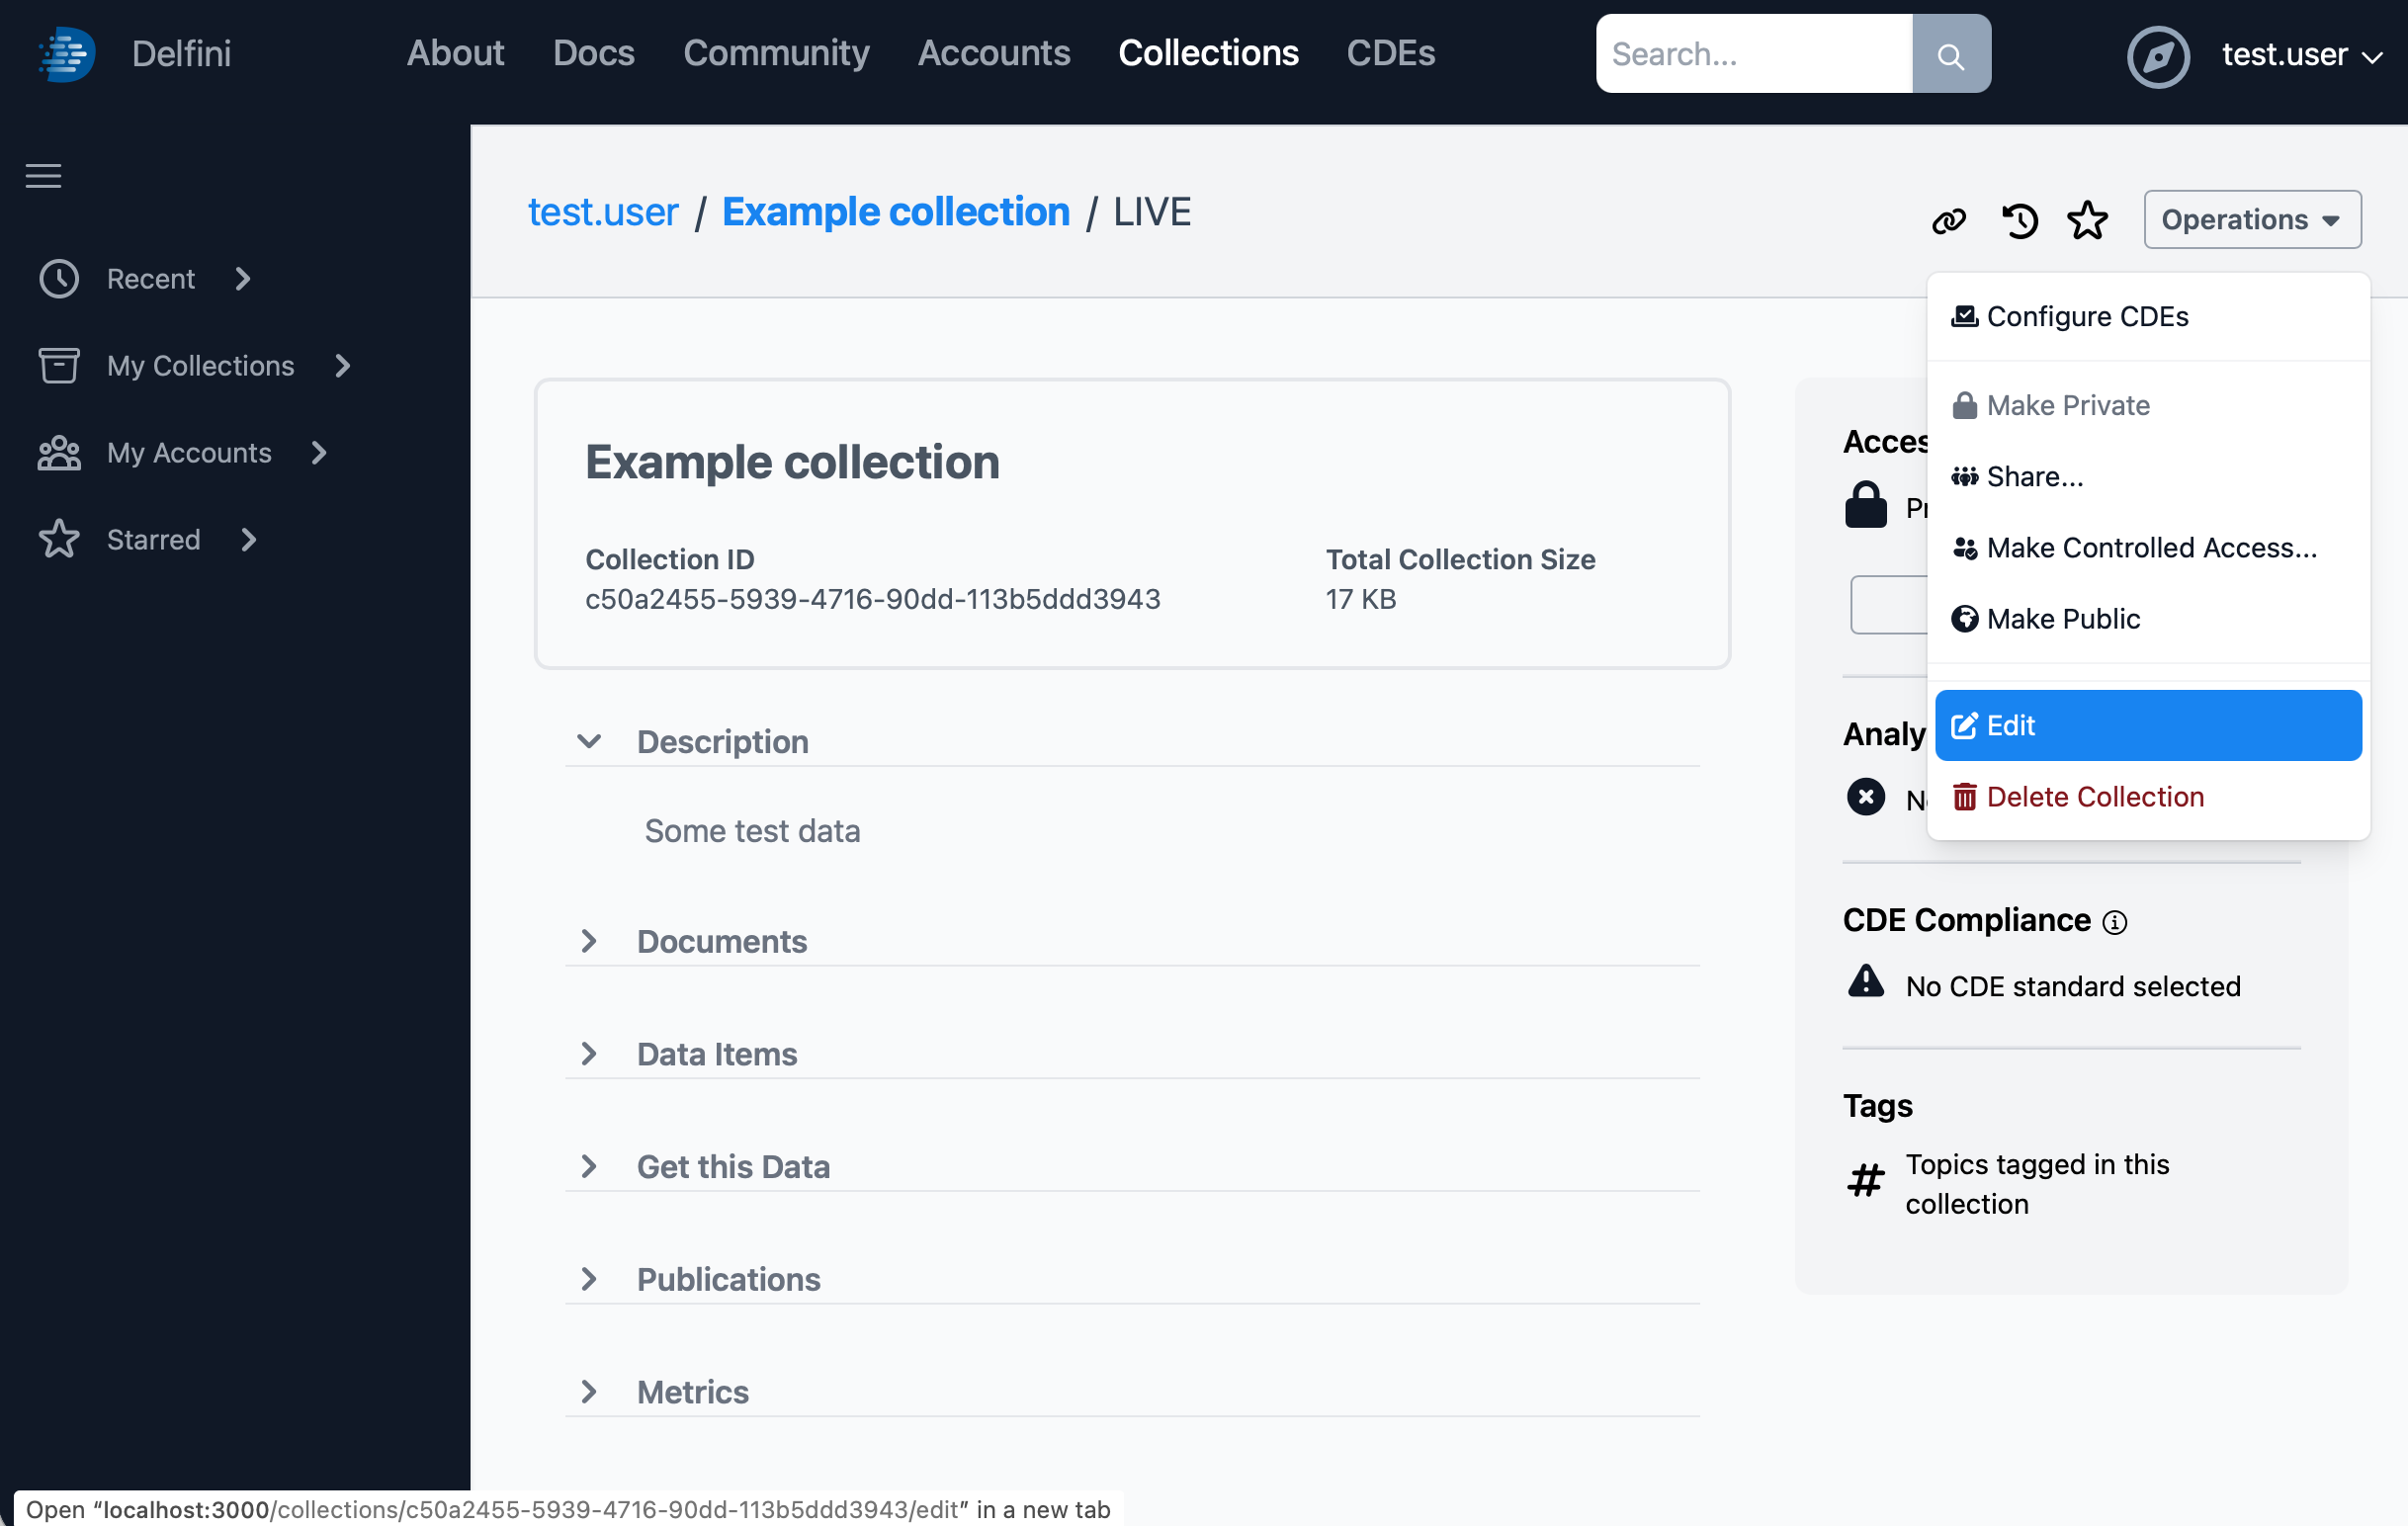
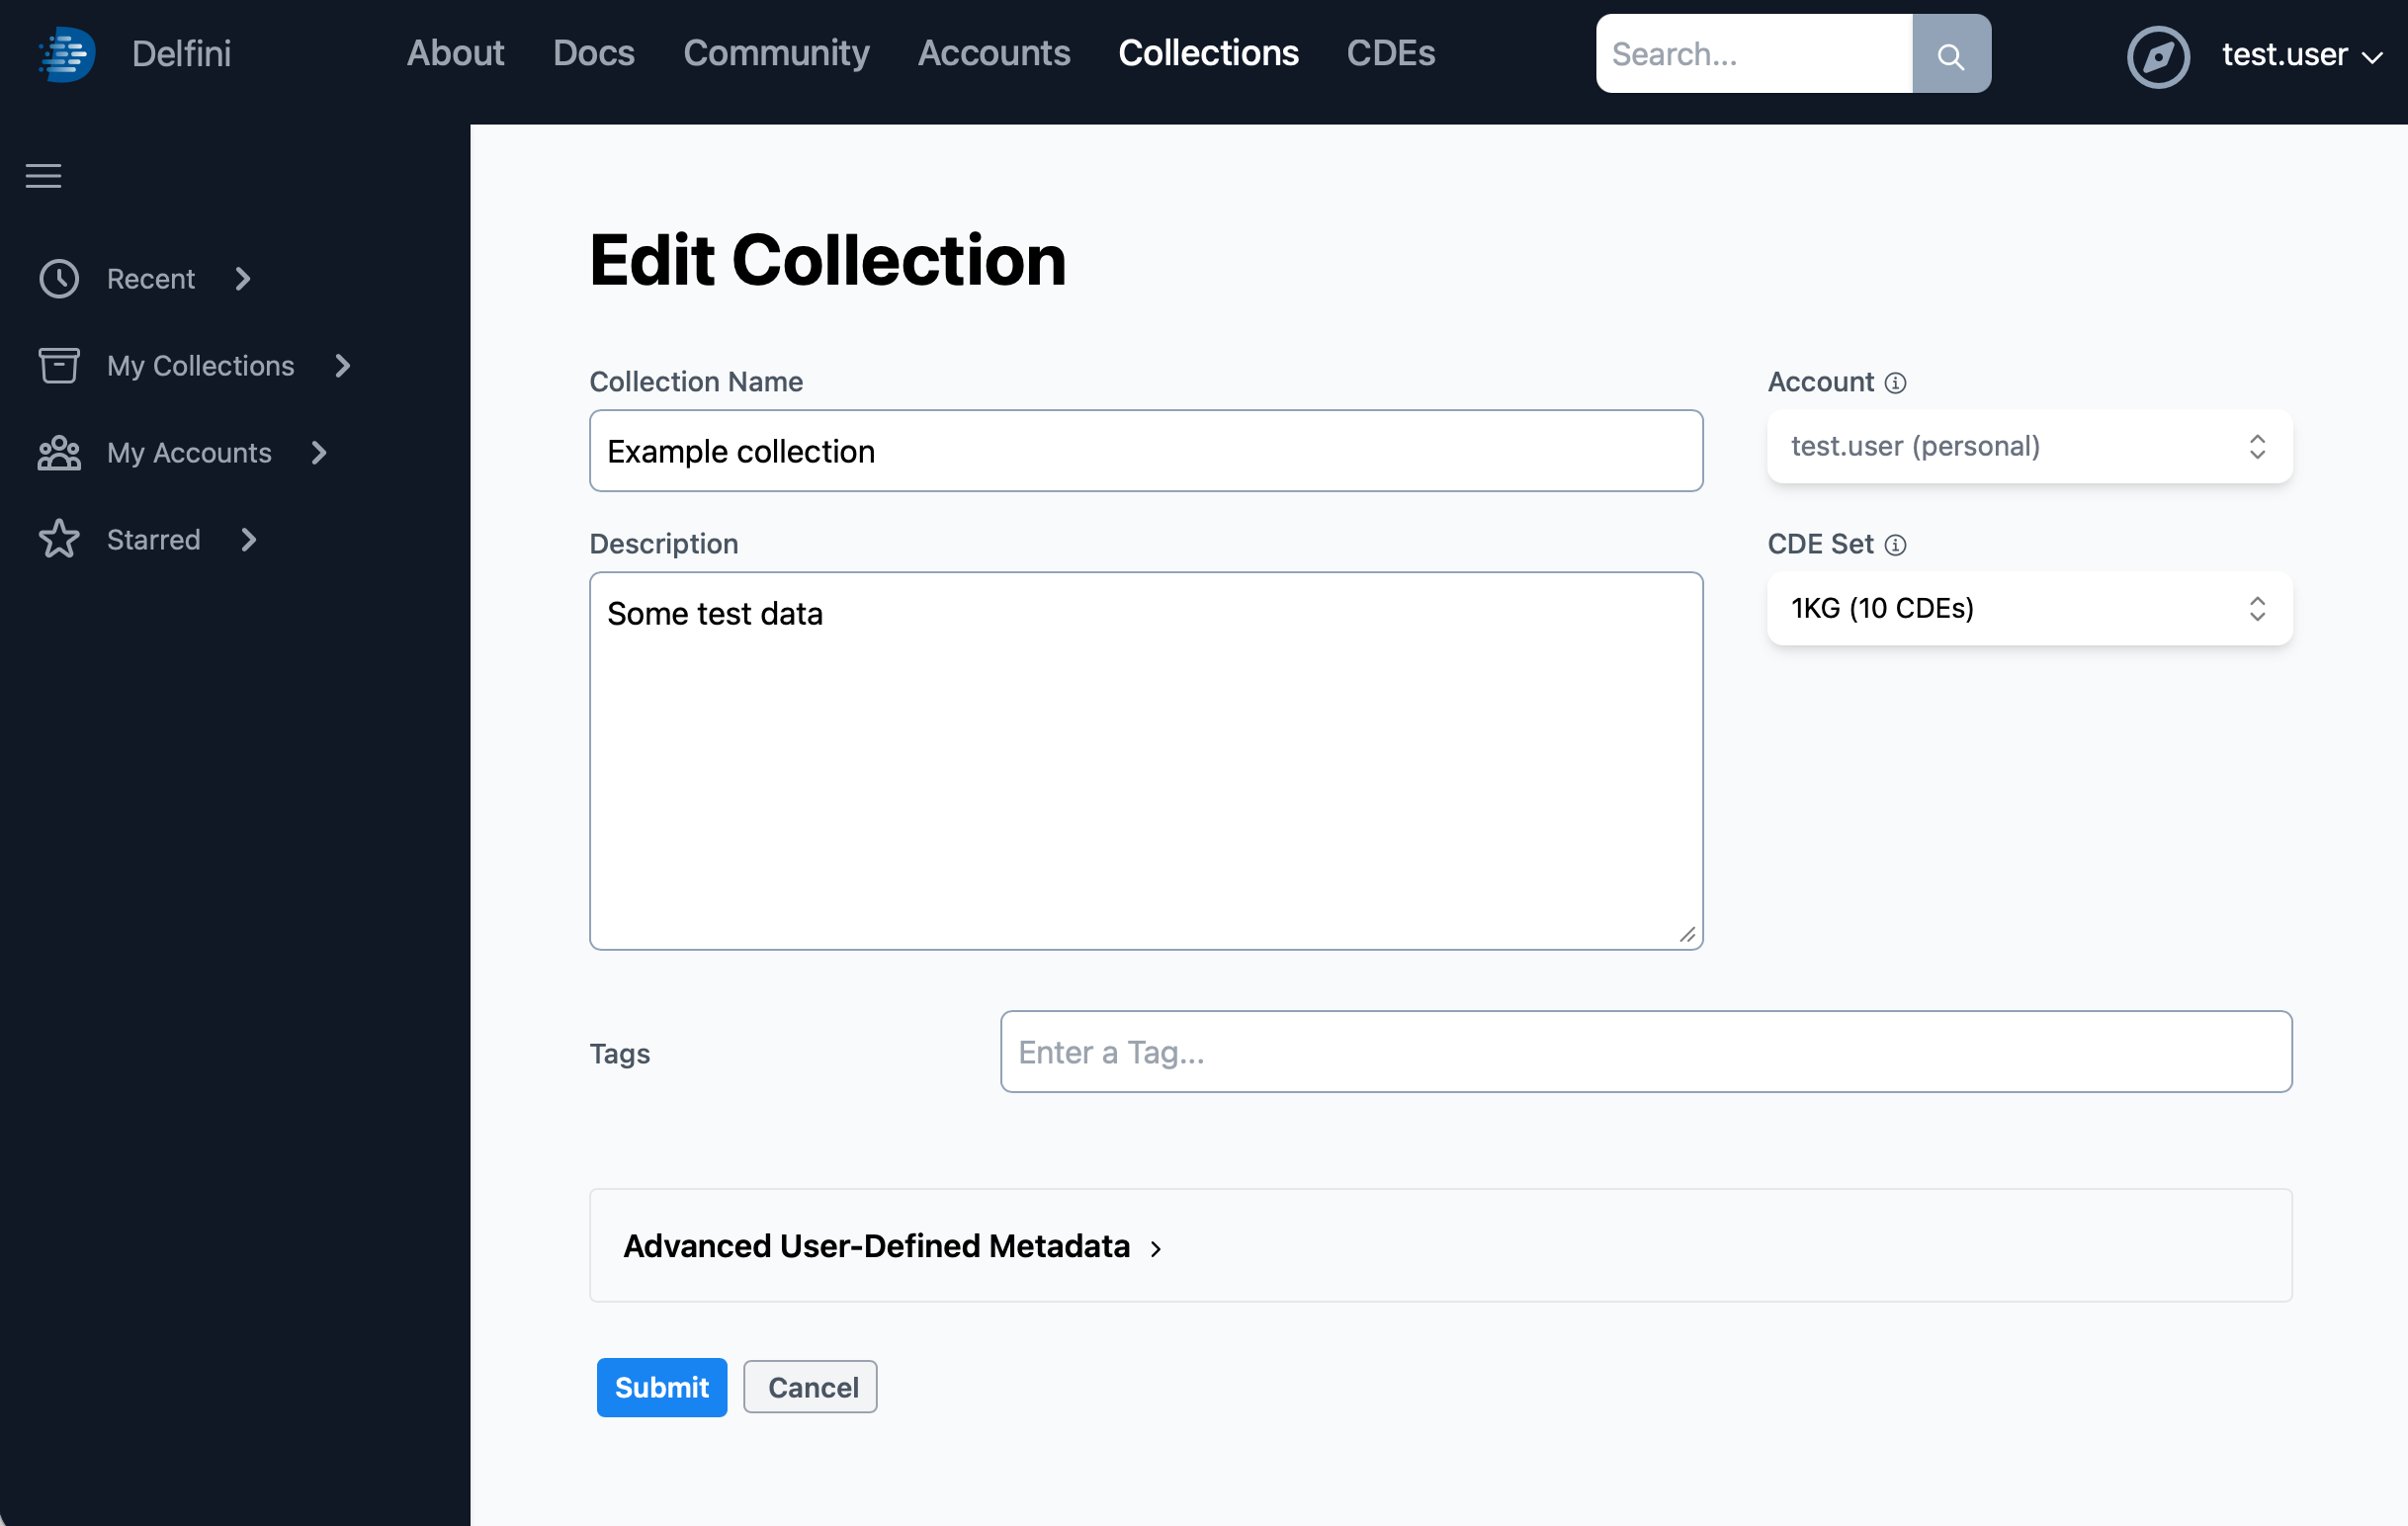
Now, click the Collections tab at the top, then click on My Collections and finally your example collection to return to your collection main page. Now that our site has a CDE set, we need to update the collection to reference the new CDE set. Using the Operations menu in the upper right, choose Edit. The Edit Collection screen will show, and the new CDE set will be selected by default. Then, click Submit to save the update.
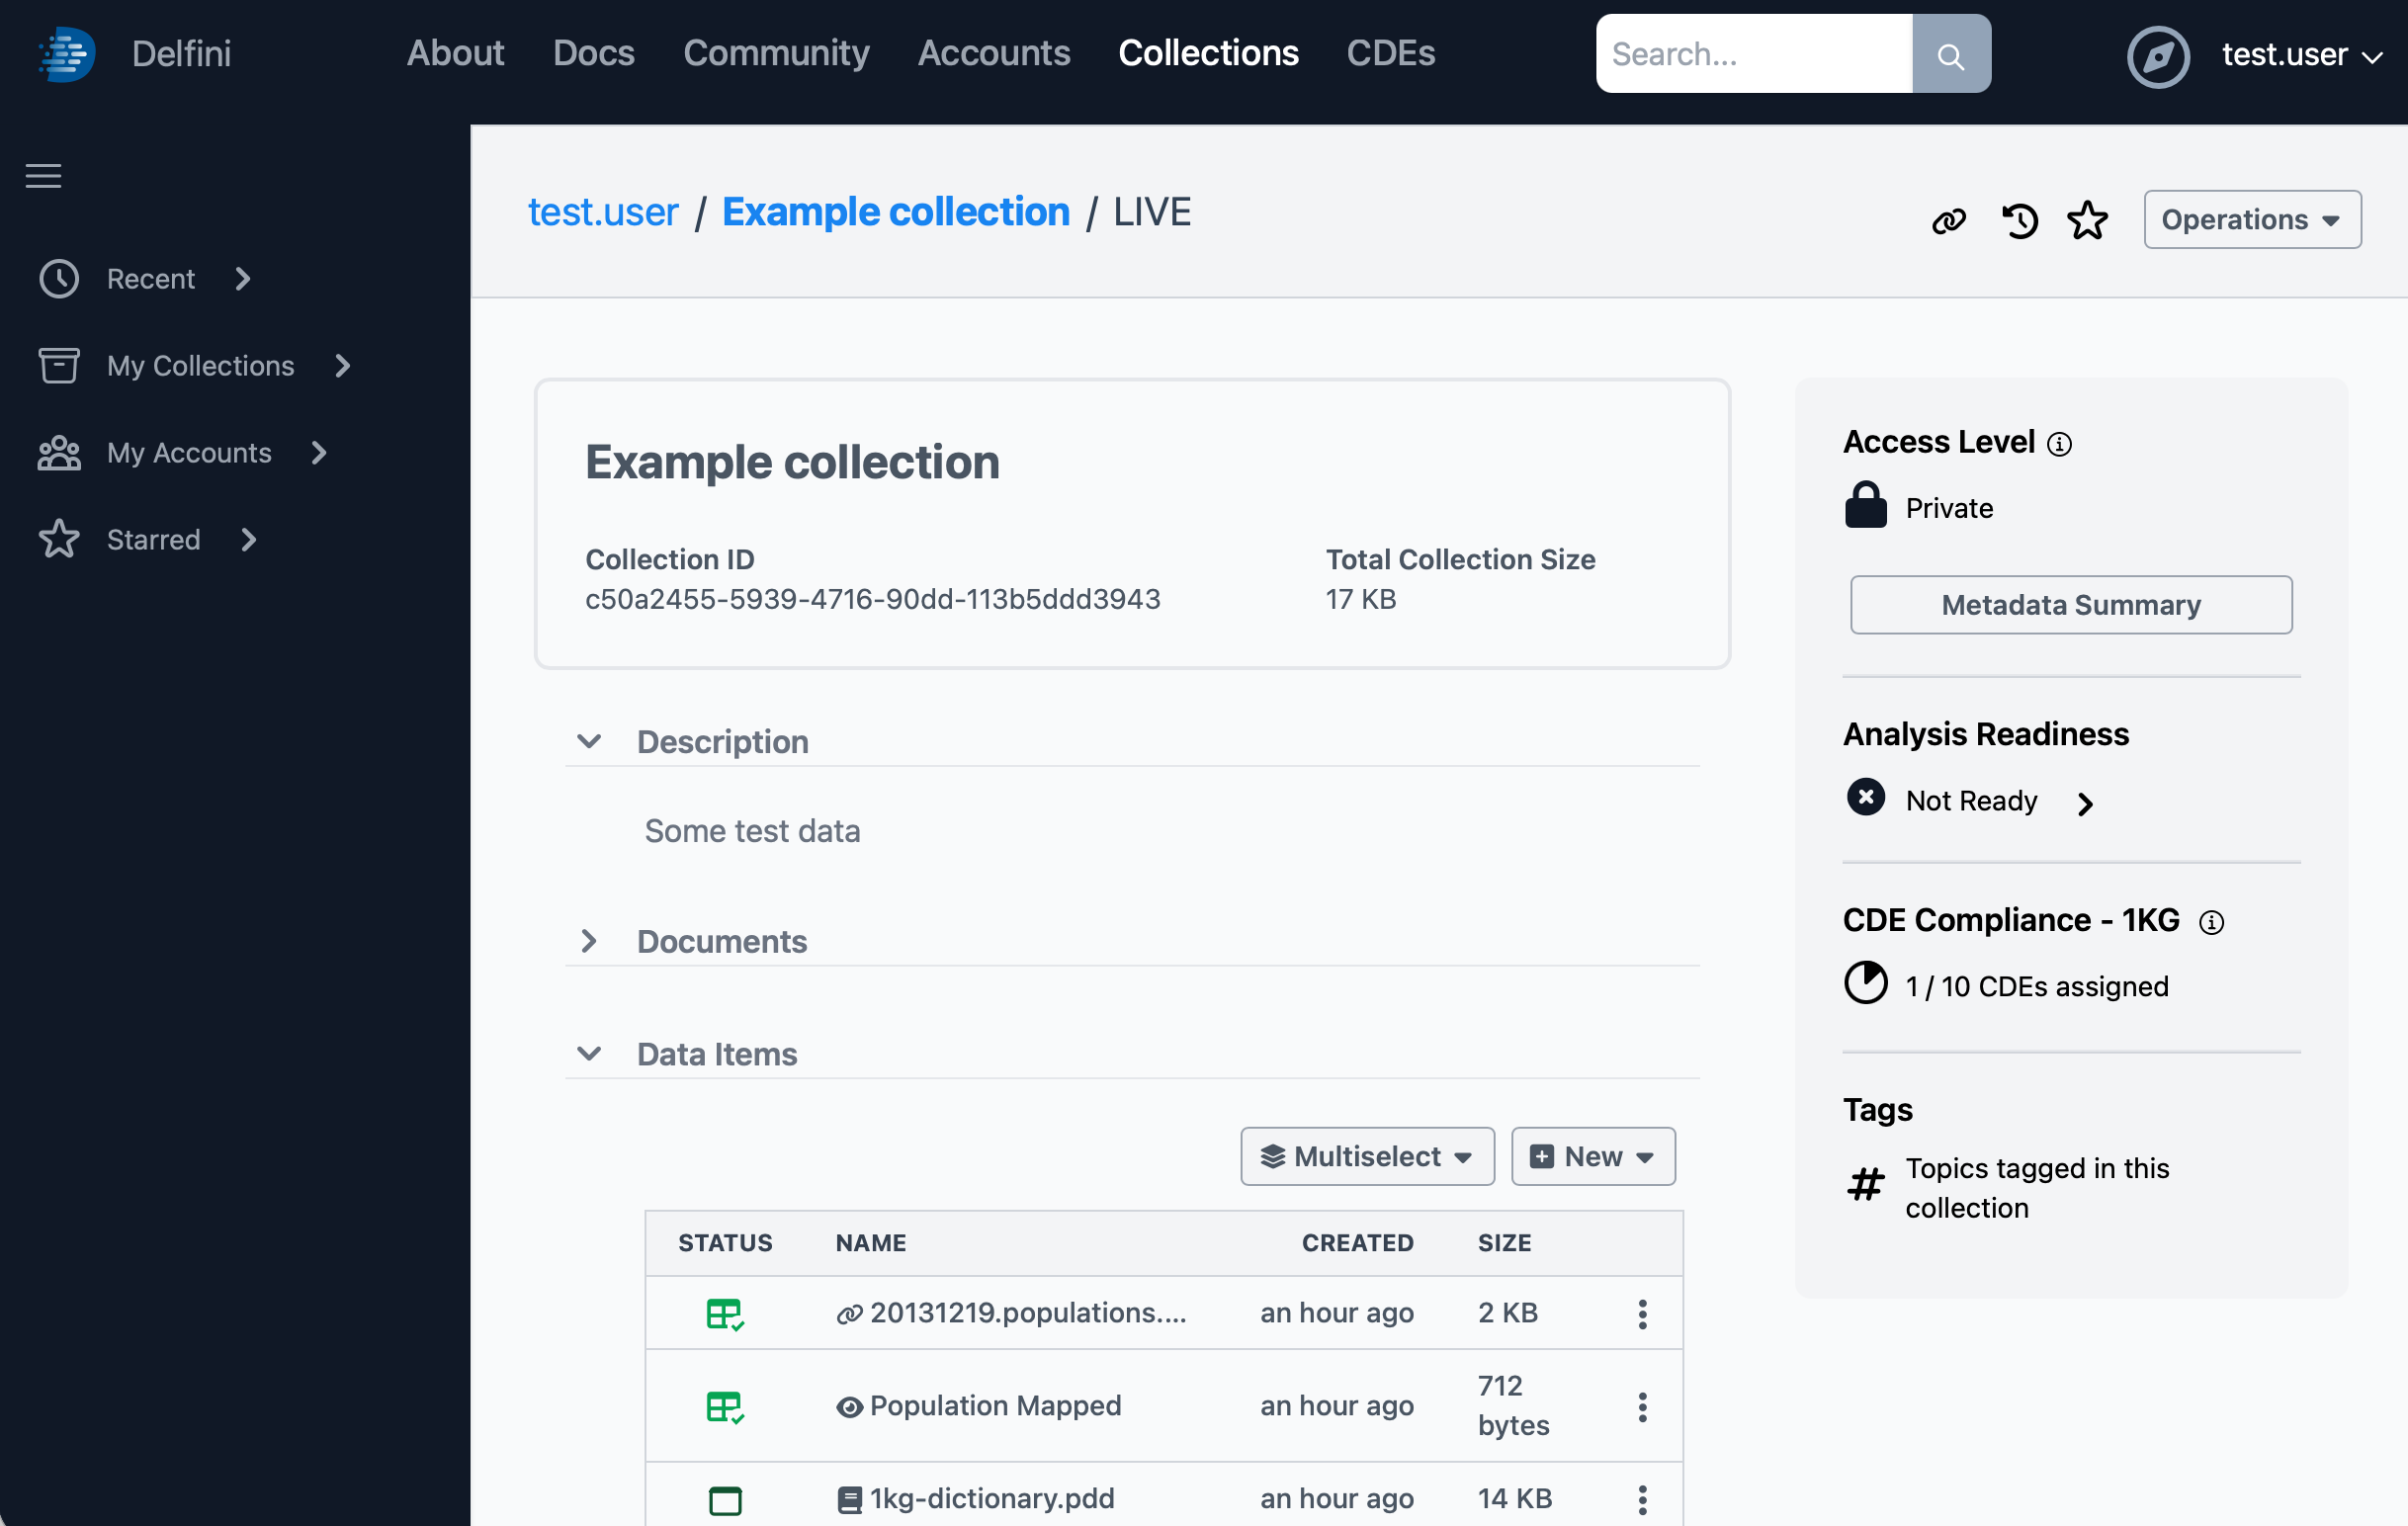
Now, the collection sidebar will show CDE Compliance against the 1KG CDE set, and will show 0 / 10 CDEs assigned. To assign our first CDE, open the Population Mapped dataview, click the Explorer tab, and scroll down to the Map Into step. In the Target Data Element section, hover over the 1kg-dictionary.pdd data dictionary name and click the pencil icon. Then, change the dropdown to the 1KG CDE set. You will need to re-select the data element (Super Population Description) as it is now coming from the CDE set.
Finally, scroll to the bottom. The table preview should continue to show the data element assigned to Super Population Description. Click Save Dataview to save the changes. Now, return to the collection main page by clicking the collection name at the top of the screen. You should see the CDE Compliance - 1KG section in the info bar show 1 / 10 CDEs assigned.
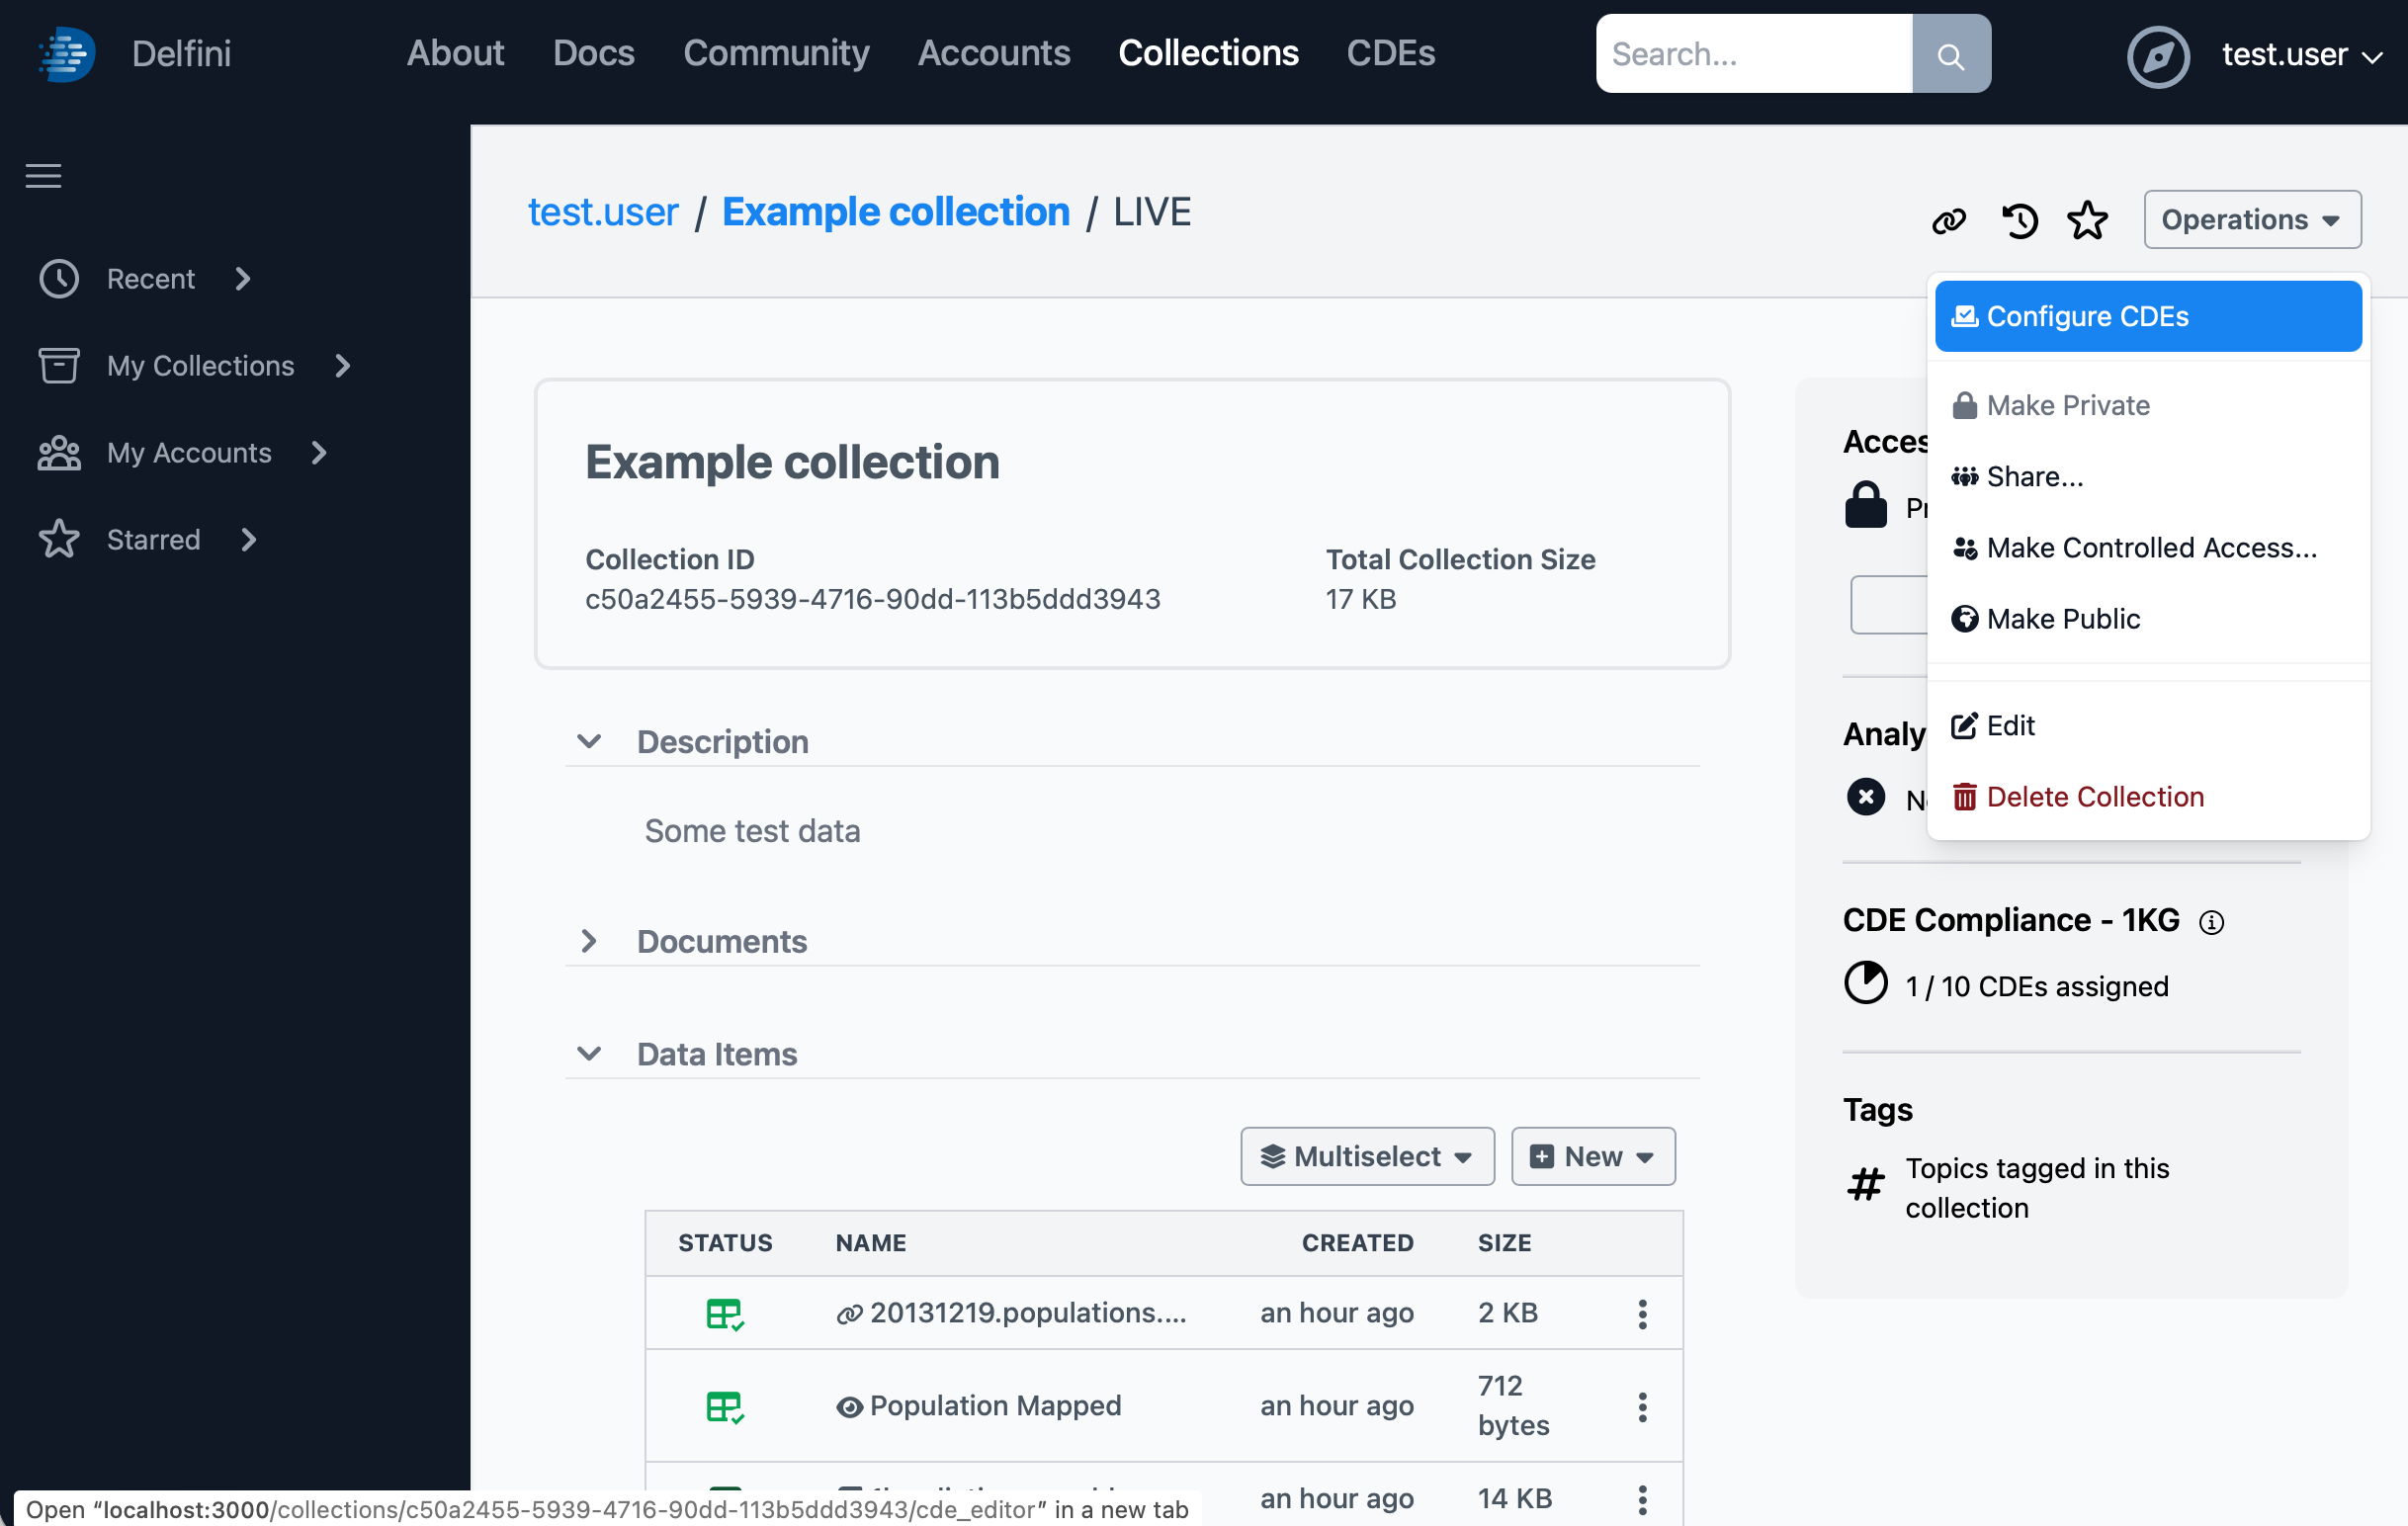
In order to assign the remainder of the CDEs, we can use the Configure CDEs tool to update the data elements on the source data. From the Operations menu, choose Configure CDEs.
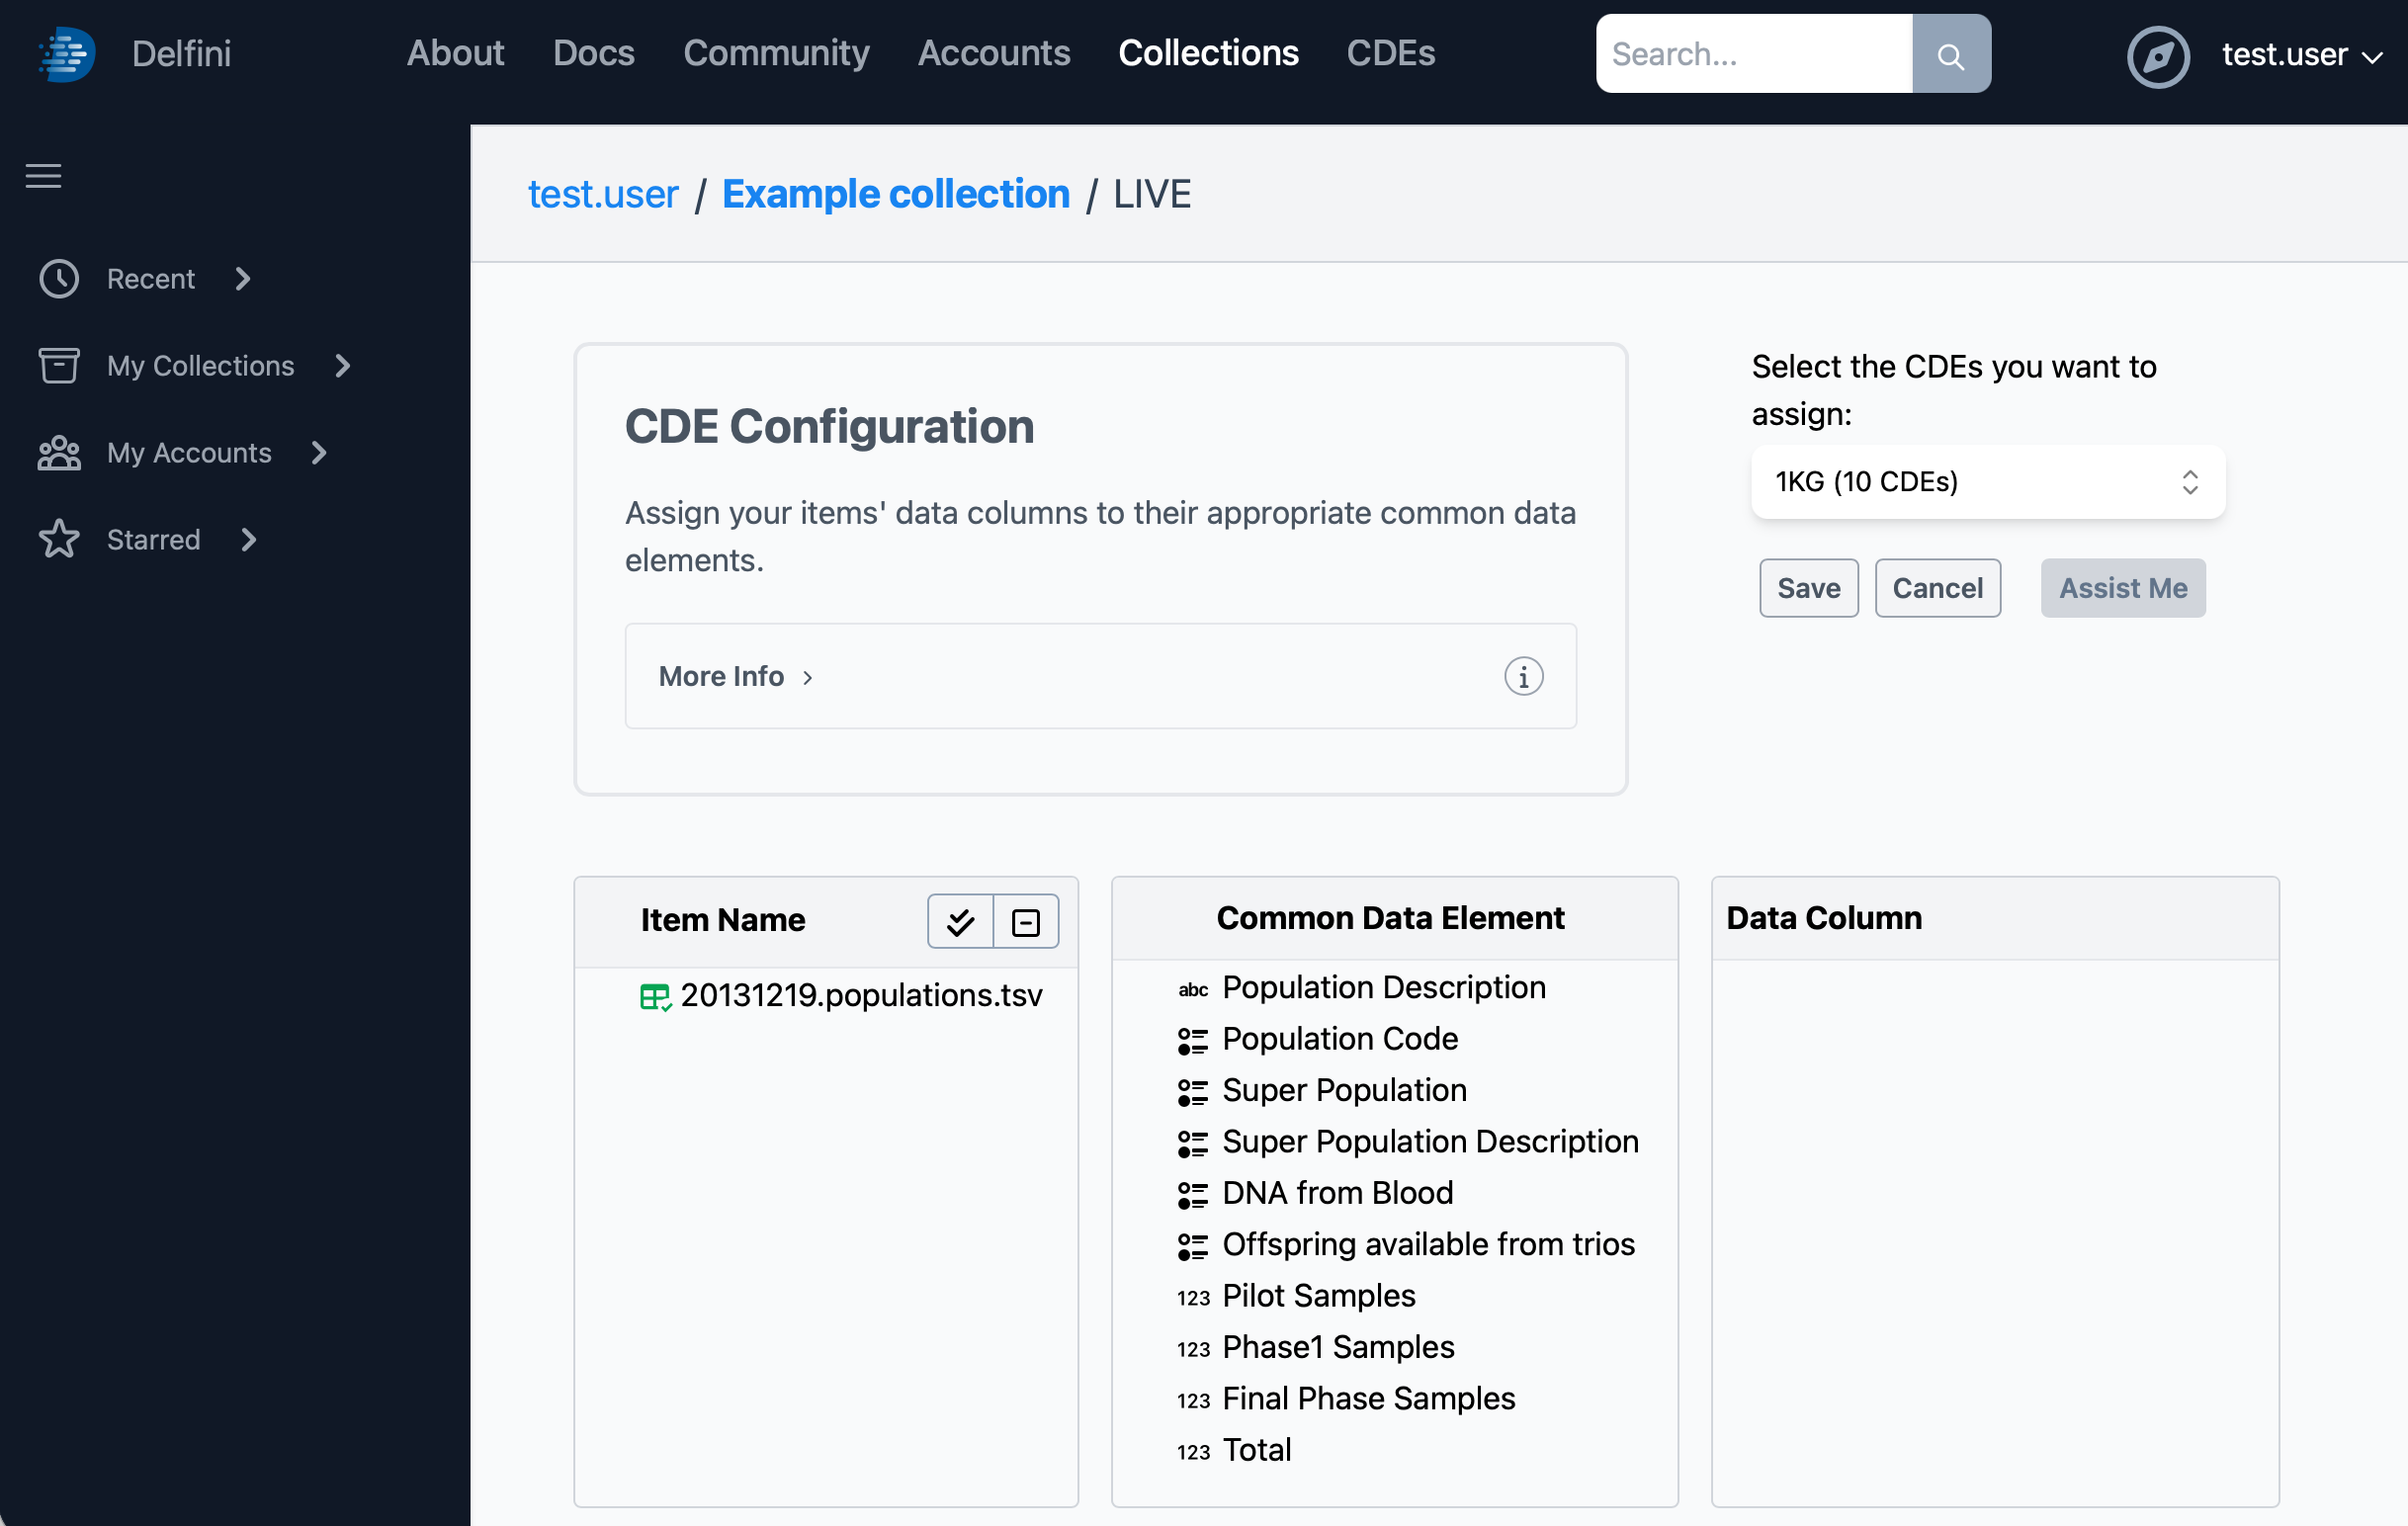
Click on the 20131219.populations.tsv item to begin. The Assist Me button in the upper right is available to help automate this process, but since the number of CDEs to assign is small, for this example we will assign them manually. For each CDE in the Common Data Element column, click it to select, then click the corresponding column from the Data Column box. Note that the Super Population Description CDE does not match to this item.
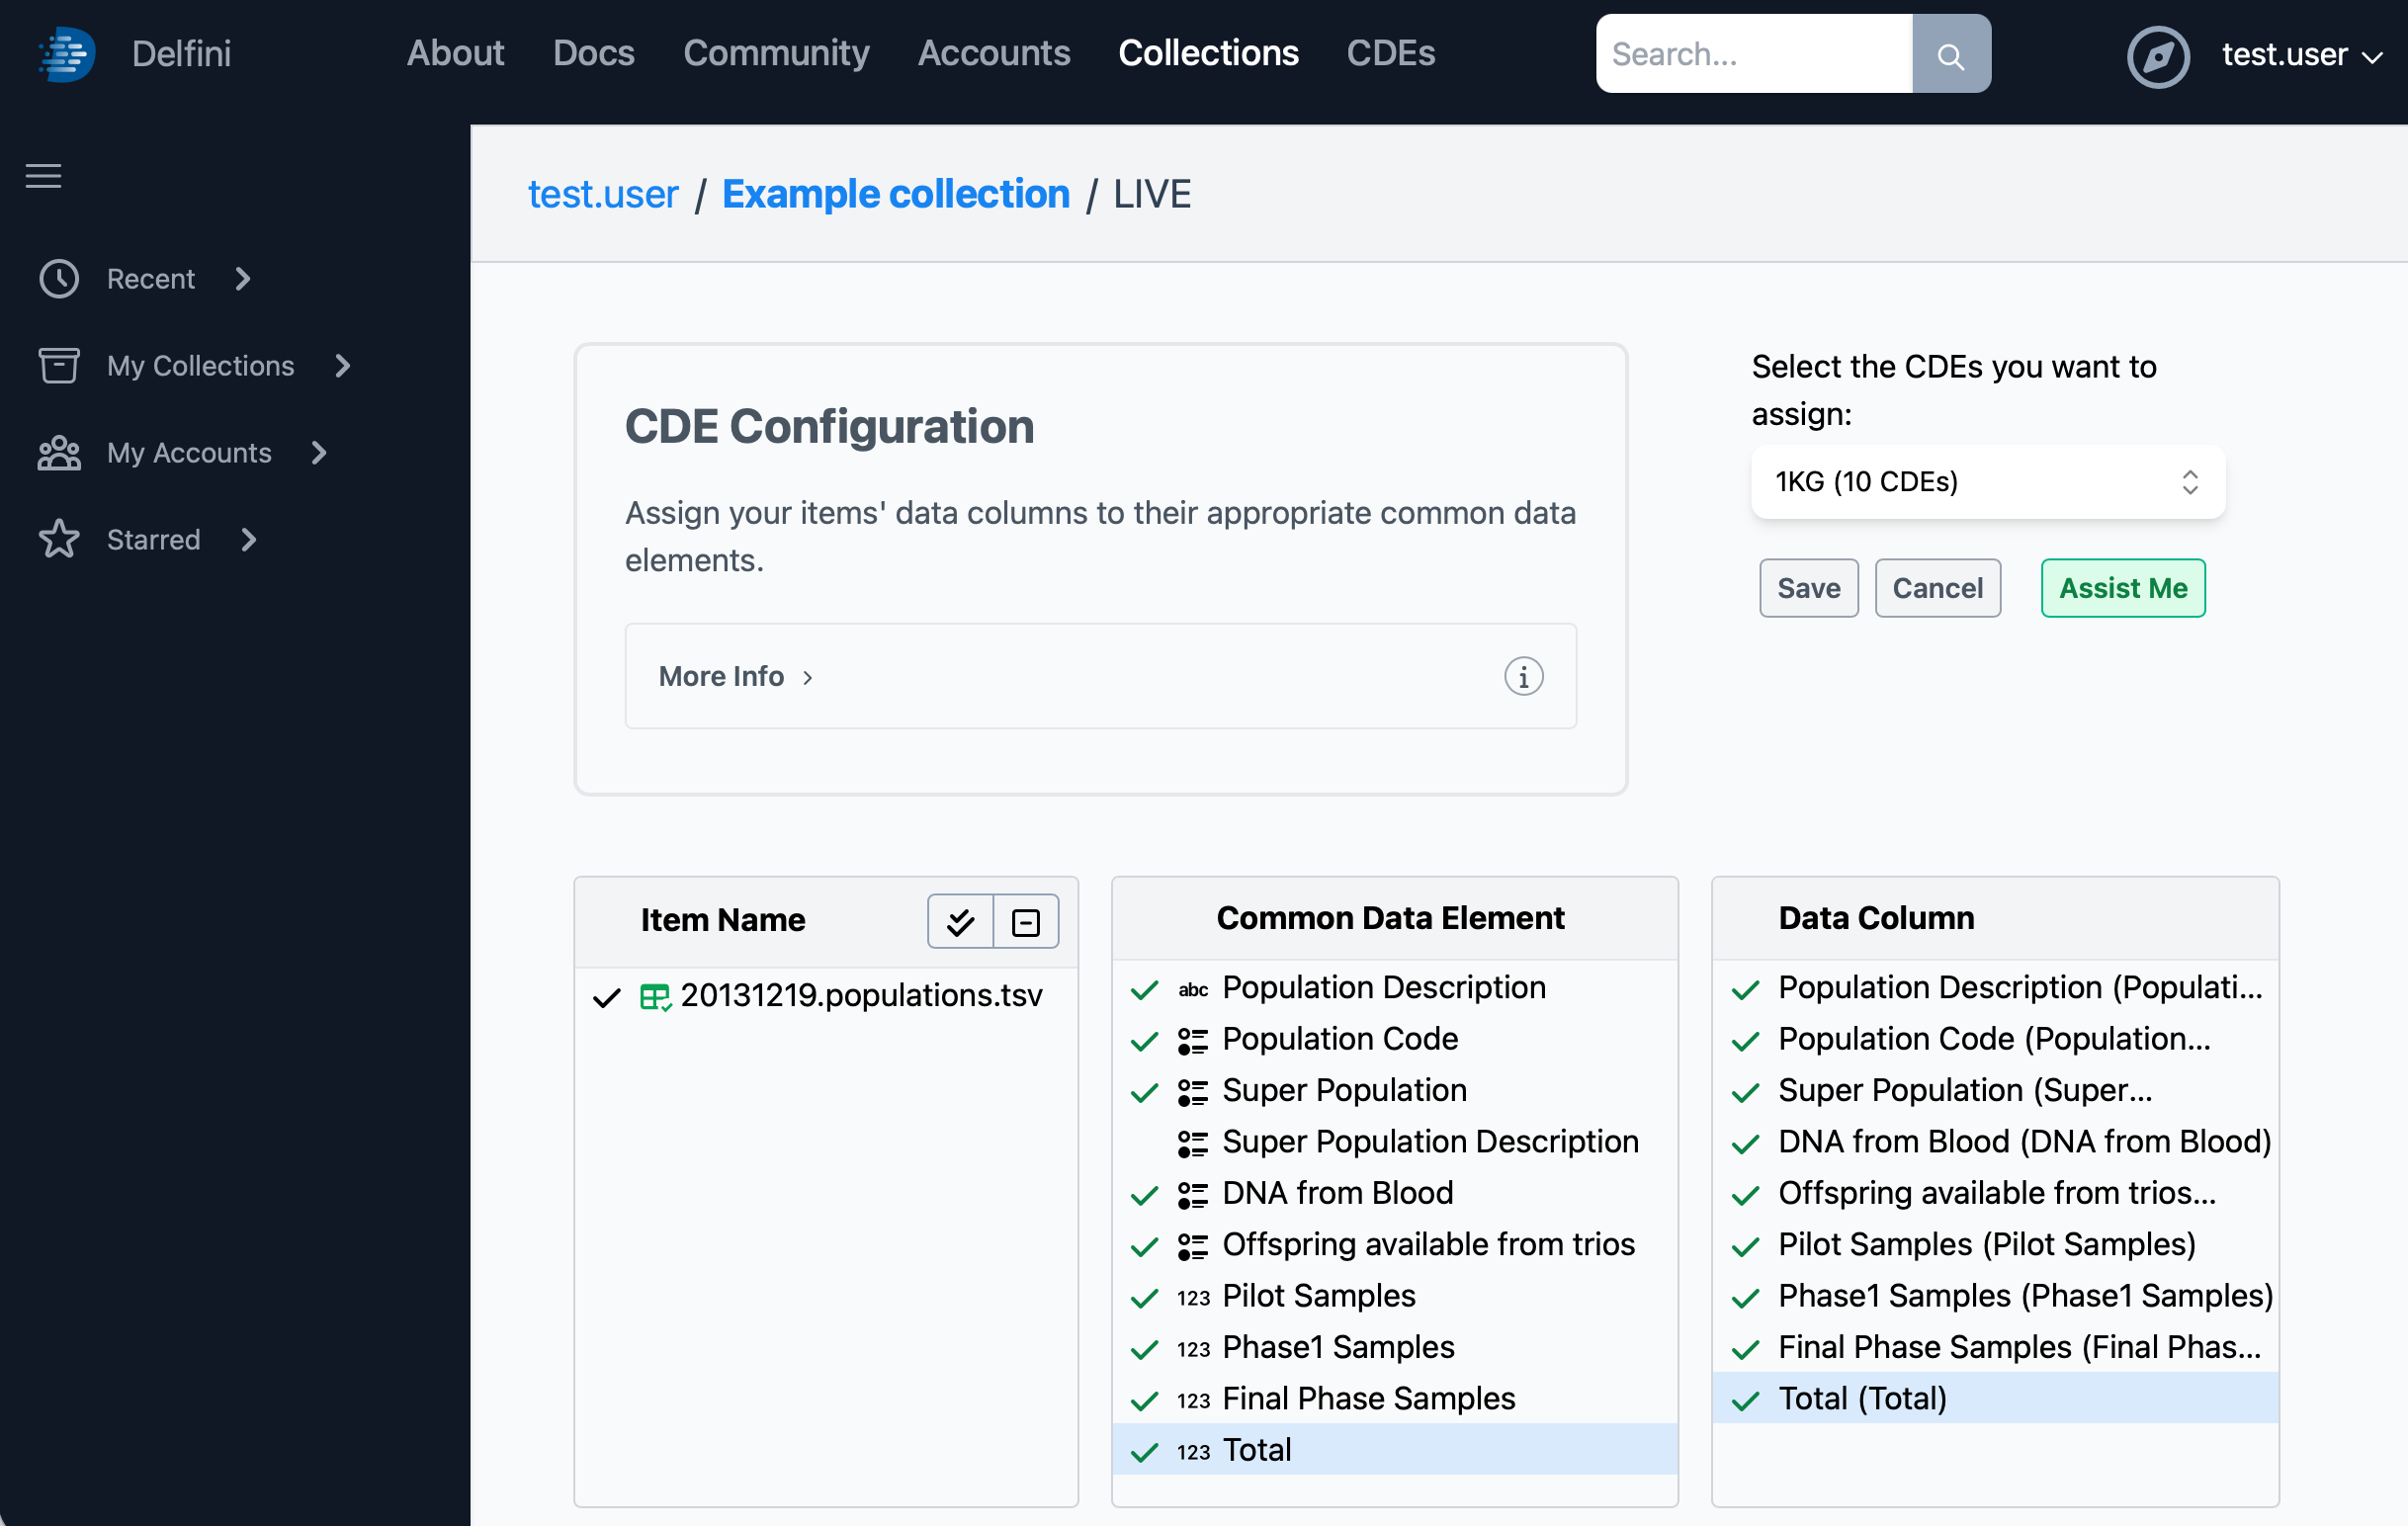
Finally, click Save to save the assignments, then click Cancel to return the collection page. Now, the CDE Compliance - 1KG info bar section should show 10 / 10 CDEs assigned.

Previous: Data Visualization